Pixel by Pixel Final – Experiments with perlin noise

For my final, I wanted to experiment with Perlin Noise in a live video feed. 

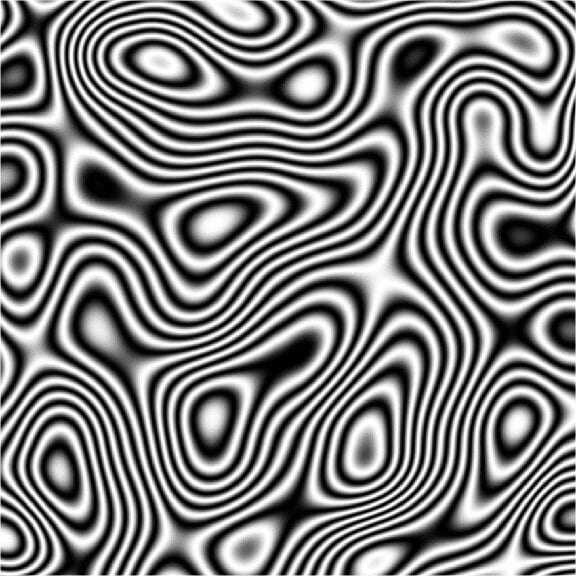
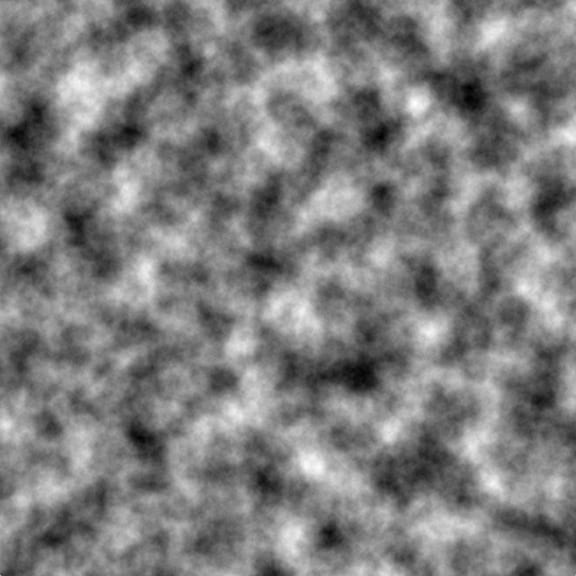
First, a little on Perlin Noise and why it’s so beautiful. From WikipediaPerlin noise is a procedural texture primitive, a type of gradient noise used by visual effects artists to increase the appearance of realism in computer graphics. The function has a pseudo-random appearance, yet all of its visual details are the same size.

Examples: I’m drawn to the smooth-flowing randomization of the texture. 

Example of Perlin Noise

Example of Perlin NOise

For my piece, I wanted to work with the motion of Perlin Noise but isolate it to a single point that distorts and eventually destroys the original video feed. I didn’t realize it until I built it, but it appears to be a virus methodically taking over the screen. 

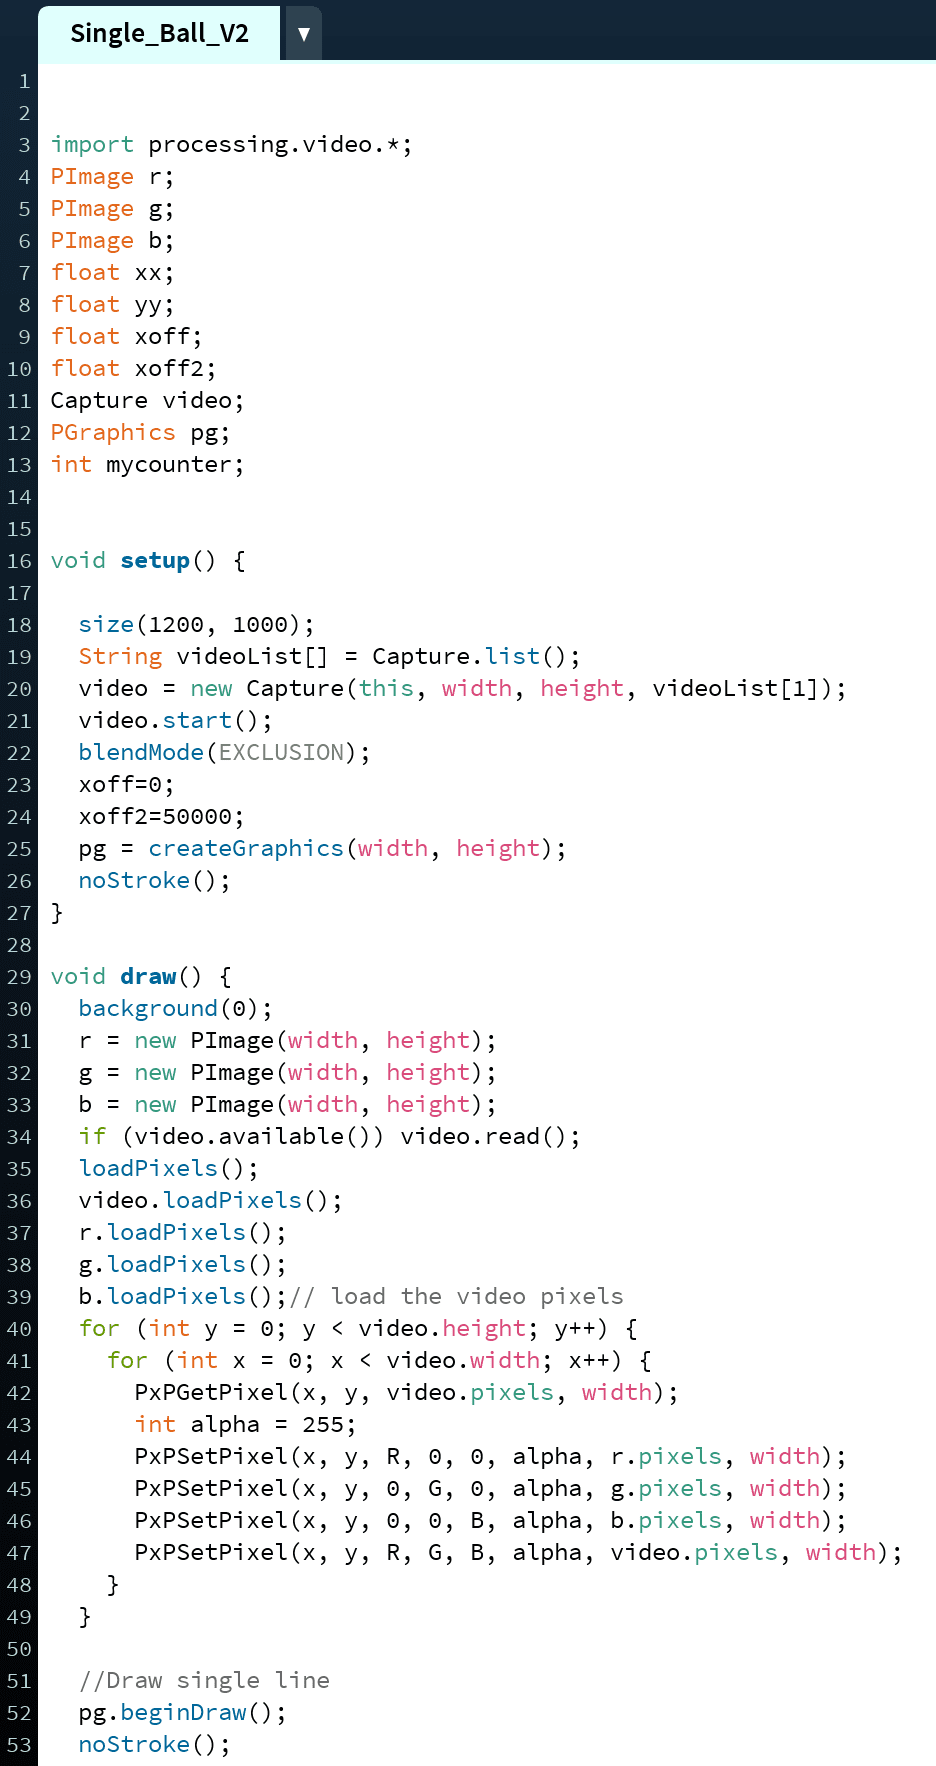
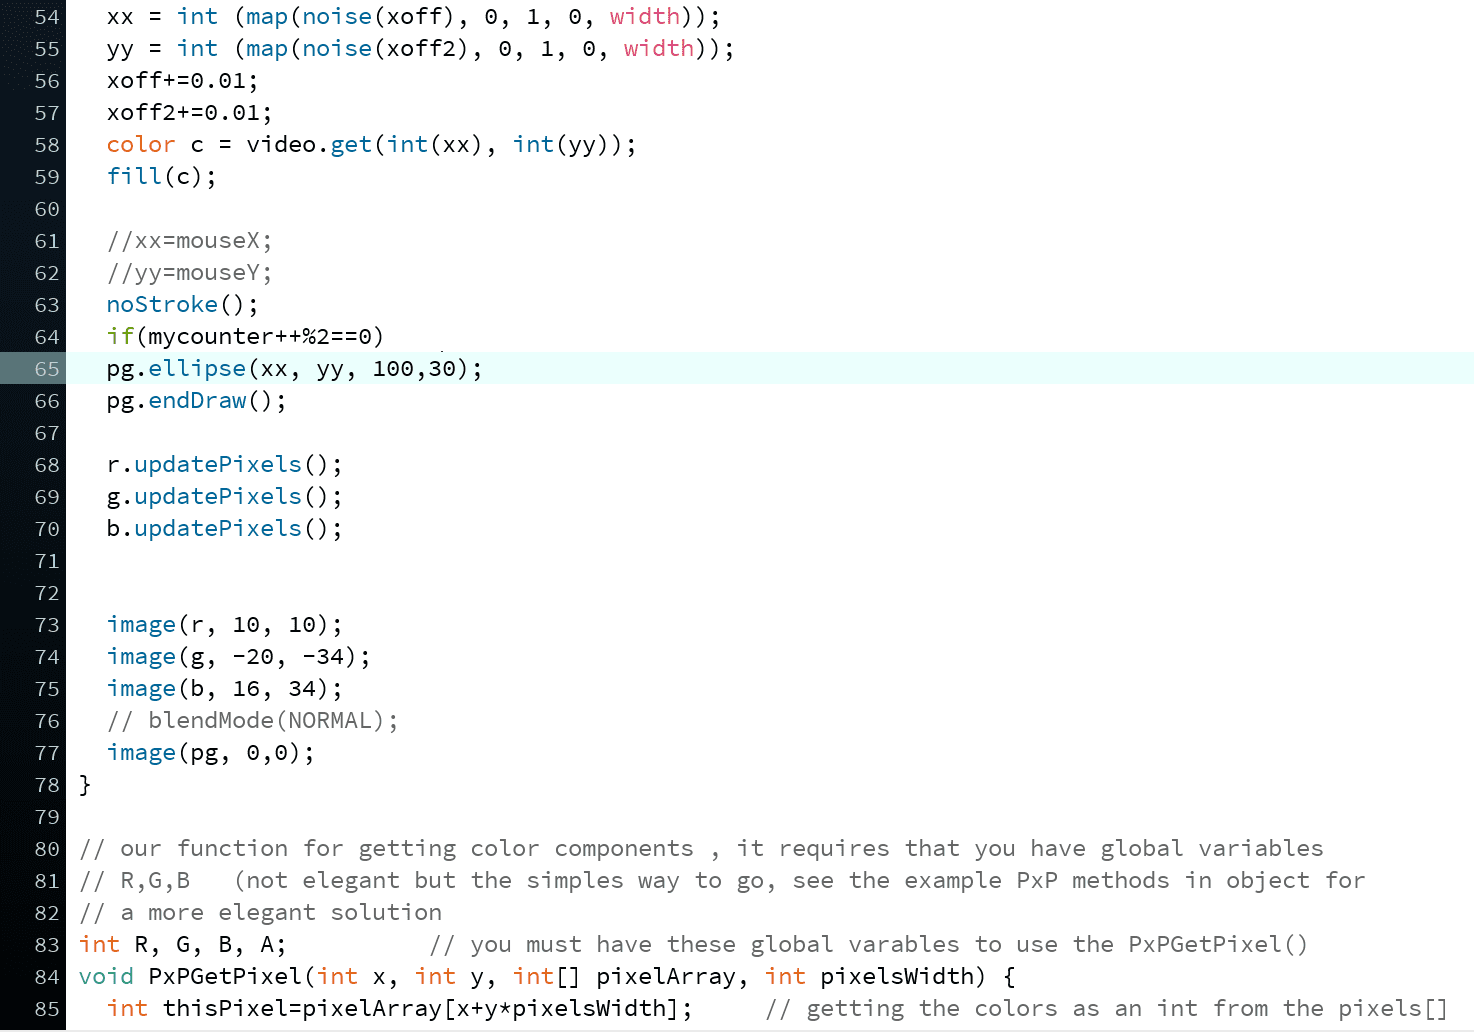
Code:

To achieve this sketch, I needed to learn how to produce the noise and deconstruct it into a single point. For the “noise walker,” I called the noise function and played around with the math to get it moving in a pattern I enjoyed. 

For the live video feed to continue to work, I needed to call a background, but the “walker” doesn’t work with a background to achieve a printing effect. I needed to call the PGraphics function to print the ball.

Finally, the ball was printing too often. I originally worked with frame count to slow it down, but that seemed to affect the video feed drastically. Instead, I isolated the printing to every two frames with an if statement. 

Thank you to Danny Rozin for walking me through several coding blocks throughout this process during office hours. 


Example 1
Example Code 2

Finals Piece: 


Portrait – Midterm

For our mid-term, we were assigned a classmate to make a digital portrait for. Beyond our subject, we were given free rein to be as creative as we wanted. I was thrilled about this project. It has been tough on all of us this year to connect since we’re all remote. Dedicating some time to getting to know one classmate and making a piece of art was a dream assignment. I was paired with Shannon Hu. We’ve crossed paths in the zoom world but never in person. After a chat, I asked her to send me twenty things that describe her; they could include objects, emotions, plans, dislikes anything. From there, I took her list and got to work. As a quick side note, we both found out that we love fountain pens and ink! Below is a short documentation video of my piece. 
I loved all the projects, but I almost lost it when Shannon presented the one she made of me; it was so sweet and thoughtful. You can check it out here. https://wp.nyu.edu/shannonhu/pxp-midterm-alans-portrait/

Image Expansion

For this week’s assignment, I decided to explore image deterioration and I coupled that with the topic of rain forest destruction. A slightly heavier topic than I’ve been exploring in the last couple of weeks. 

 The original image of a healthy forest is easily exploded and destroyed by any movement of the mouse; the user must take time and focus to line the curser back to 0,0 to put the whole image back together again. Below the exploded image is another image of the forest post destruction. The user can blend the two images by getting the mouse close to 0,0. 

Code:

int R, G, B, A; // you must have these global varables to use the PxPGetPixel()
PImage ourImage;
PImage ourImage2;
void setup() {
size(1500, 800);
frameRate(120);
ourImage= loadImage(“https://images.takeshape.io/852126ce-462c-40d9-ae71-1a2c96e82d8f/dev/2925f6d3-c6c3-42e5-89d9-8cf91ed3d28f/Kluet-peat-swamp-forest%2C-Leuser-Ecosystem.-Photo-by-Paul-Hilton%2C-RAN.jpg?auto=compress%2Cformat”);
ourImage.resize (width, height);
ourImage.loadPixels(); // load the pixels array of the image
ourImage2 =loadImage(“https://media.wired.com/photos/59372bbfd80dd005b42b626f/master/w_2560%2Cc_limit/AP4997094644081.jpg”);
ourImage2.resize (width, height);
ourImage2.loadPixels();
}

void draw() {
background (139,0,0);
image(ourImage2,0,0);
loadPixels(); // load the pixels array of the window
for (int x = 0; x<width; x++) {
for (int y = 0; y<height; y++) {
PxPGetPixel(x, y, ourImage.pixels, width); // get the RGB of our pixel and place in RGB globals
int destinationX = x*mouseX;
int destinationY = y*mouseY;

destinationX= constrain(destinationX, 0, width-1);
destinationY= constrain(destinationY, 0, height-1);

PxPSetPixel(destinationX, destinationY, R, G, B, 255, pixels, width); // sets the R,G,B values to the window
}
}
updatePixels(); // must call updatePixels oce were done messing with pixels[]
println (frameRate);
}

// our function for getting color components , it requires that you have global variables
// R,G,B (not elegant but the simples way to go, see the example PxP methods in object for
// a more elegant solution

void PxPGetPixel(int x, int y, int[] pixelArray, int pixelsWidth) {
int thisPixel=pixelArray[x+y*pixelsWidth]; // getting the colors as an int from the pixels[]
A = (thisPixel >> 24) & 0xFF; // we need to shift and mask to get each component alone
R = (thisPixel >> 16) & 0xFF; // this is faster than calling red(), green() , blue()
G = (thisPixel >> 8) & 0xFF;
B = thisPixel & 0xFF;
}

//our function for setting color components RGB into the pixels[] , we need to efine the XY of where
// to set the pixel, the RGB values we want and the pixels[] array we want to use and it’s width

void PxPSetPixel(int x, int y, int r, int g, int b, int a, int[] pixelArray, int pixelsWidth) {
a =(a << 24);
r = r << 16; // We are packing all 4 composents into one int
g = g << 8; // so we need to shift them to their places
color argb = a | r | g | b; // binary “or” operation adds them all into one int
pixelArray[x+y*pixelsWidth]= argb; // finaly we set the int with te colors into the pixels[]
}

Inversion Video

This week we were tasked with manipulating the color values of pixels in a sketch. I chose to work with a live video feed and an overlay. 

To achieve this, I made two sketches first, the spiral background, and second, the inverted video feed with the banding. 

For the video feed, I decided to only invert the colors of the red channel. The choice was purely aesthetic. I called a single band of pixels in either the x or y-axis and applied color manipulation to make the banding effect.  I tried using an array so that I can move the band quickly later.

PROBLEMS:

      • Centering the video feed – Whenever I tried to translate, the video feed crash. 
      • Layering the graphic below the video feed – To get a taste of what I was going for, I left the graphic on top but turned down its opacity. 
  •  

Code: 

// The world pixel by pixel 2021
// Daniel Rozin
// uses PXP methods in the bottom

import processing.video.*;
Capture ourVideo; // variable to hold the video
int diaMin = 10;
int diaMax = 1000;
int diaStep = 10;
float a, b, move;

void setup() {
size(880, 720);
frameRate(120);
ourVideo = new Capture(this, 640, 480); // open default video in the size of window
ourVideo.start(); // start the video
noFill();
stroke(55,3,34,40);
strokeWeight(diaStep/4);
}

void draw() {

if (ourVideo.available()) ourVideo.read(); // get a fresh frame of video as often as we can
background (25, 215, 55);
ourVideo.loadPixels(); // load the pixels array of the video
loadPixels(); // load the pixels array of the window
int [] l1 = {20, 60, 110, 140, 158, 210, 214, 340, 390, 415, 421, 591, 610, 630, 421, 455, 580, 631, 560};
int [] l2 = {23, 34, 111, 145, 153, 167, 180, 440, 443, 460, 230, 340, 212};
for (int x = 0; x<ourVideo.width; x++) {
for (int y = 0; y<ourVideo.height; y++) {
PxPGetPixel(x, y, ourVideo.pixels, ourVideo.width);
PxPSetPixel(x, y, 255-R, G, B, 255, pixels, width);
PxPSetPixel(l1[0], y, R, G, 255-B, 255, pixels, width);
PxPSetPixel(l1[1], y, R, G, 255-B, 255, pixels, width);
PxPSetPixel(l1[2], y, R, G, 255-B, 255, pixels, width);
PxPSetPixel(l1[3], y, R, G, 255-B, 255, pixels, width);
PxPSetPixel(l1[4], y, R, G, 255-B, 255, pixels, width);
PxPSetPixel(l1[5], y, R, G, 255-B, 255, pixels, width);
PxPSetPixel(l1[6], y, R, G, 255-B, 255, pixels, width);
PxPSetPixel(l1[7], y, R, G, 255-B, 255, pixels, width);
PxPSetPixel(l1[8], y, R, G, 255-B, 255, pixels, width);
PxPSetPixel(l1[9], y, R, G, 255-B, 255, pixels, width);
PxPSetPixel(l1[10], y, R, G, 255-B, 255, pixels, width);
PxPSetPixel(l1[11], y, R, G, 255-B, 255, pixels, width);
PxPSetPixel(l1[12], y, R, G, 255-B, 255, pixels, width);
PxPSetPixel(l1[13], y, R, G, 255-B, 255, pixels, width);
PxPSetPixel(l1[14], y, R, G, 255-B, 255, pixels, width);
PxPSetPixel(l1[15], y, R, G, 255-B, 255, pixels, width);
PxPSetPixel(l1[16], y, R, G, 255-B, 255, pixels, width);
PxPSetPixel(l1[17], y, R, G, 255-B, 255, pixels, width);

PxPSetPixel(x, l2[0], R, G, 255-B, 255, pixels, width);
PxPSetPixel(x, l2[1], R, G, 255-B, 255, pixels, width);
PxPSetPixel(x, l2[2], R, G, 255-B, 255, pixels, width);
PxPSetPixel(x, l2[3], R, G, 255-B, 255, pixels, width);
PxPSetPixel(x, l2[4], R, G, 255-B, 255, pixels, width);
PxPSetPixel(x, l2[5], R, G, 255-B, 255, pixels, width);
PxPSetPixel(x, l2[6], R, G, 255-B, 255, pixels, width);
PxPSetPixel(x, l2[7], R, G, 255-B, 255, pixels, width);
PxPSetPixel(x, l2[8], R, G, 255-B, 255, pixels, width);
PxPSetPixel(x, l2[9], R, G, 255-B, 255, pixels, width);
PxPSetPixel(x, l2[10], R, G, 255-B, 255, pixels, width);
PxPSetPixel(x, l2[11], R, G, 255-B, 255, pixels, width);
PxPSetPixel(x, l2[12], R, G, 255-B, 255, pixels, width);
}
}
updatePixels(); // must call updatePixels once were done messing with pixels[]
a = sin(radians(move+10))*450;
b = cos(radians(move))*450;

translate(width/2, height/2);
for (float dia=diaMin; dia<=diaMax; dia+=diaStep) {
ellipse(-a, b, dia, dia);
ellipse(-a, -b, dia, dia);
ellipse(a, -b, dia, dia);
ellipse(a, b, dia, dia);
}
move++;
}


// our function for getting color components , it requires that you have global variables
// R,G,B (not elegant but the simples way to go, see the example PxP methods in object for
// a more elegant solution
int R, G, B, A; // you must have these global varables to use the PxPGetPixel()
void PxPGetPixel(int x, int y, int[] pixelArray, int pixelsWidth) {
int thisPixel=pixelArray[x+y*pixelsWidth]; // getting the colors as an int from the pixels[]
A = (thisPixel >> 24) & 0xFF; // we need to shift and mask to get each component alone
R = (thisPixel >> 16) & 0xFF; // this is faster than calling red(), green() , blue()
G = (thisPixel >> 8) & 0xFF;
B = thisPixel & 0xFF;
}

//our function for setting color components RGB into the pixels[] , we need to efine the XY of where
// to set the pixel, the RGB values we want and the pixels[] array we want to use and it’s width

void PxPSetPixel(int x, int y, int r, int g, int b, int a, int[] pixelArray, int pixelsWidth) {
a =(a << 24);
r = r << 16; // We are packing all 4 composents into one int
g = g << 8; // so we need to shift them to their places
color argb = a | r | g | b; // binary “or” operation adds them all into one int
pixelArray[x+y*pixelsWidth]= argb; // finaly we set the int with te colors into the pixels[]
}
Drawing Game

This week I worked on developing a drawing game in Processing from scratch. It was slow-moving but a lot of fun to experiment with. 

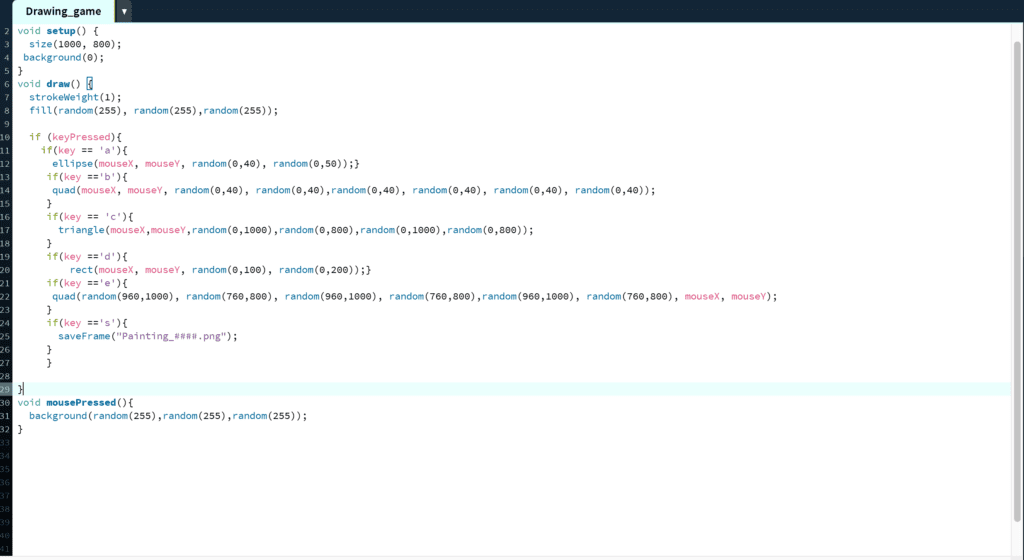
To change the shapes and background, I played with different input keys. 

a – draws circles

b – draws a tight spike from the top left

c – draws triangles

d – draws squares

e – draws a tight spike from the bottom right

s – saves the frame

mouse click – erases the whole scene and draws a random background-color

 Demonstration video: 

Code: 

Drawing game processing code

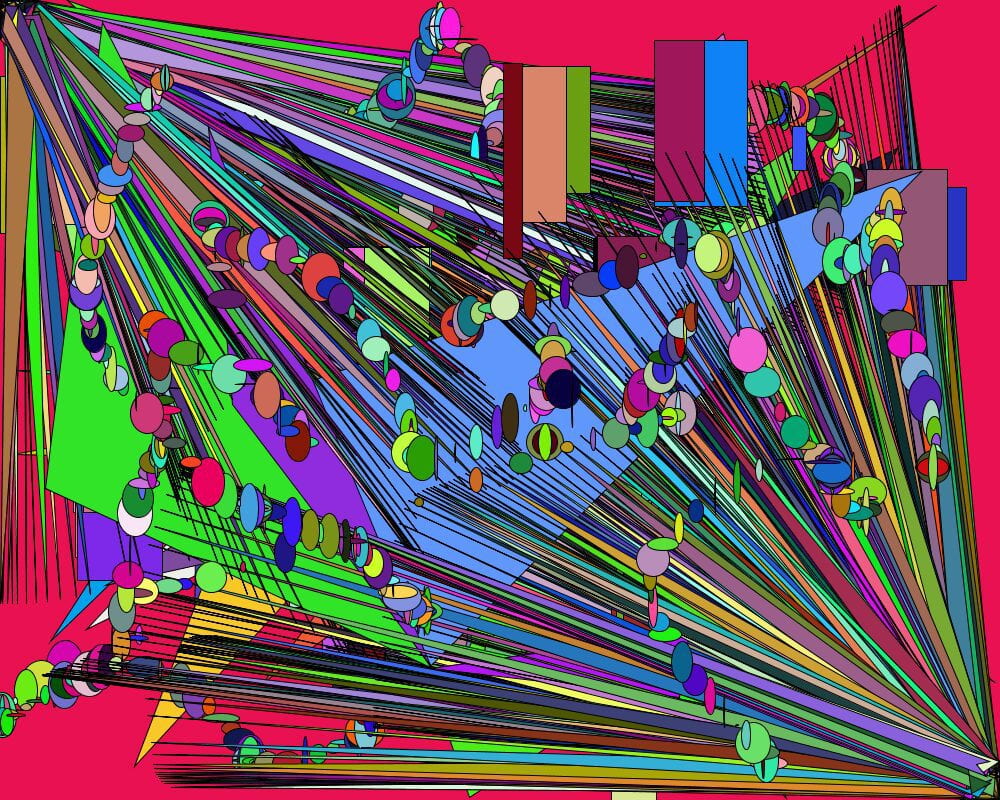
Saved Drawings: 

Example of drawing game

Example of drawing game

Playing With Shapes

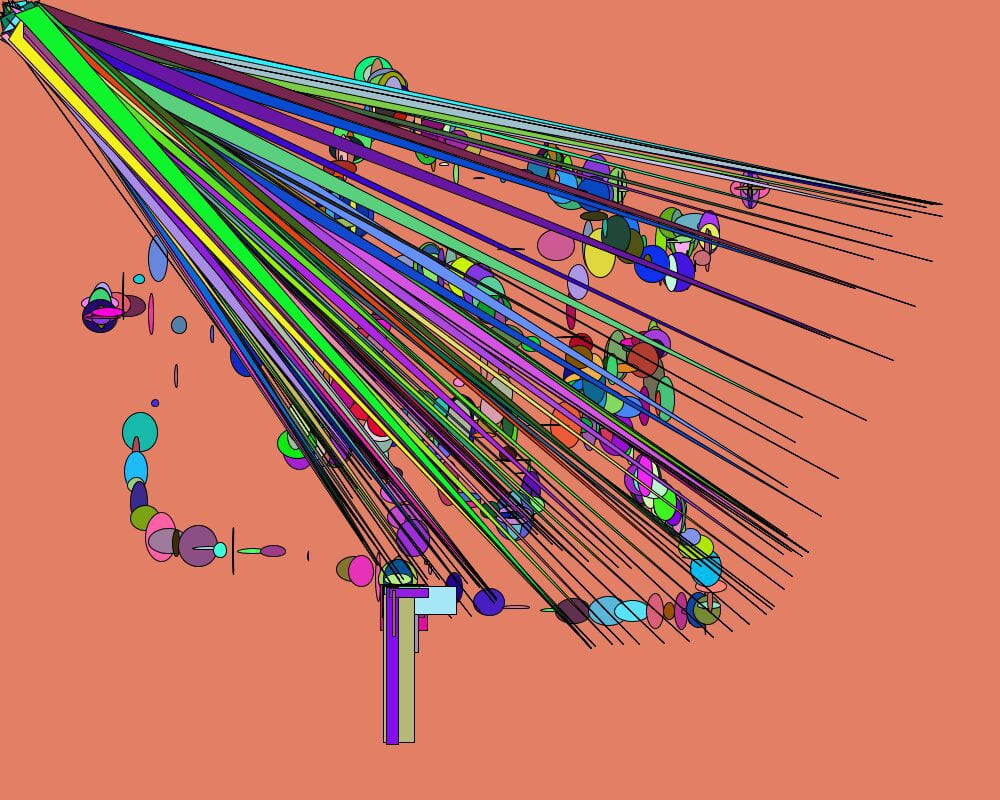
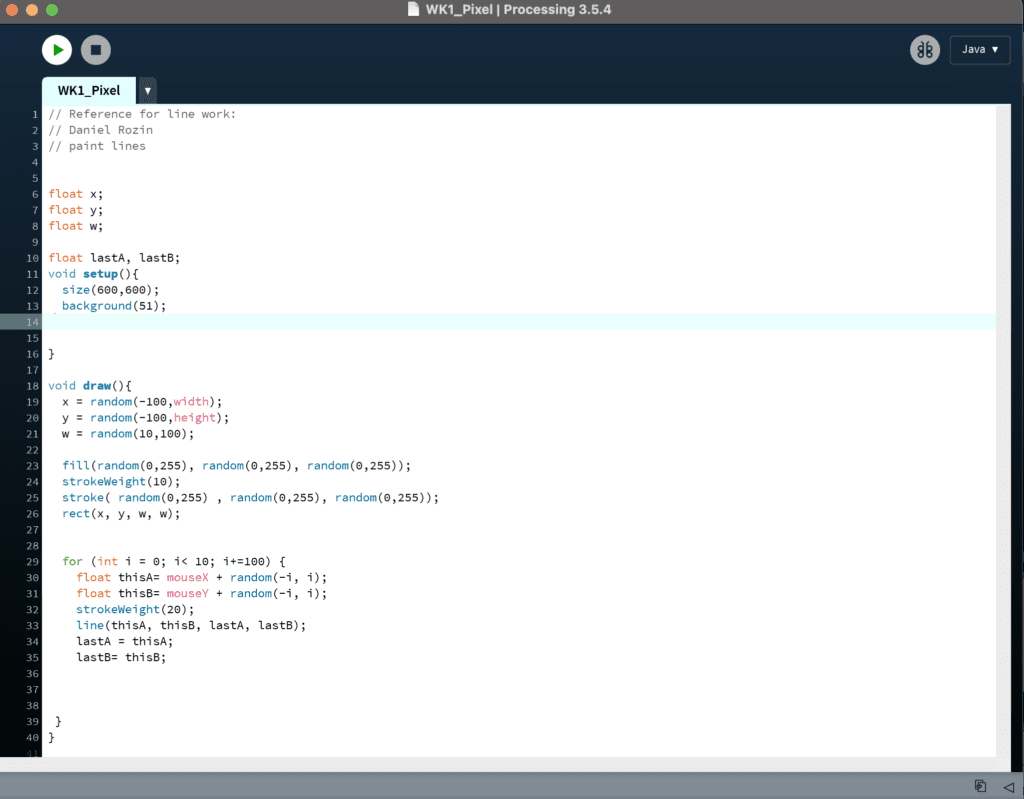
This week we jumped into processing and started to play with shapes. I made a simple piece about how I’m feeling this semester. The editable line represents my work. The randomized cubs that keep hiding the line represent distractions, new ideas, new concepts that I want to explore, all preventing me from getting anything done no matter how hard I try. 

Below is my code and an example video: 

Screenshot of a processing sketch


Physical Pixel Art

For this week’s assignment, we were asked to make a physical pixel image. After some thought, I landed on the idea of punching holes in a piece of paper to slowly create my image. For me, the piece’s production was just as interesting as the final, so I decided to create a short video. 

To my surprise, my favorite part of the entire piece is the sound of the pencil breaking through. 

Below are two versions of the piece the full uncut “performance” and a sped-up version. 

Uncut:

Sped-Up