Experiments with bio – plastic

Final Pitch

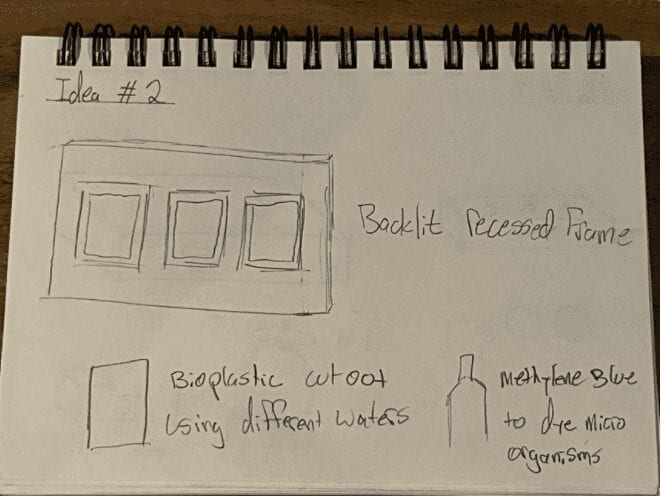
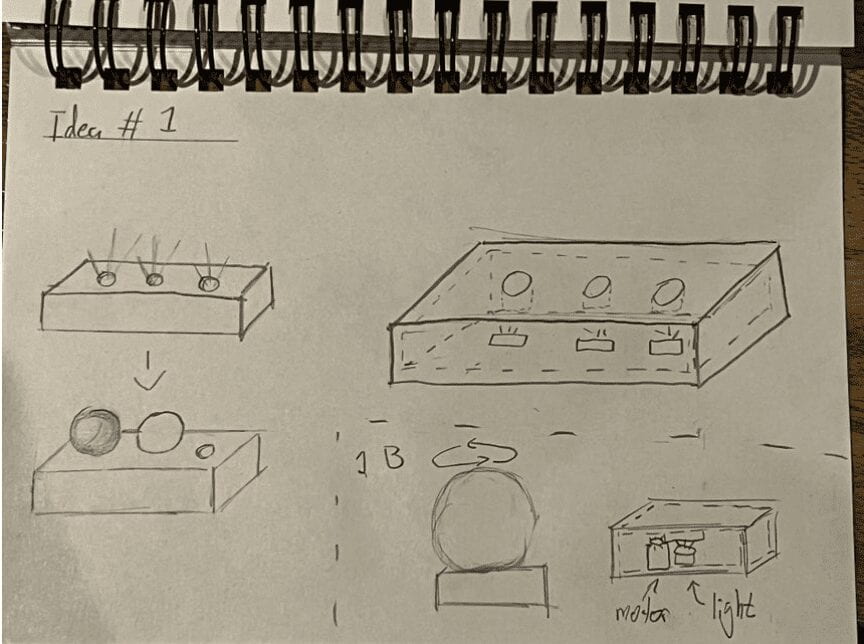
For the final project, Philip and I will collaborate on a piece exploring Bioplastic as a beautiful object. We want to keep the base plastic the same, but each sculpture will use different water sources like the ocean, Gowanus canal, or tap. The goal is to highlight particulates in each water sample. 

We haven’t landed on the final shape; we are deciding between a frame and orb. 

Final piece

Experiments with Bioplastic:

I ended up making three different bio-plastics with different levels of success. To get started, I made the basic recipe of 

9 tablespoons cornstarch = .5 cup + 1 tablespoon

36 tablespoons of water = 2.25 cups

Three tablespoons of vinegar

Three tablespoons of glycerin

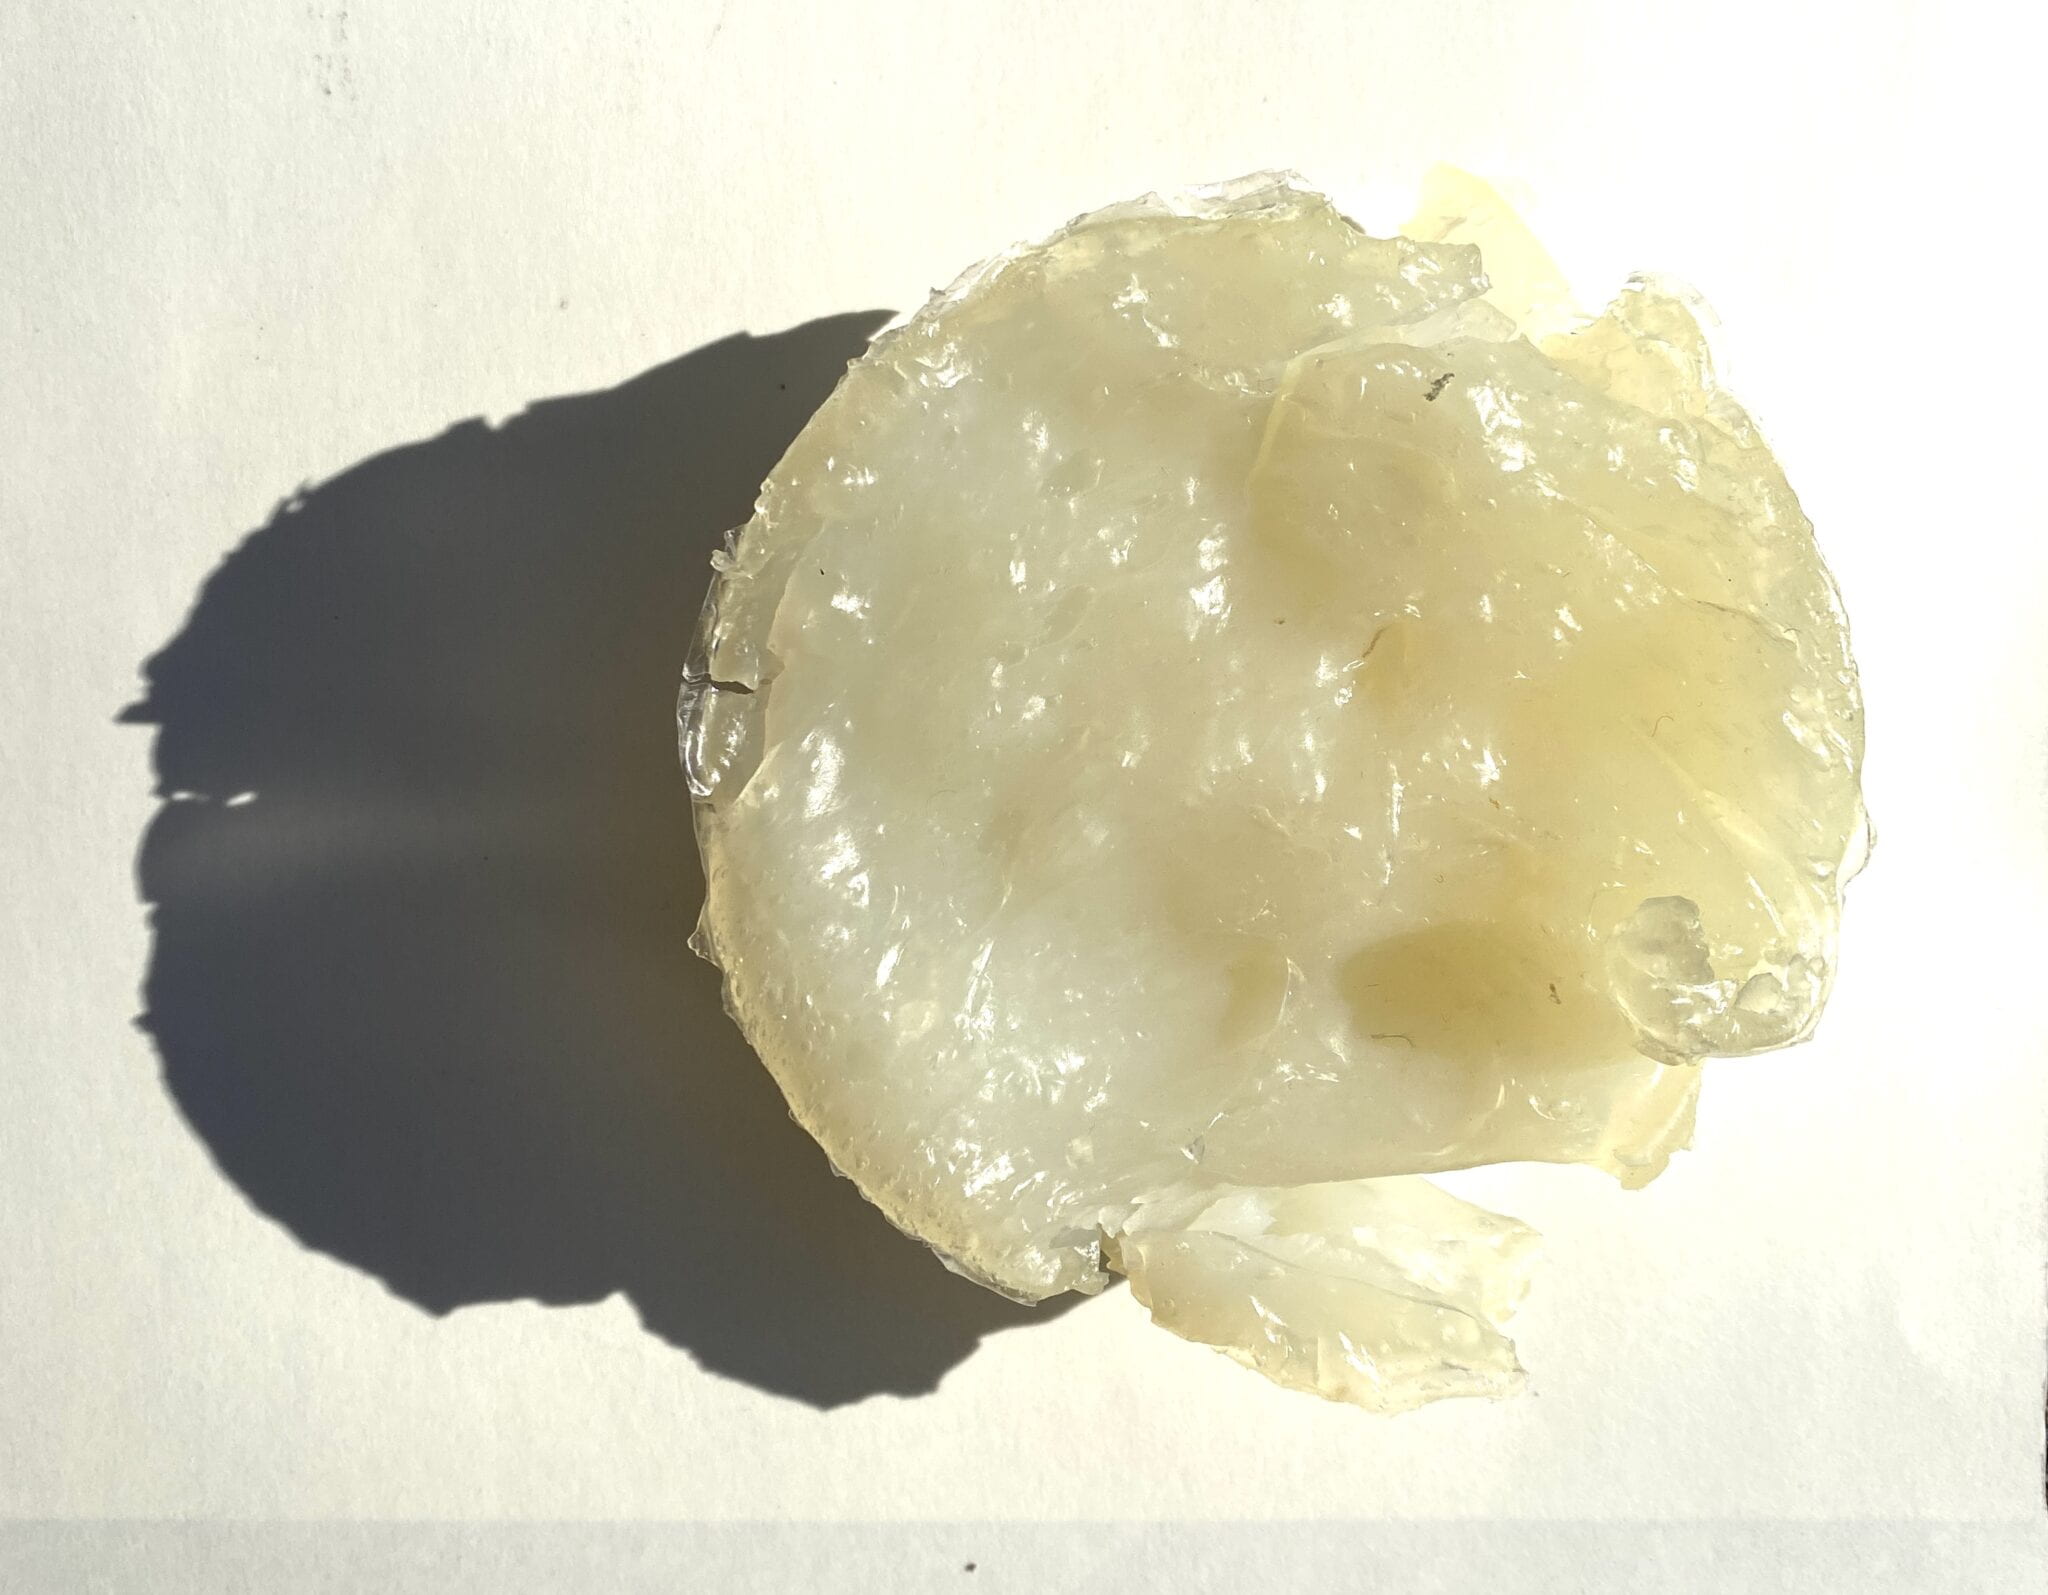
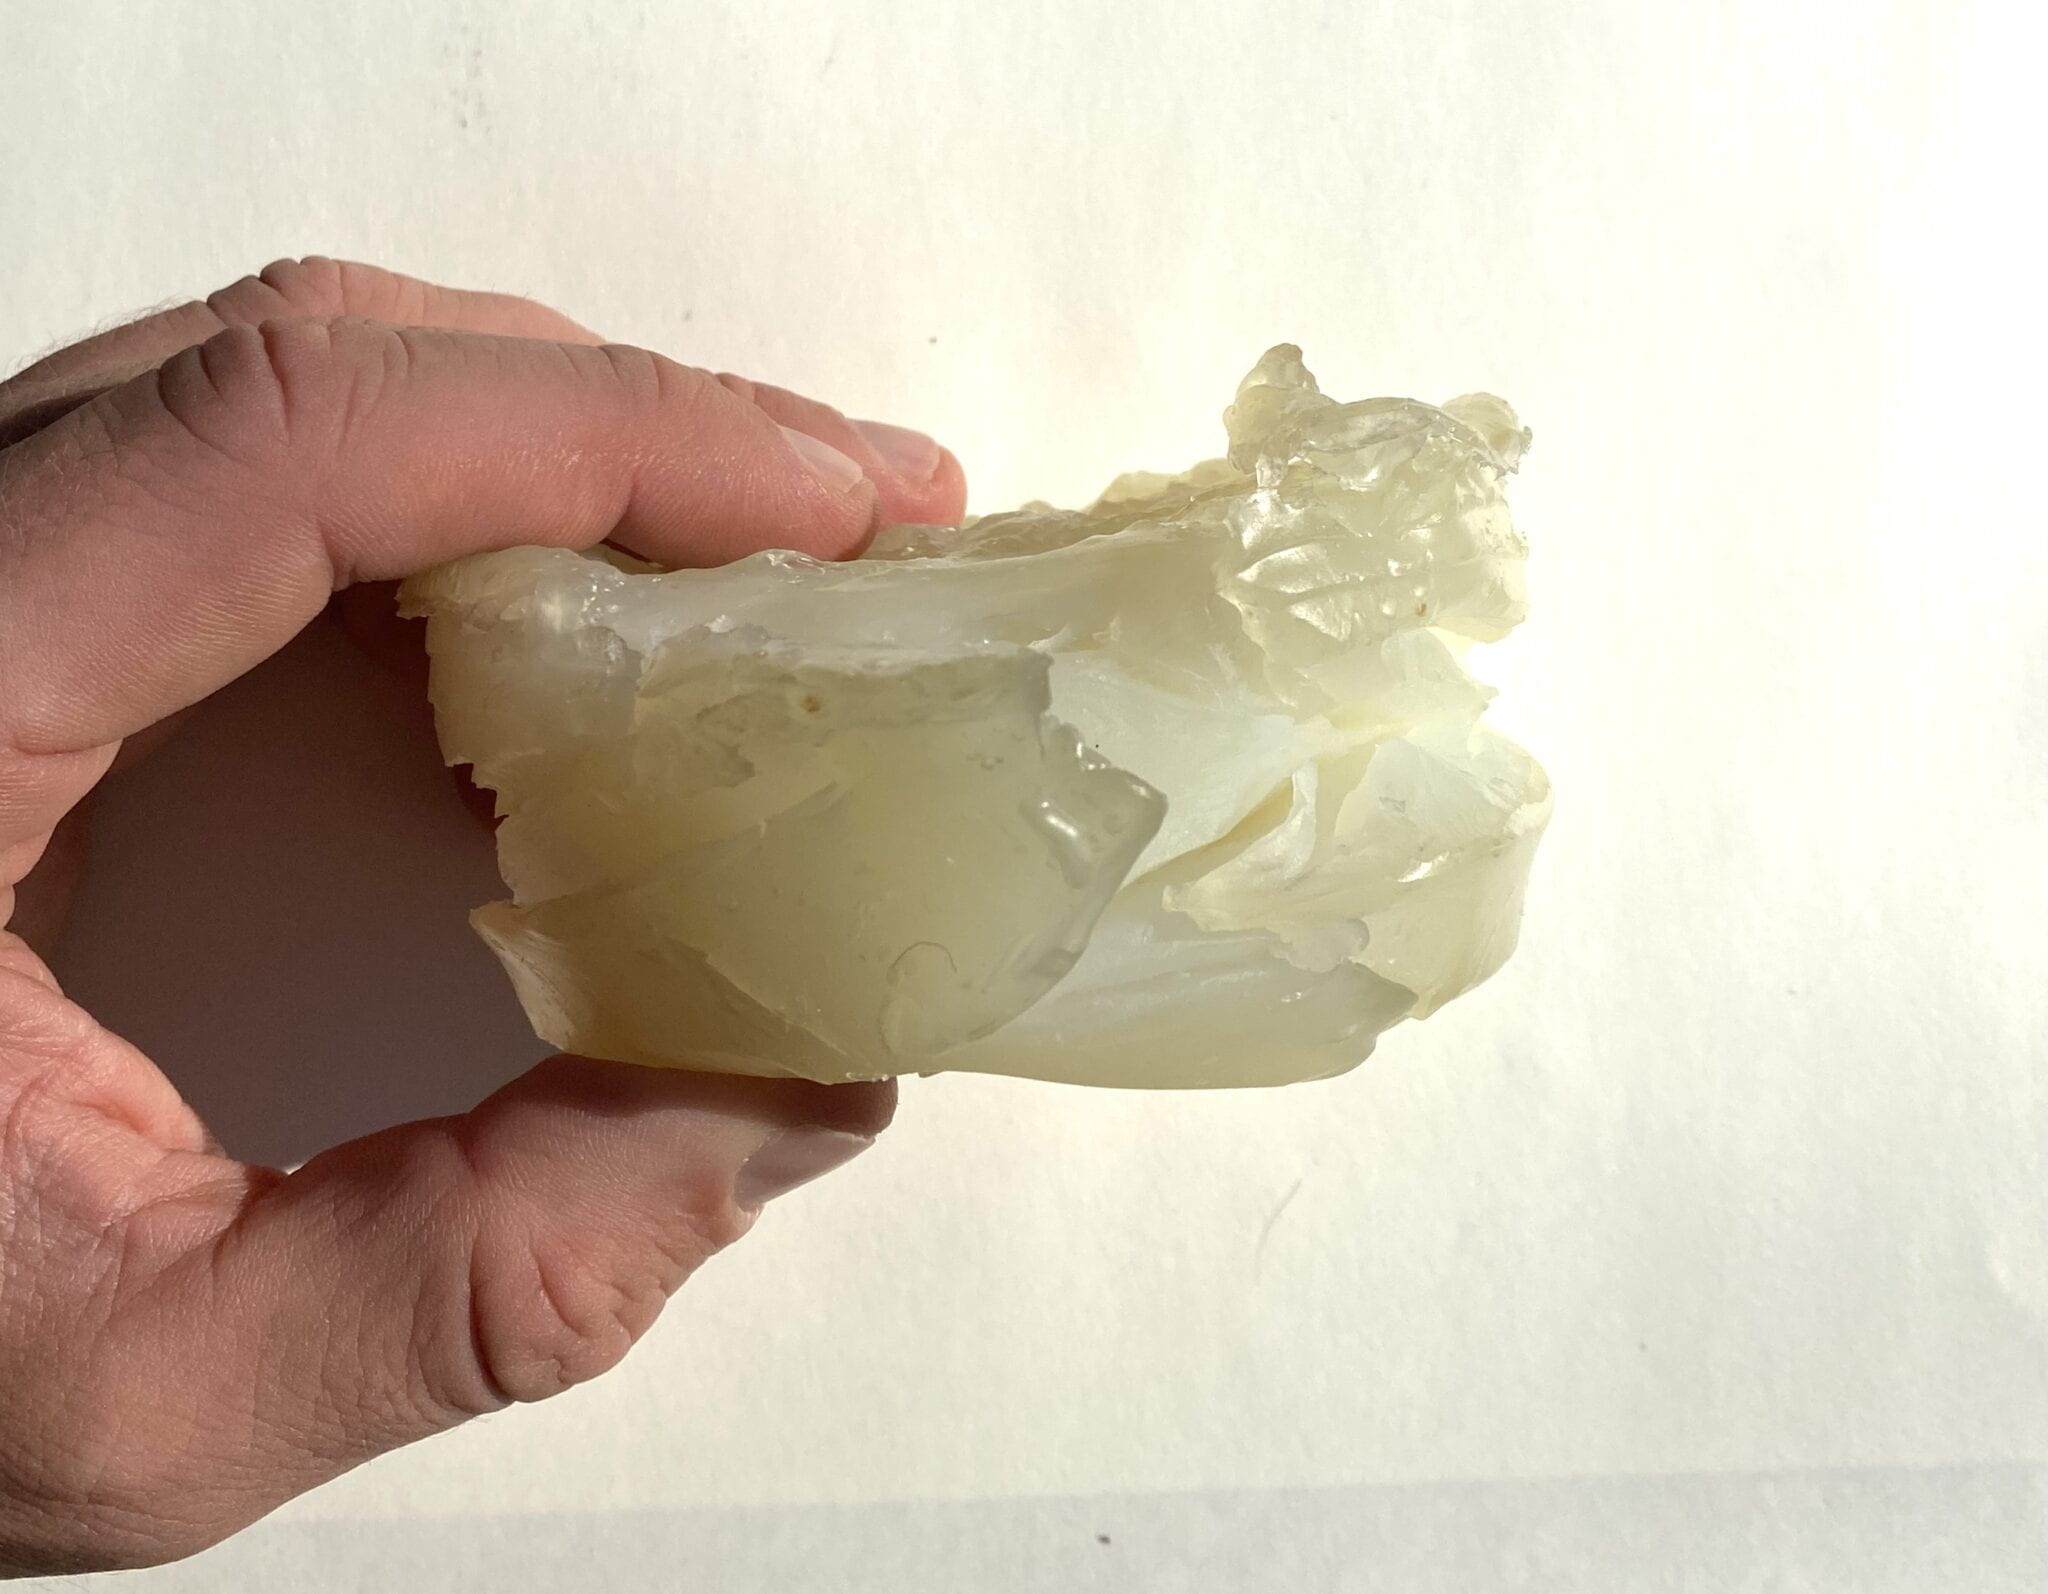
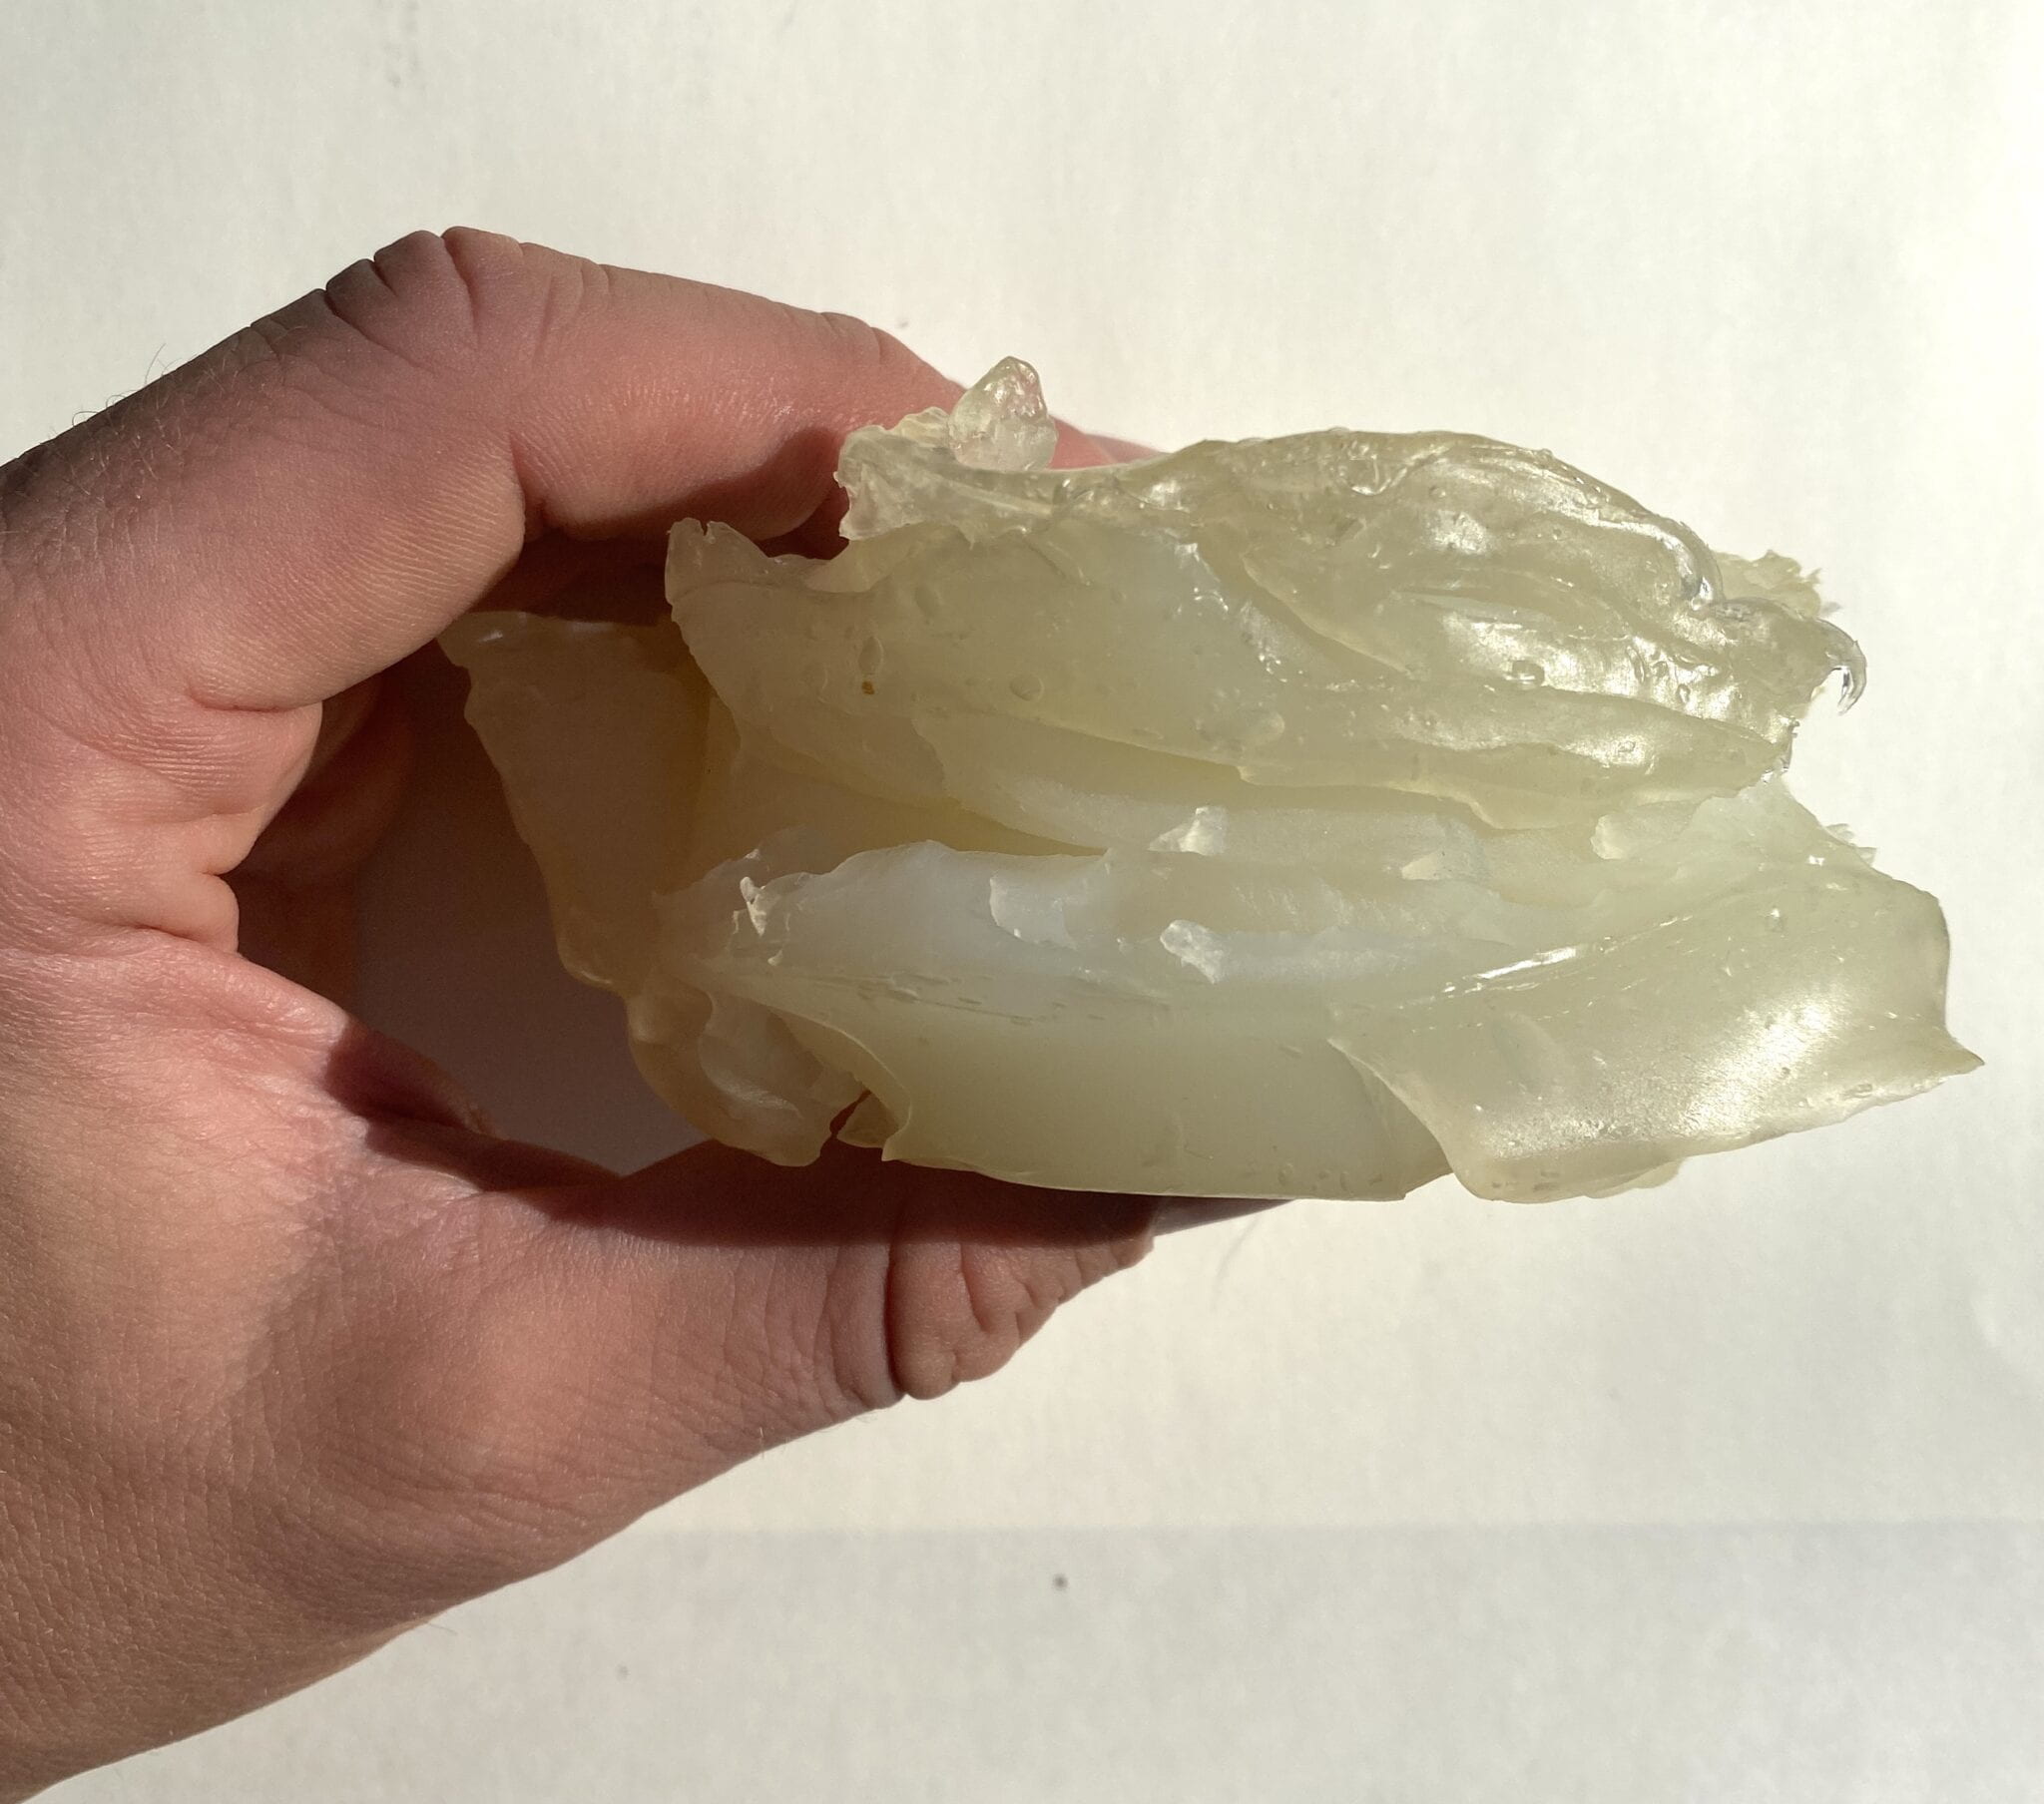
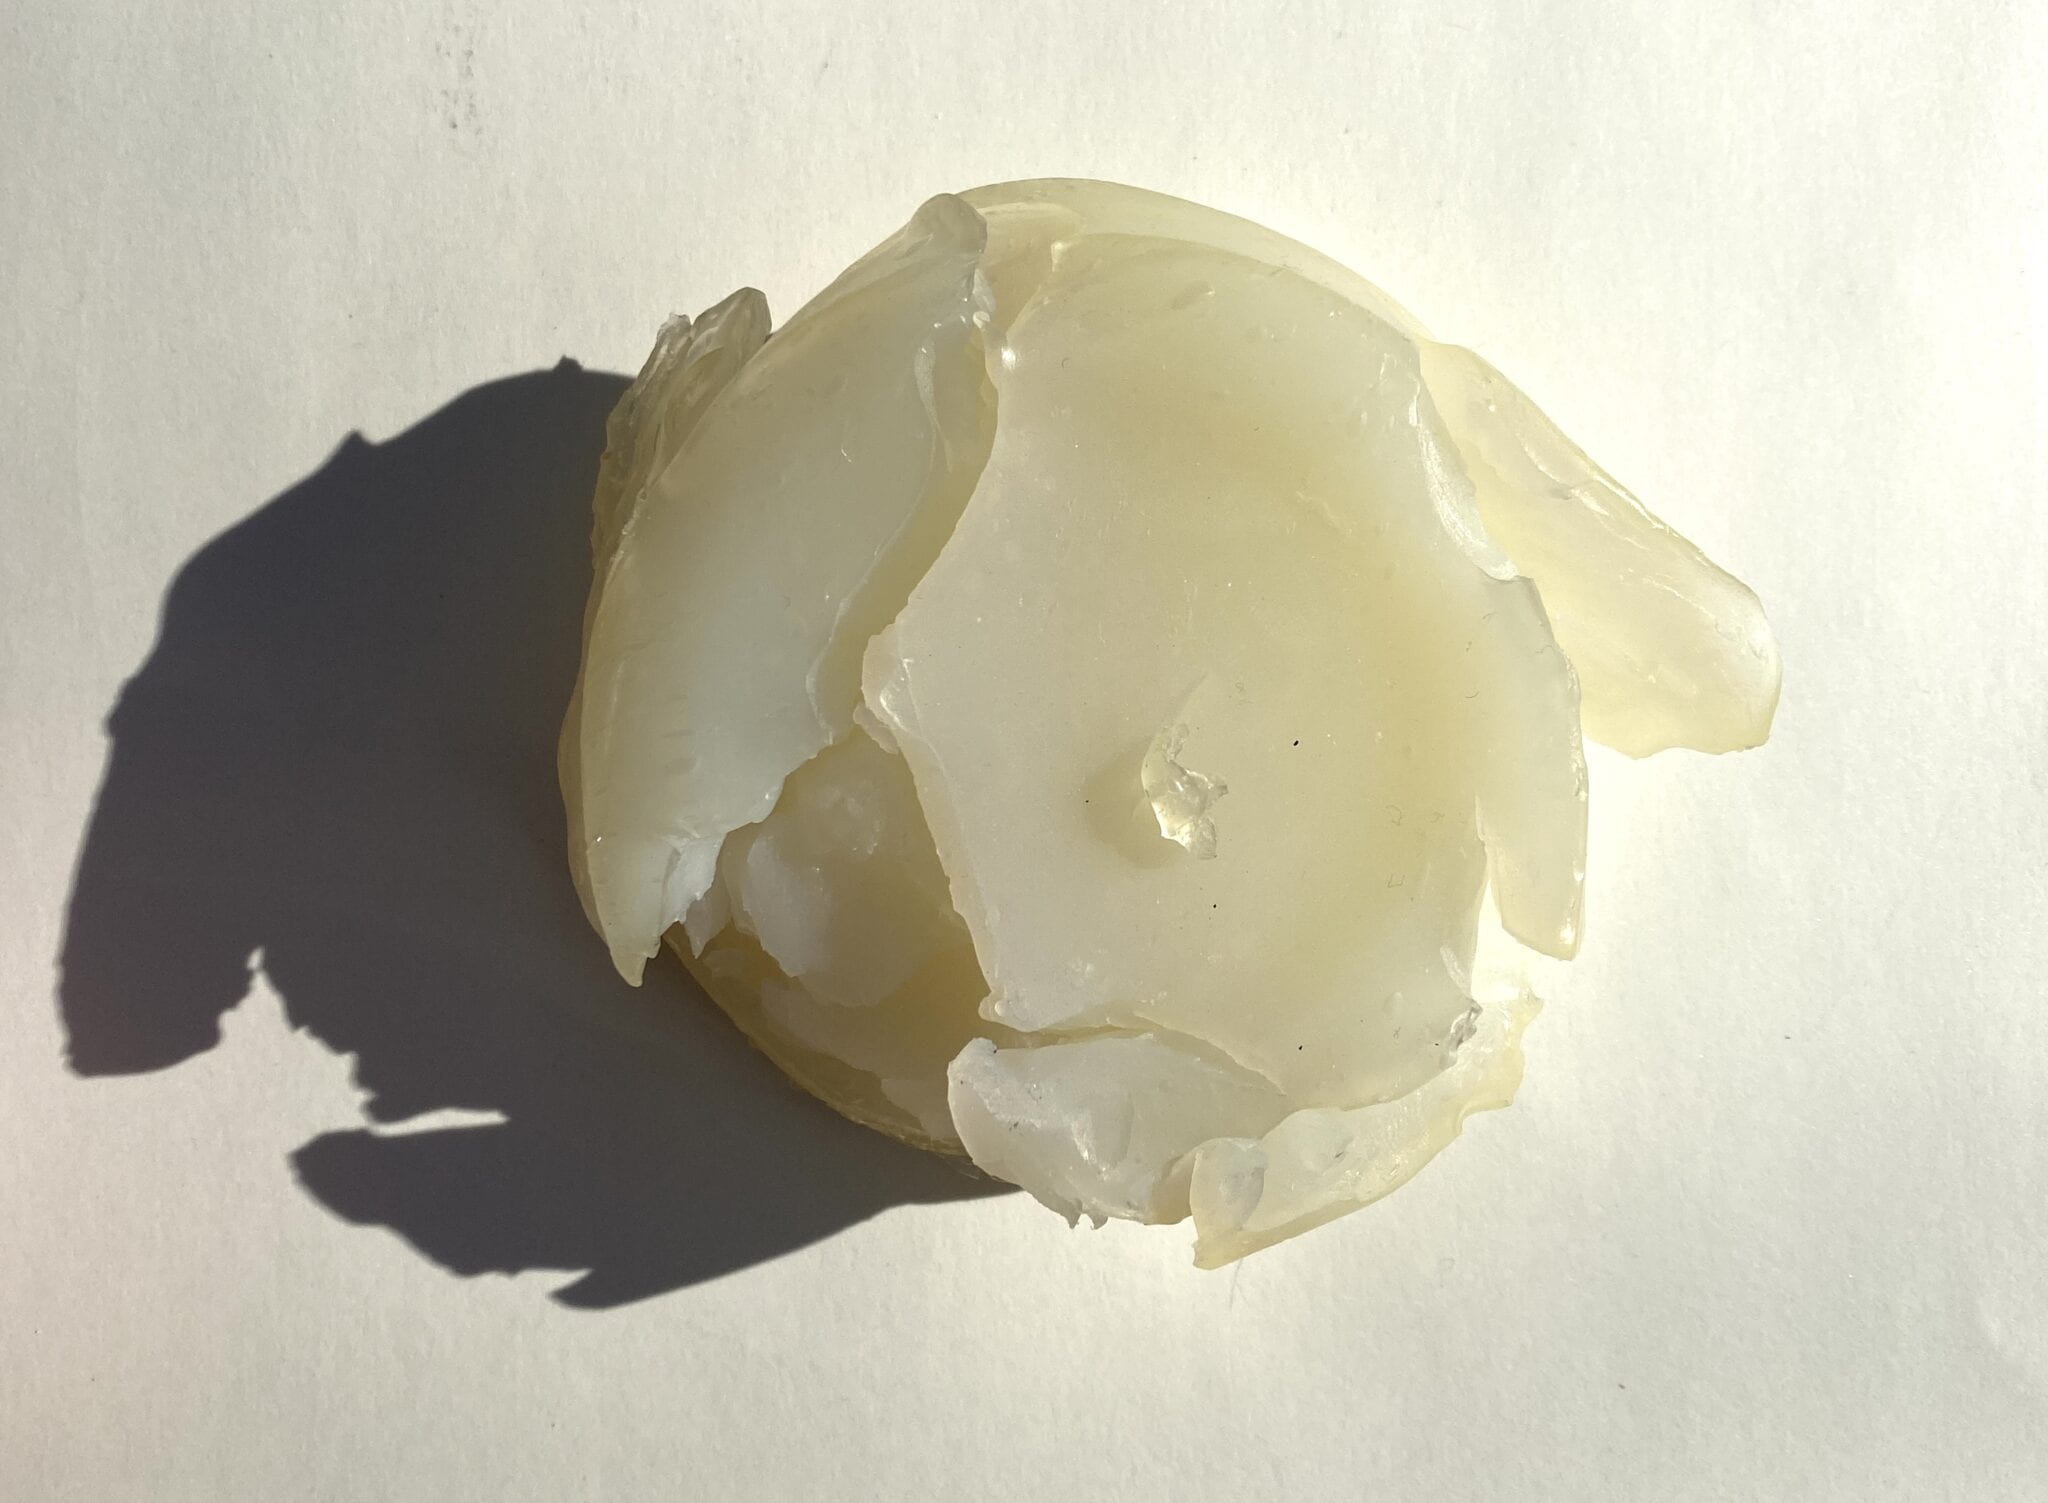
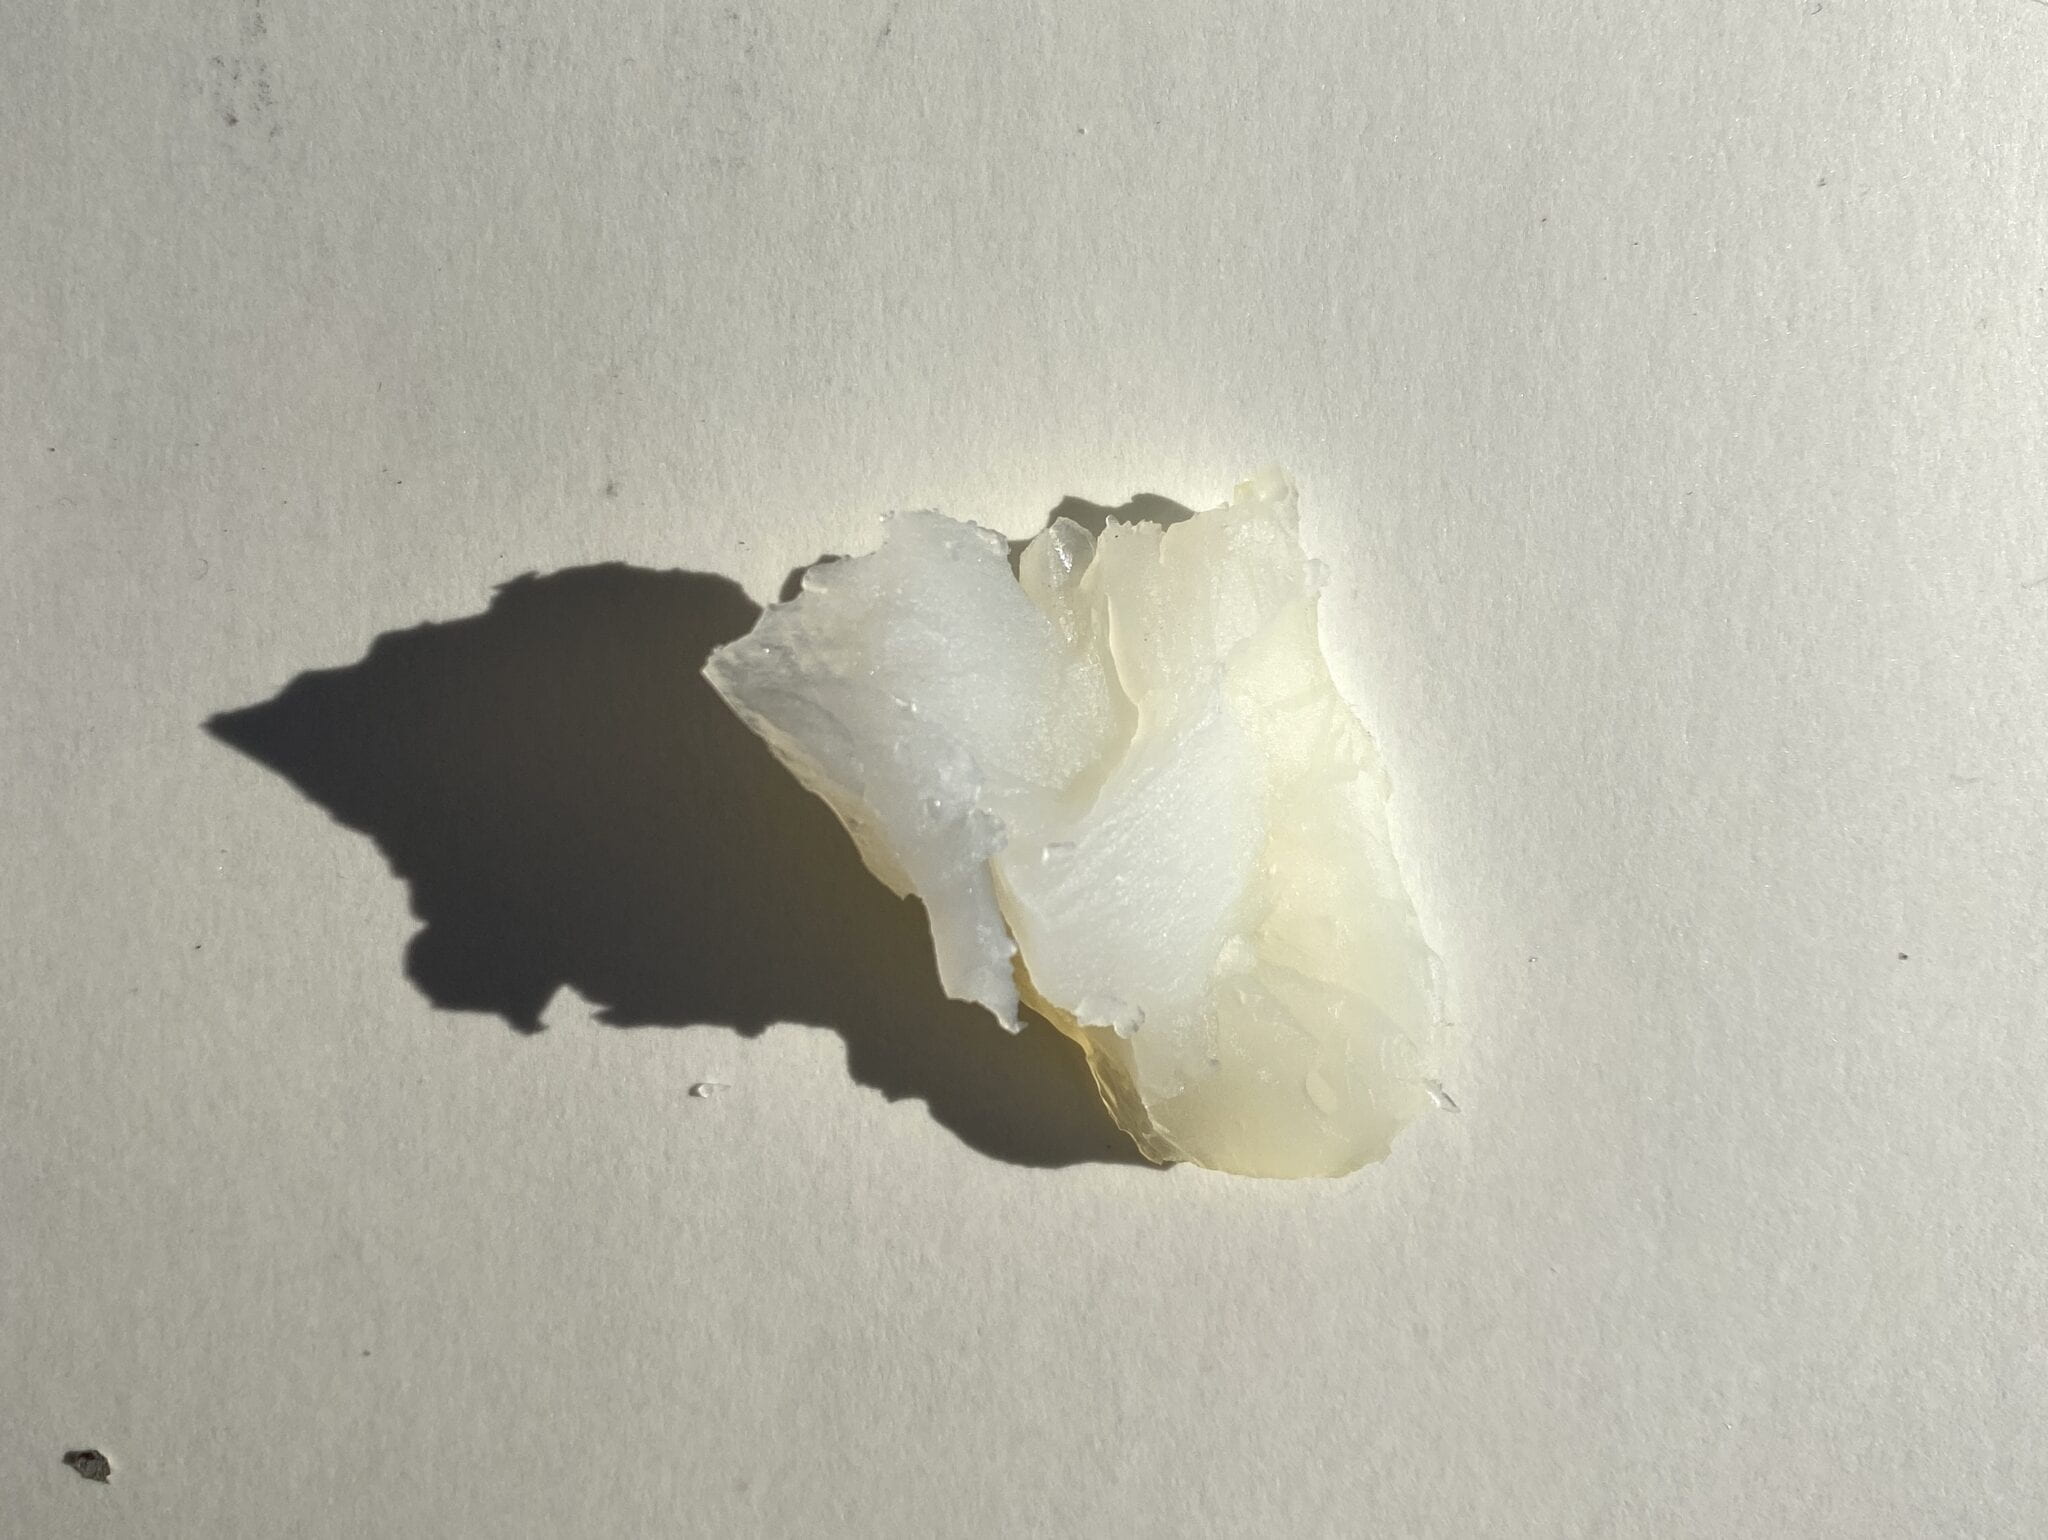
I split this recipe into two pours, a Tupperware container and on a sheet. The molded piece dried fine, but as it hardened, it continued to separate and crack. The base is very soft, while the top is more rigid and flaking. I also thought it would be transparent, but it turned out to be a foggy white. The second pour was on a plate covered in plastic wrap. That was an absolute disaster. The bio-plastic stuck to the plastic wrap and tore apart when I tried removing it. 


Bio Plastic Experiment
Bio Plastic Experiment Bio Plastic Experiment Bio Plastic Experiment

Bio Plastic Experiment

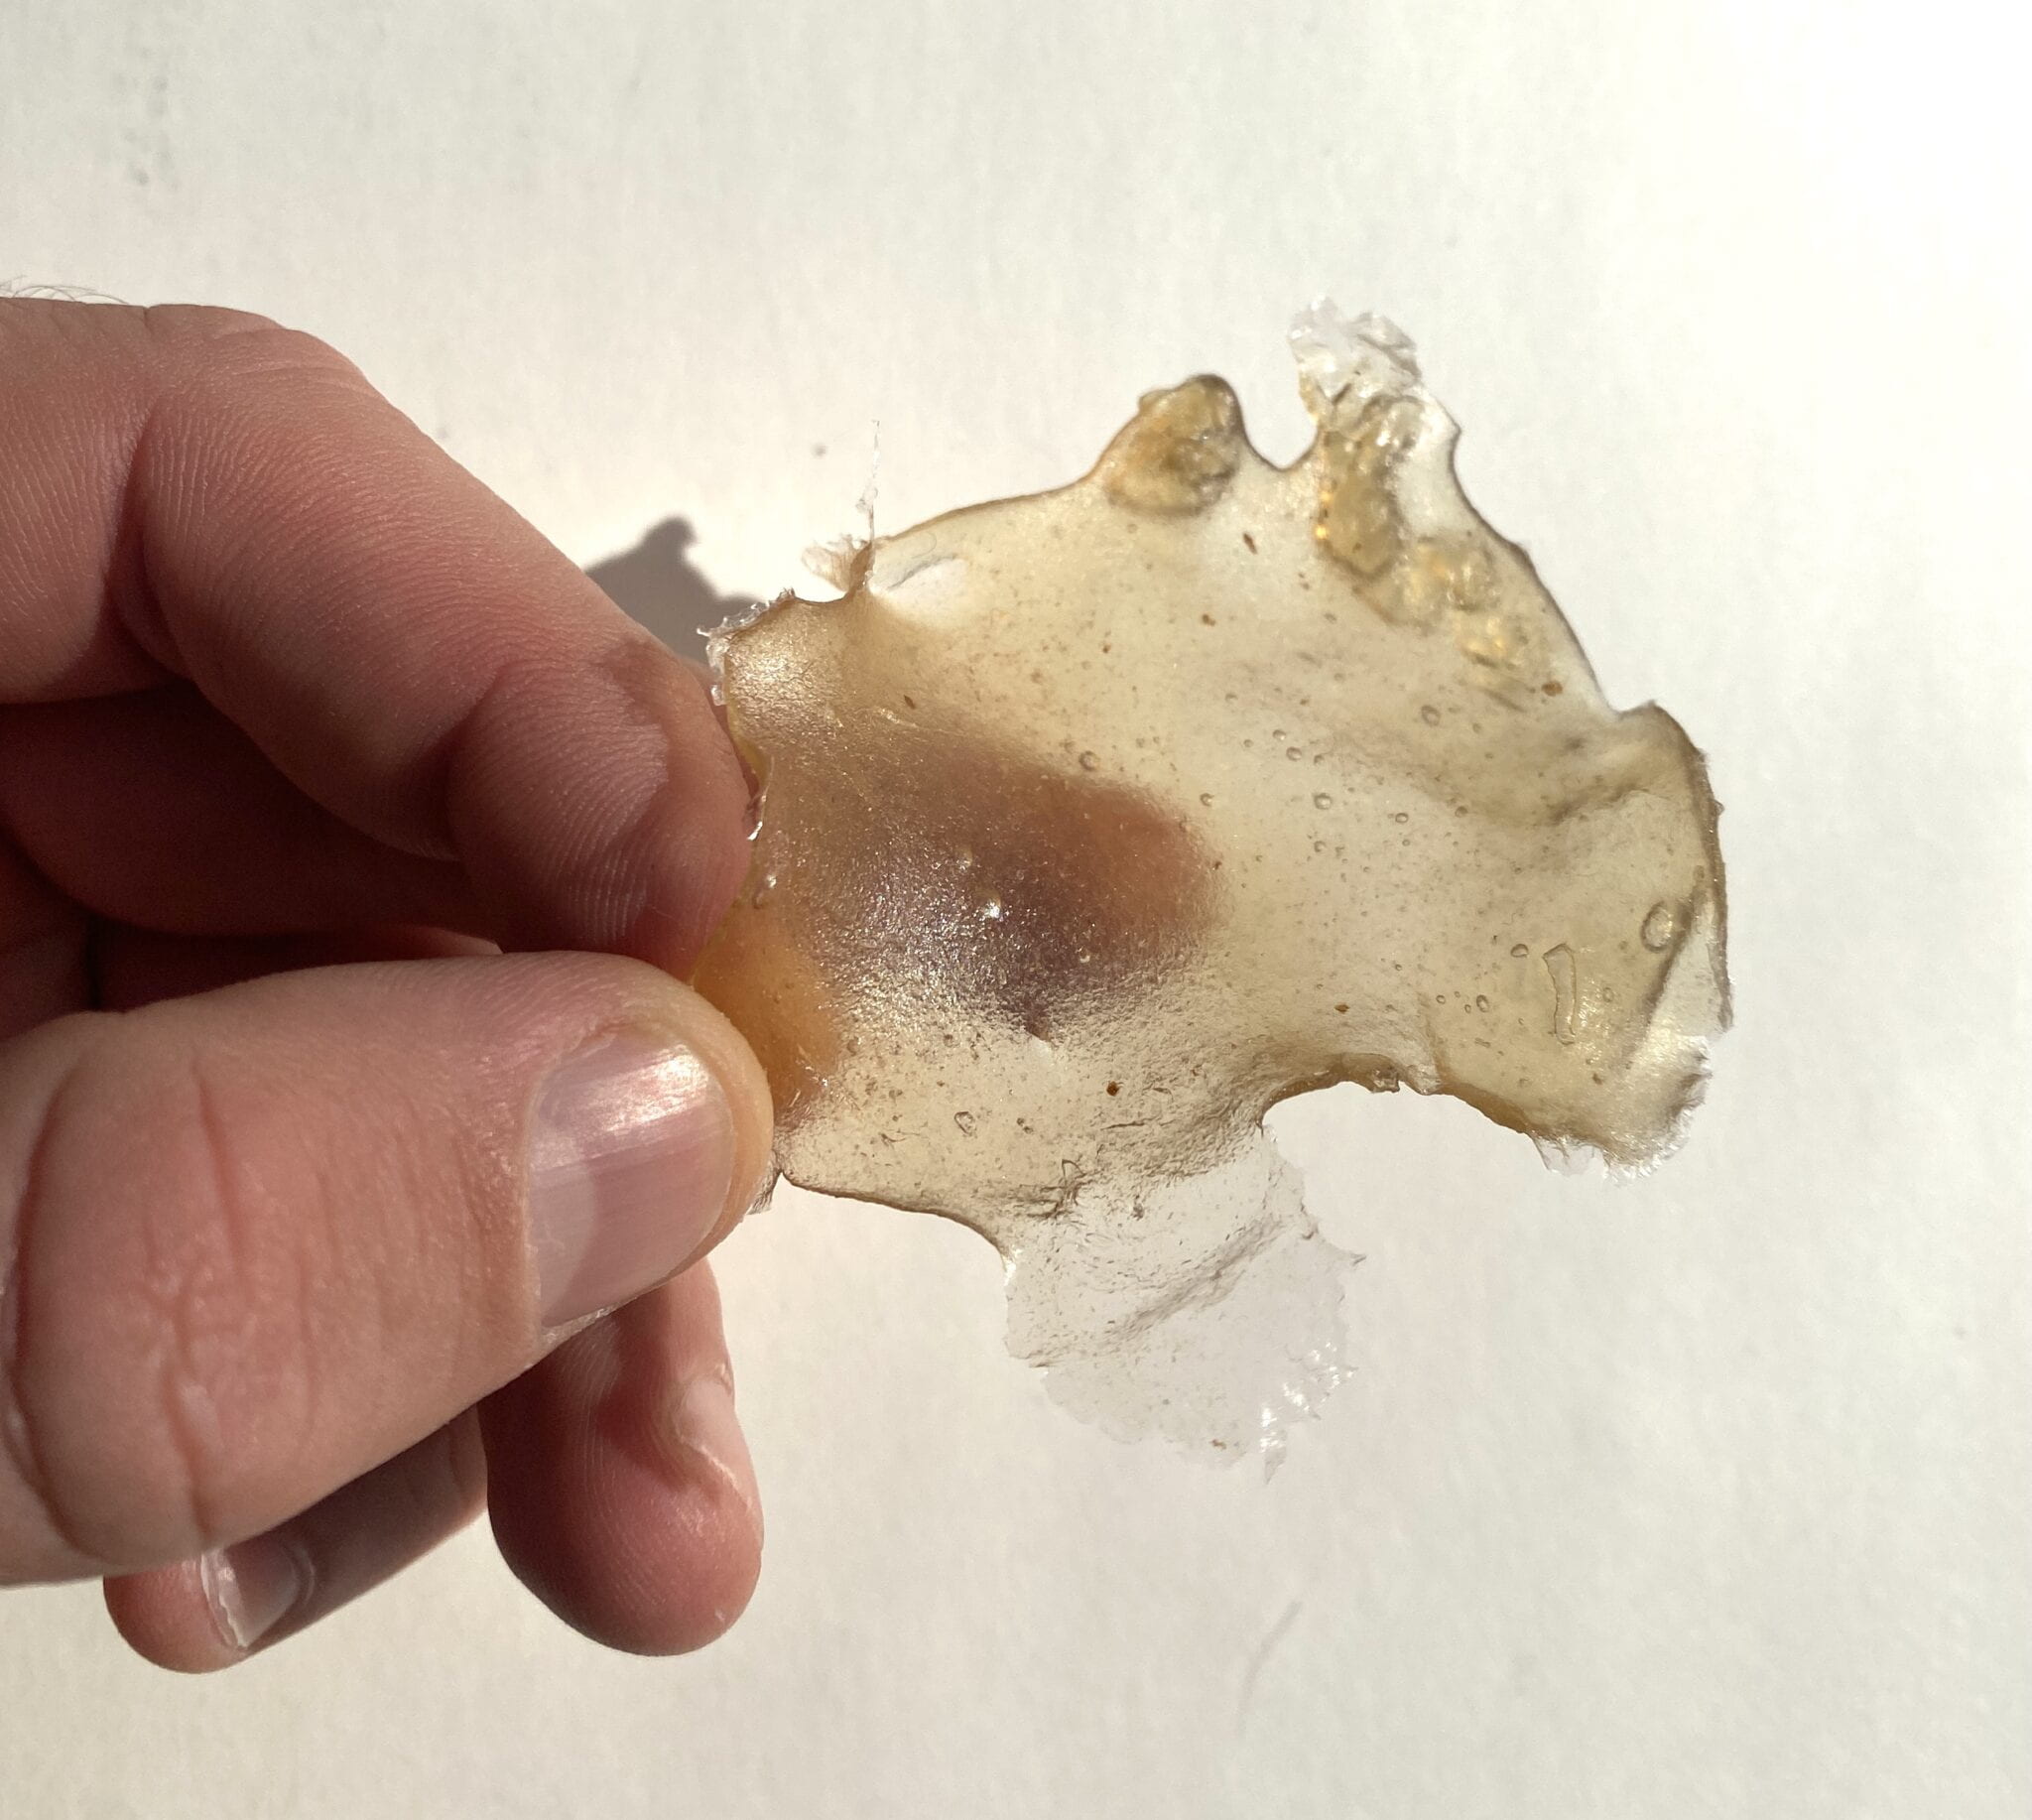
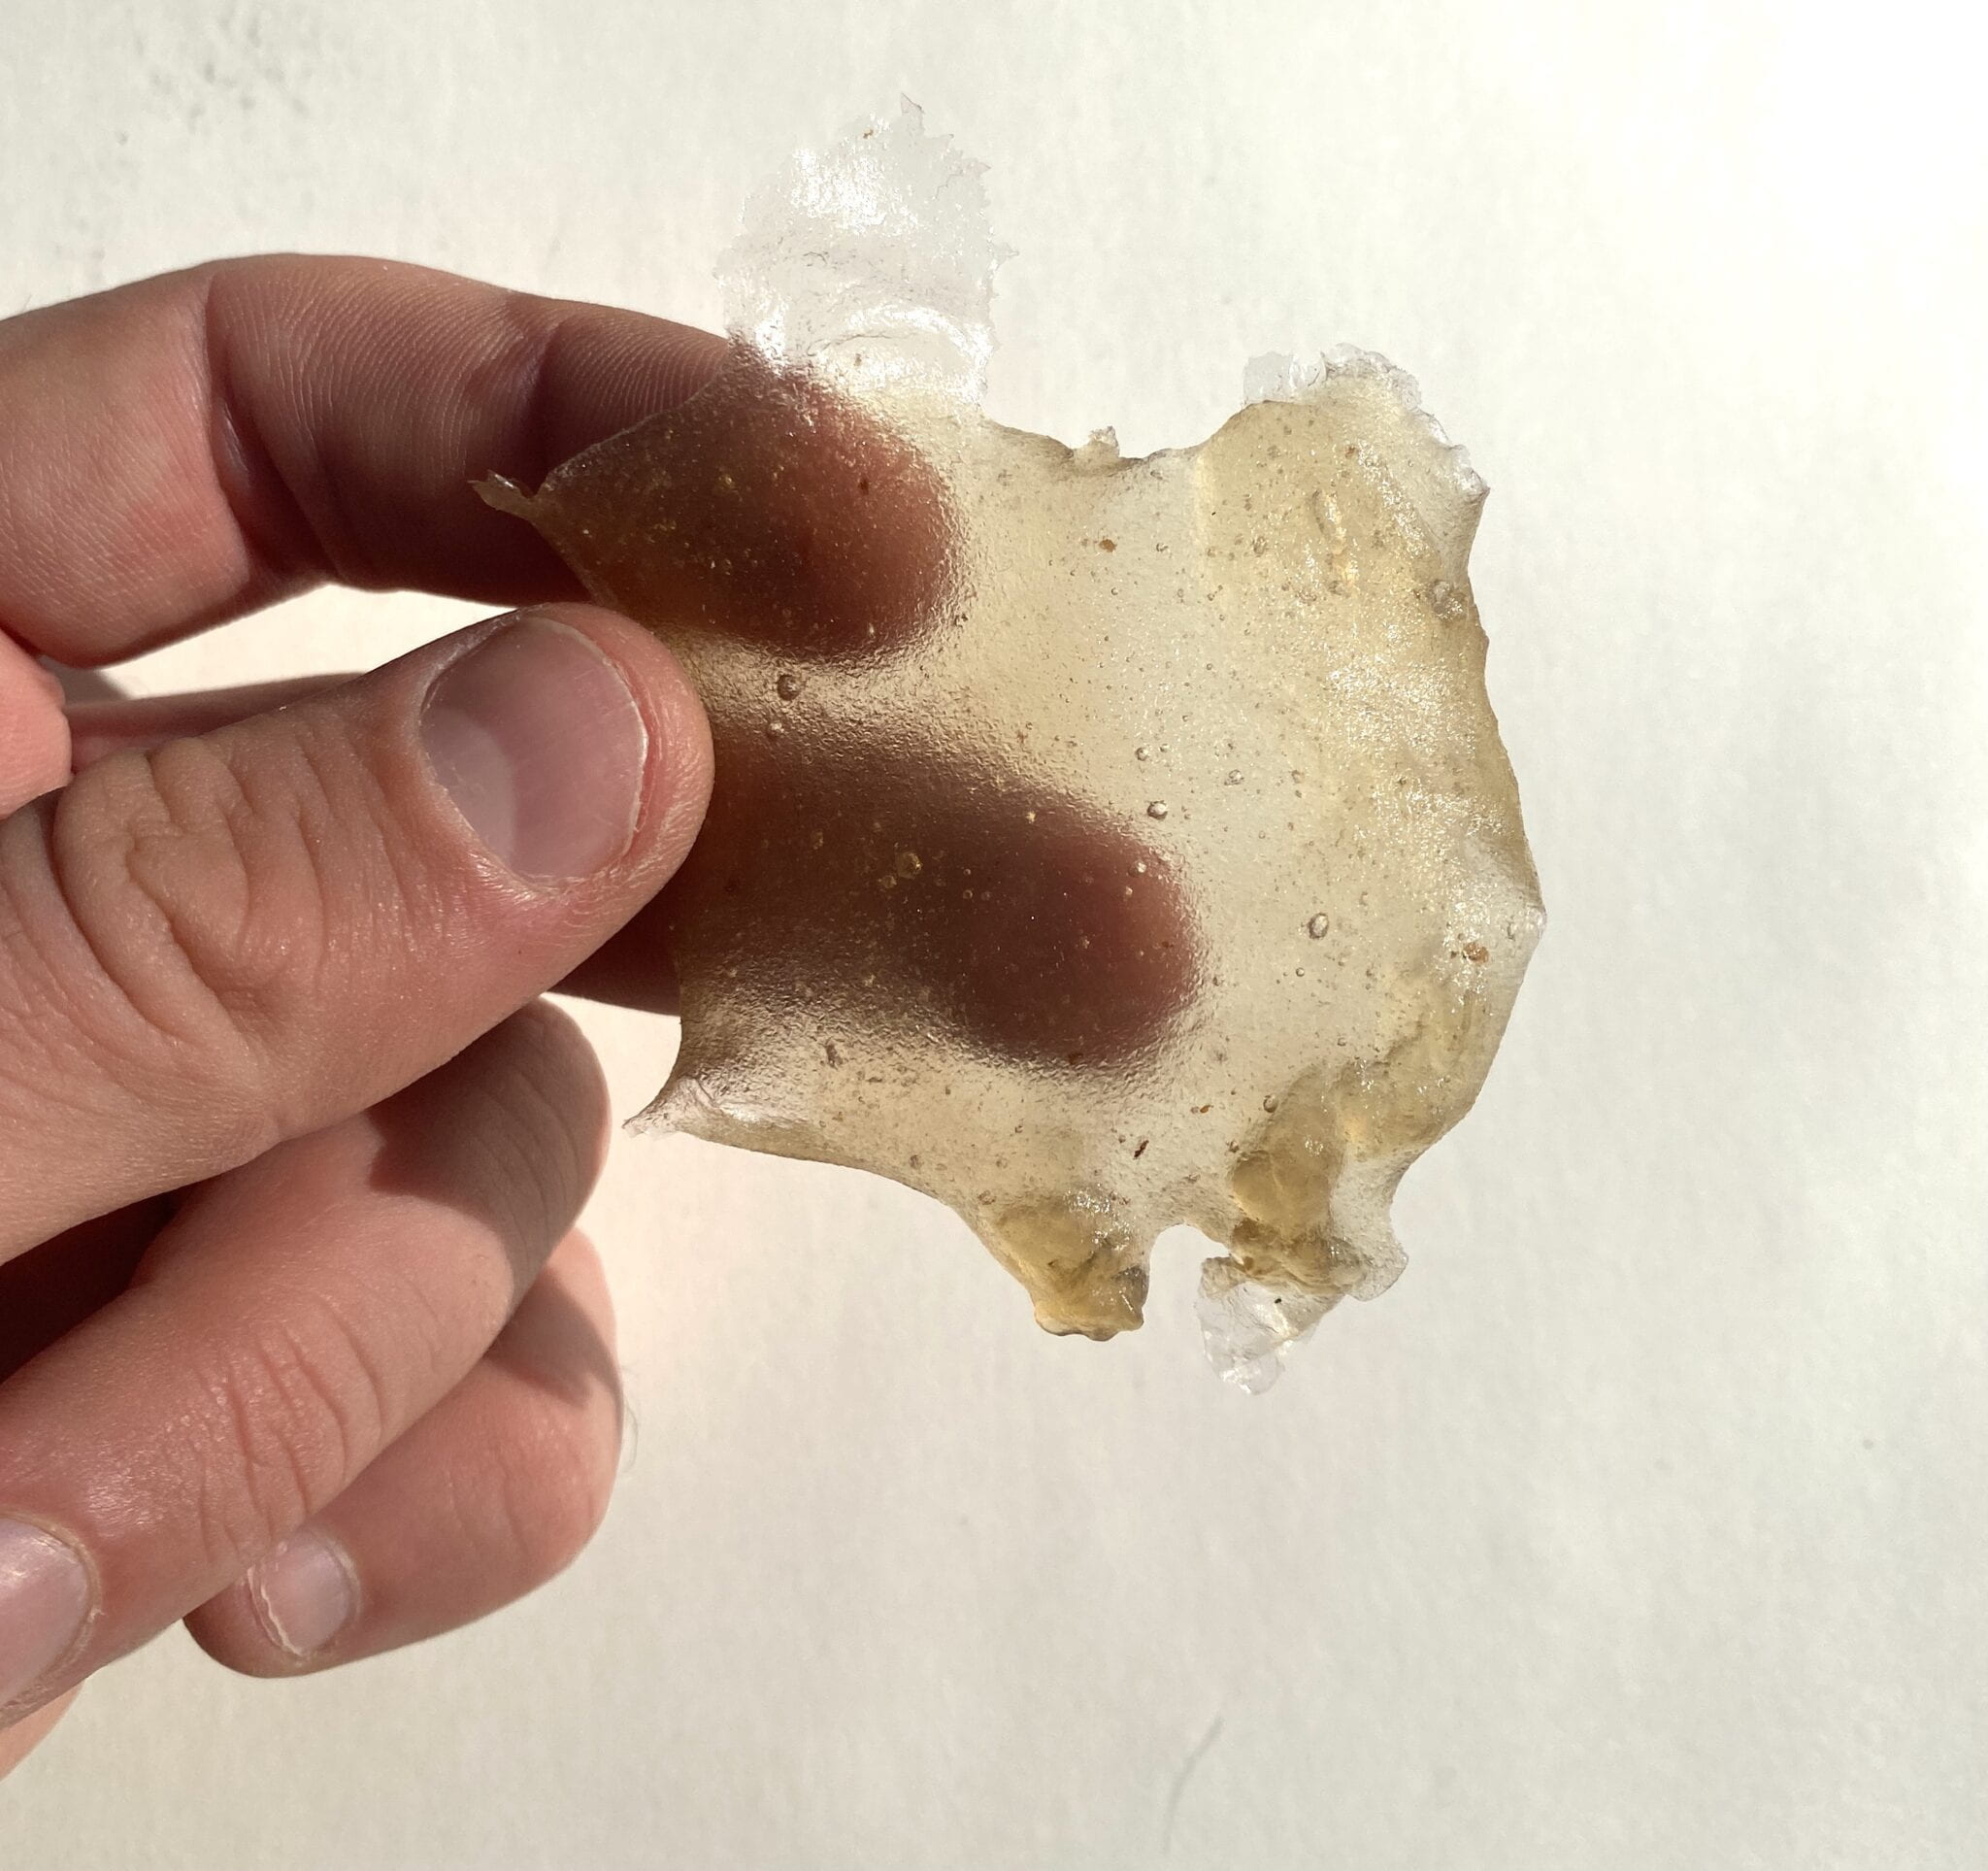
The second batch was with Agar.

Glycerine 2.7 grams

Water 40 ml

Agar 1.6 grams

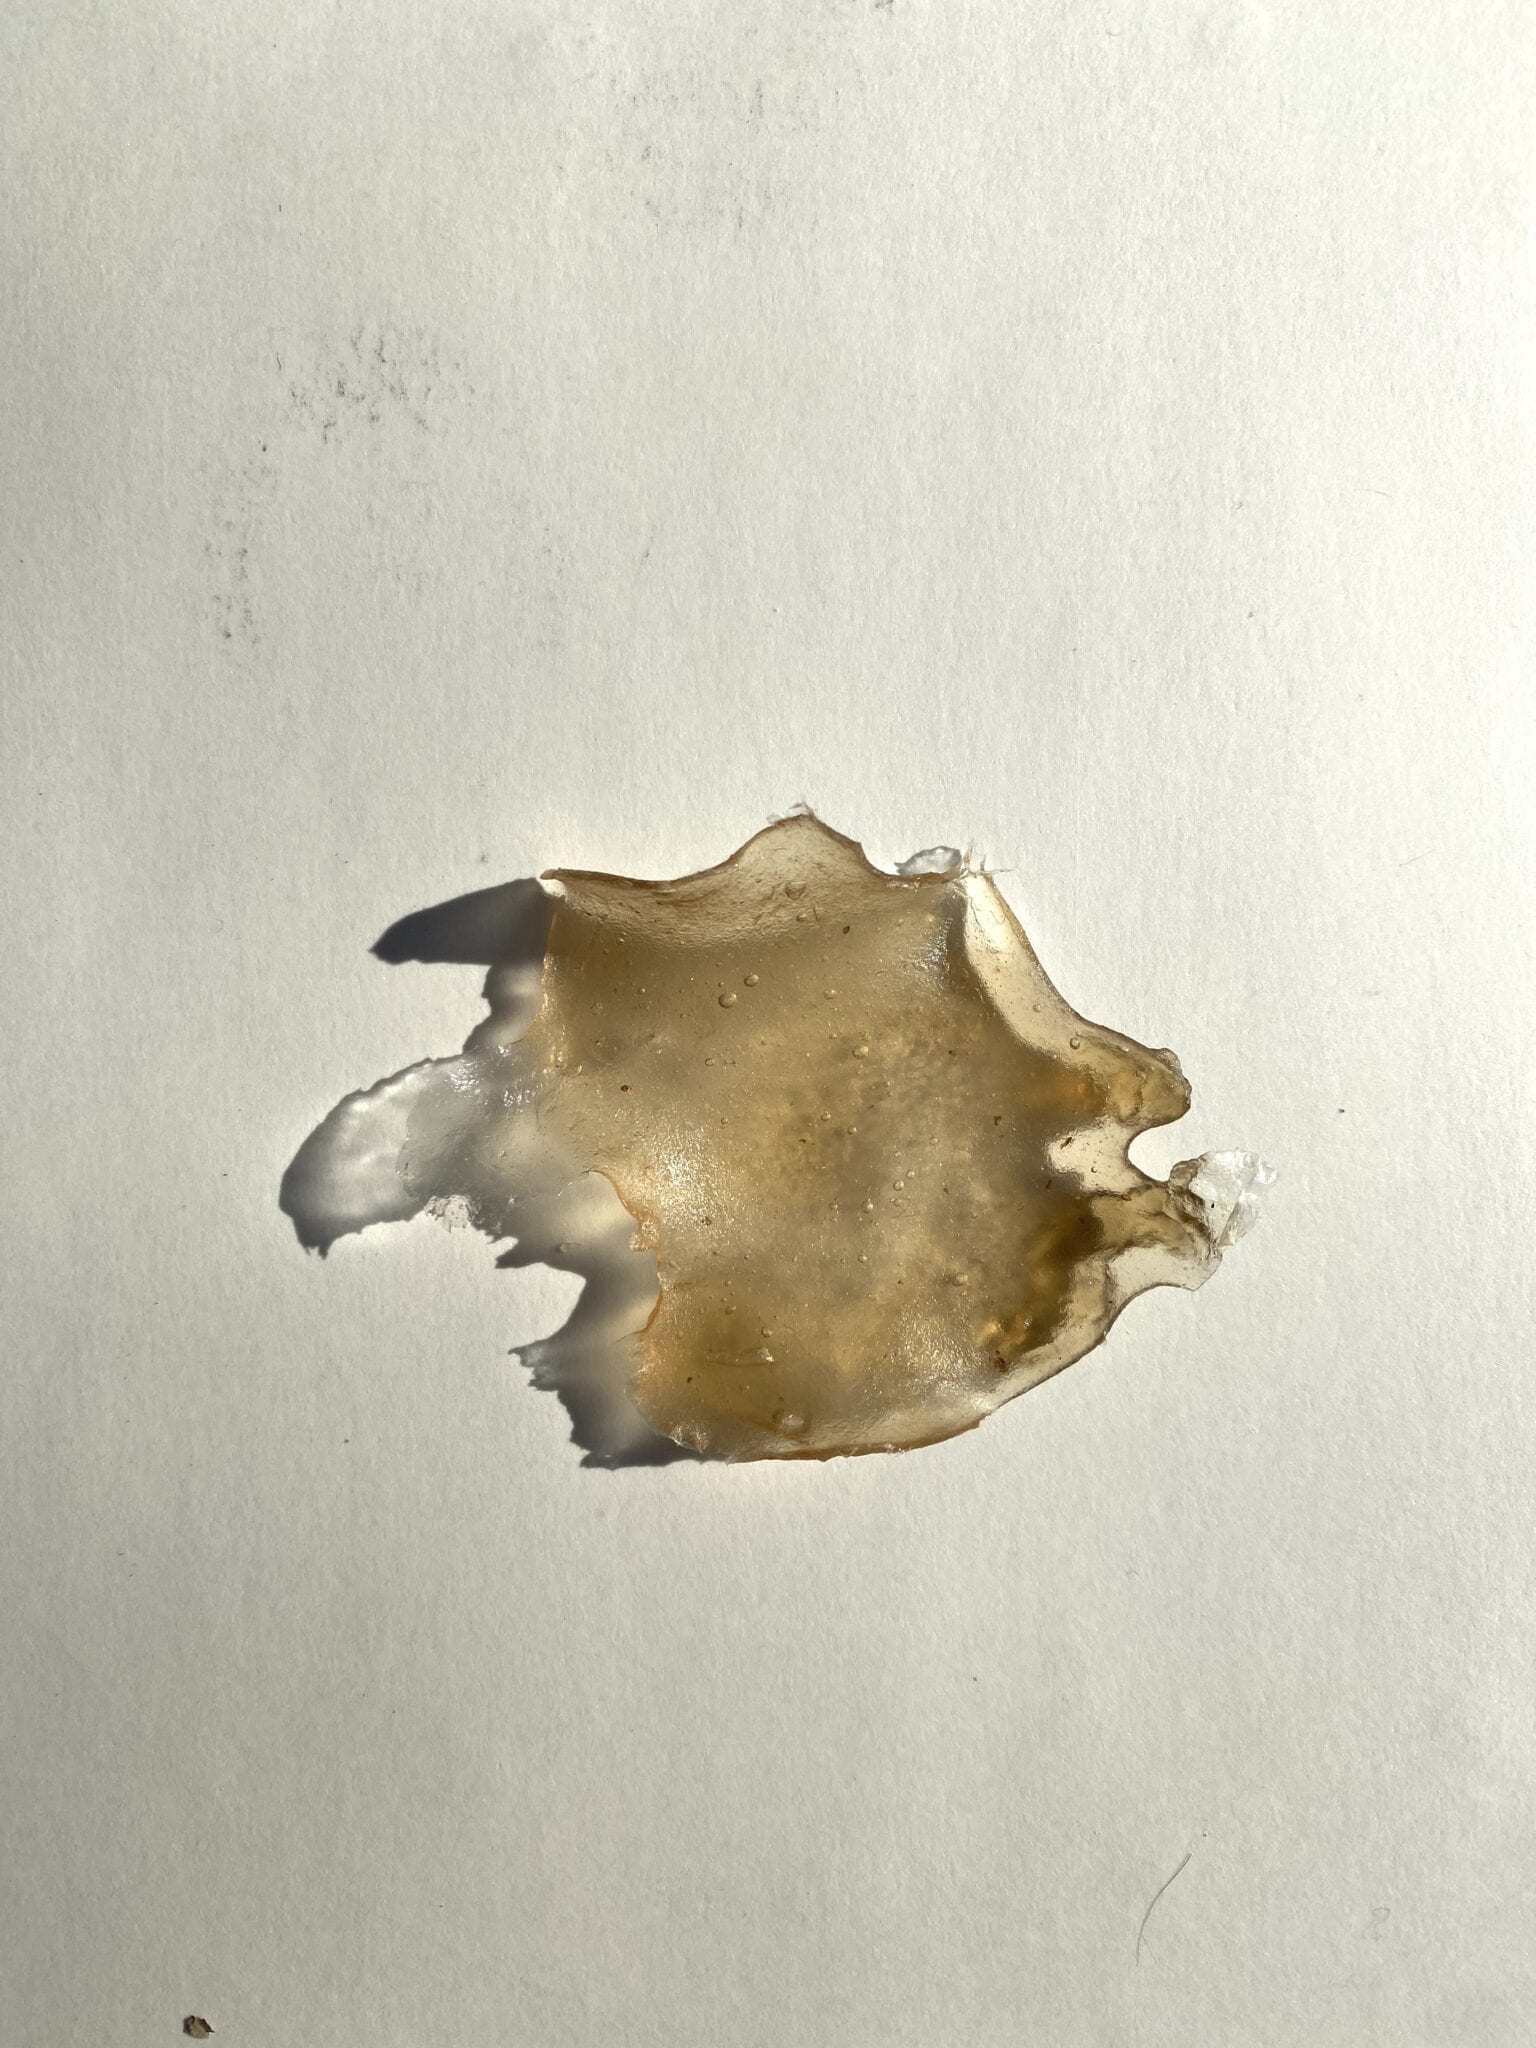
This worked out well. The plastic was still too flexible for what I was looking for, but it was pretty transparent.

Bio Plastic Experiment

Bio Plastic Experiment

Bio Plastic Experiment

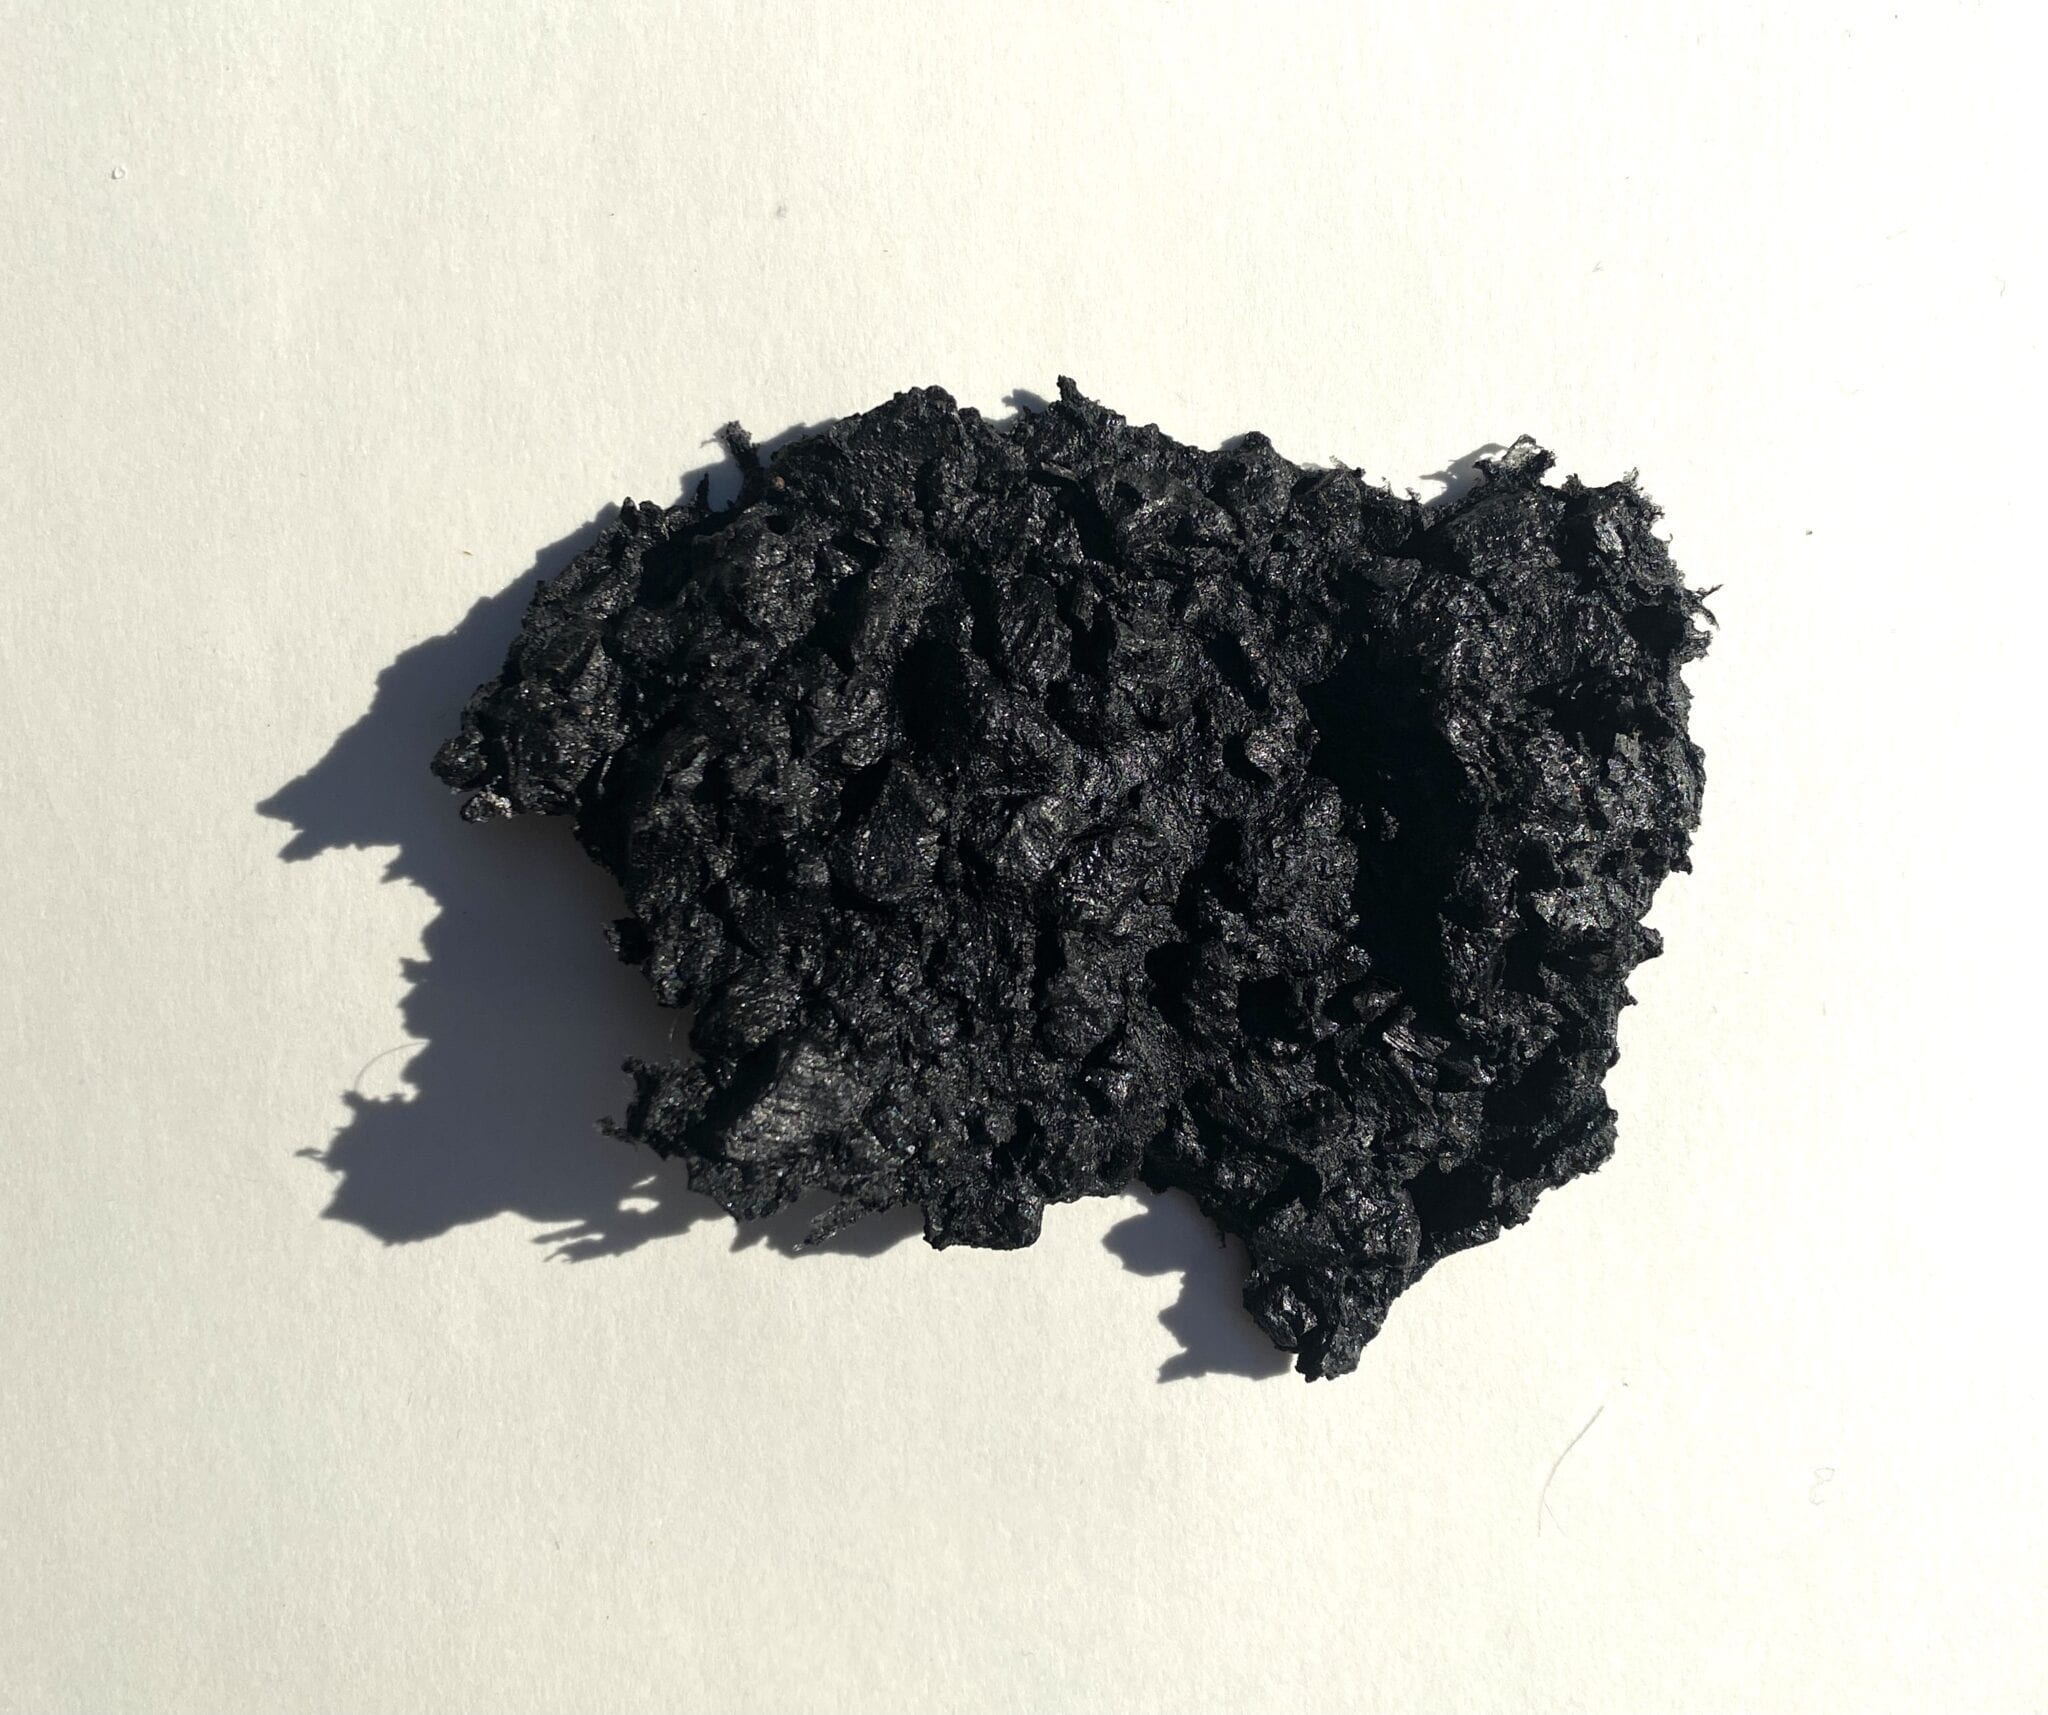
The final attempt was purely an experiment. 

Glycerine 2.7 grams

Water 40 ml

Agar 1.6 grams

Shaved charcoal from a fire pit 5 grams

I love the texture/color/and flexibility of this plastic. 

Bio Plastic Experiment

Bio Materials – Mycelium Project and Cyanotype Experiment

This week I’ve been researching and thinking about Mycelium. It might be because I’m moving into a new apartment and I love building my own furniture but I can’t stop thinking about making an end table or lamp out of it. 

With that in mind, I started my research. I think that it’s fascinating that I can grow bricks or other forms and fuse them together with further growth. I also think it’s a beautiful thought that my piece can be composted, is lightweight, and does not rely on the production of new materials. 

While looking for inspiration I found these two videos. I do not have access to a huge oven so I’ll have to start small. 

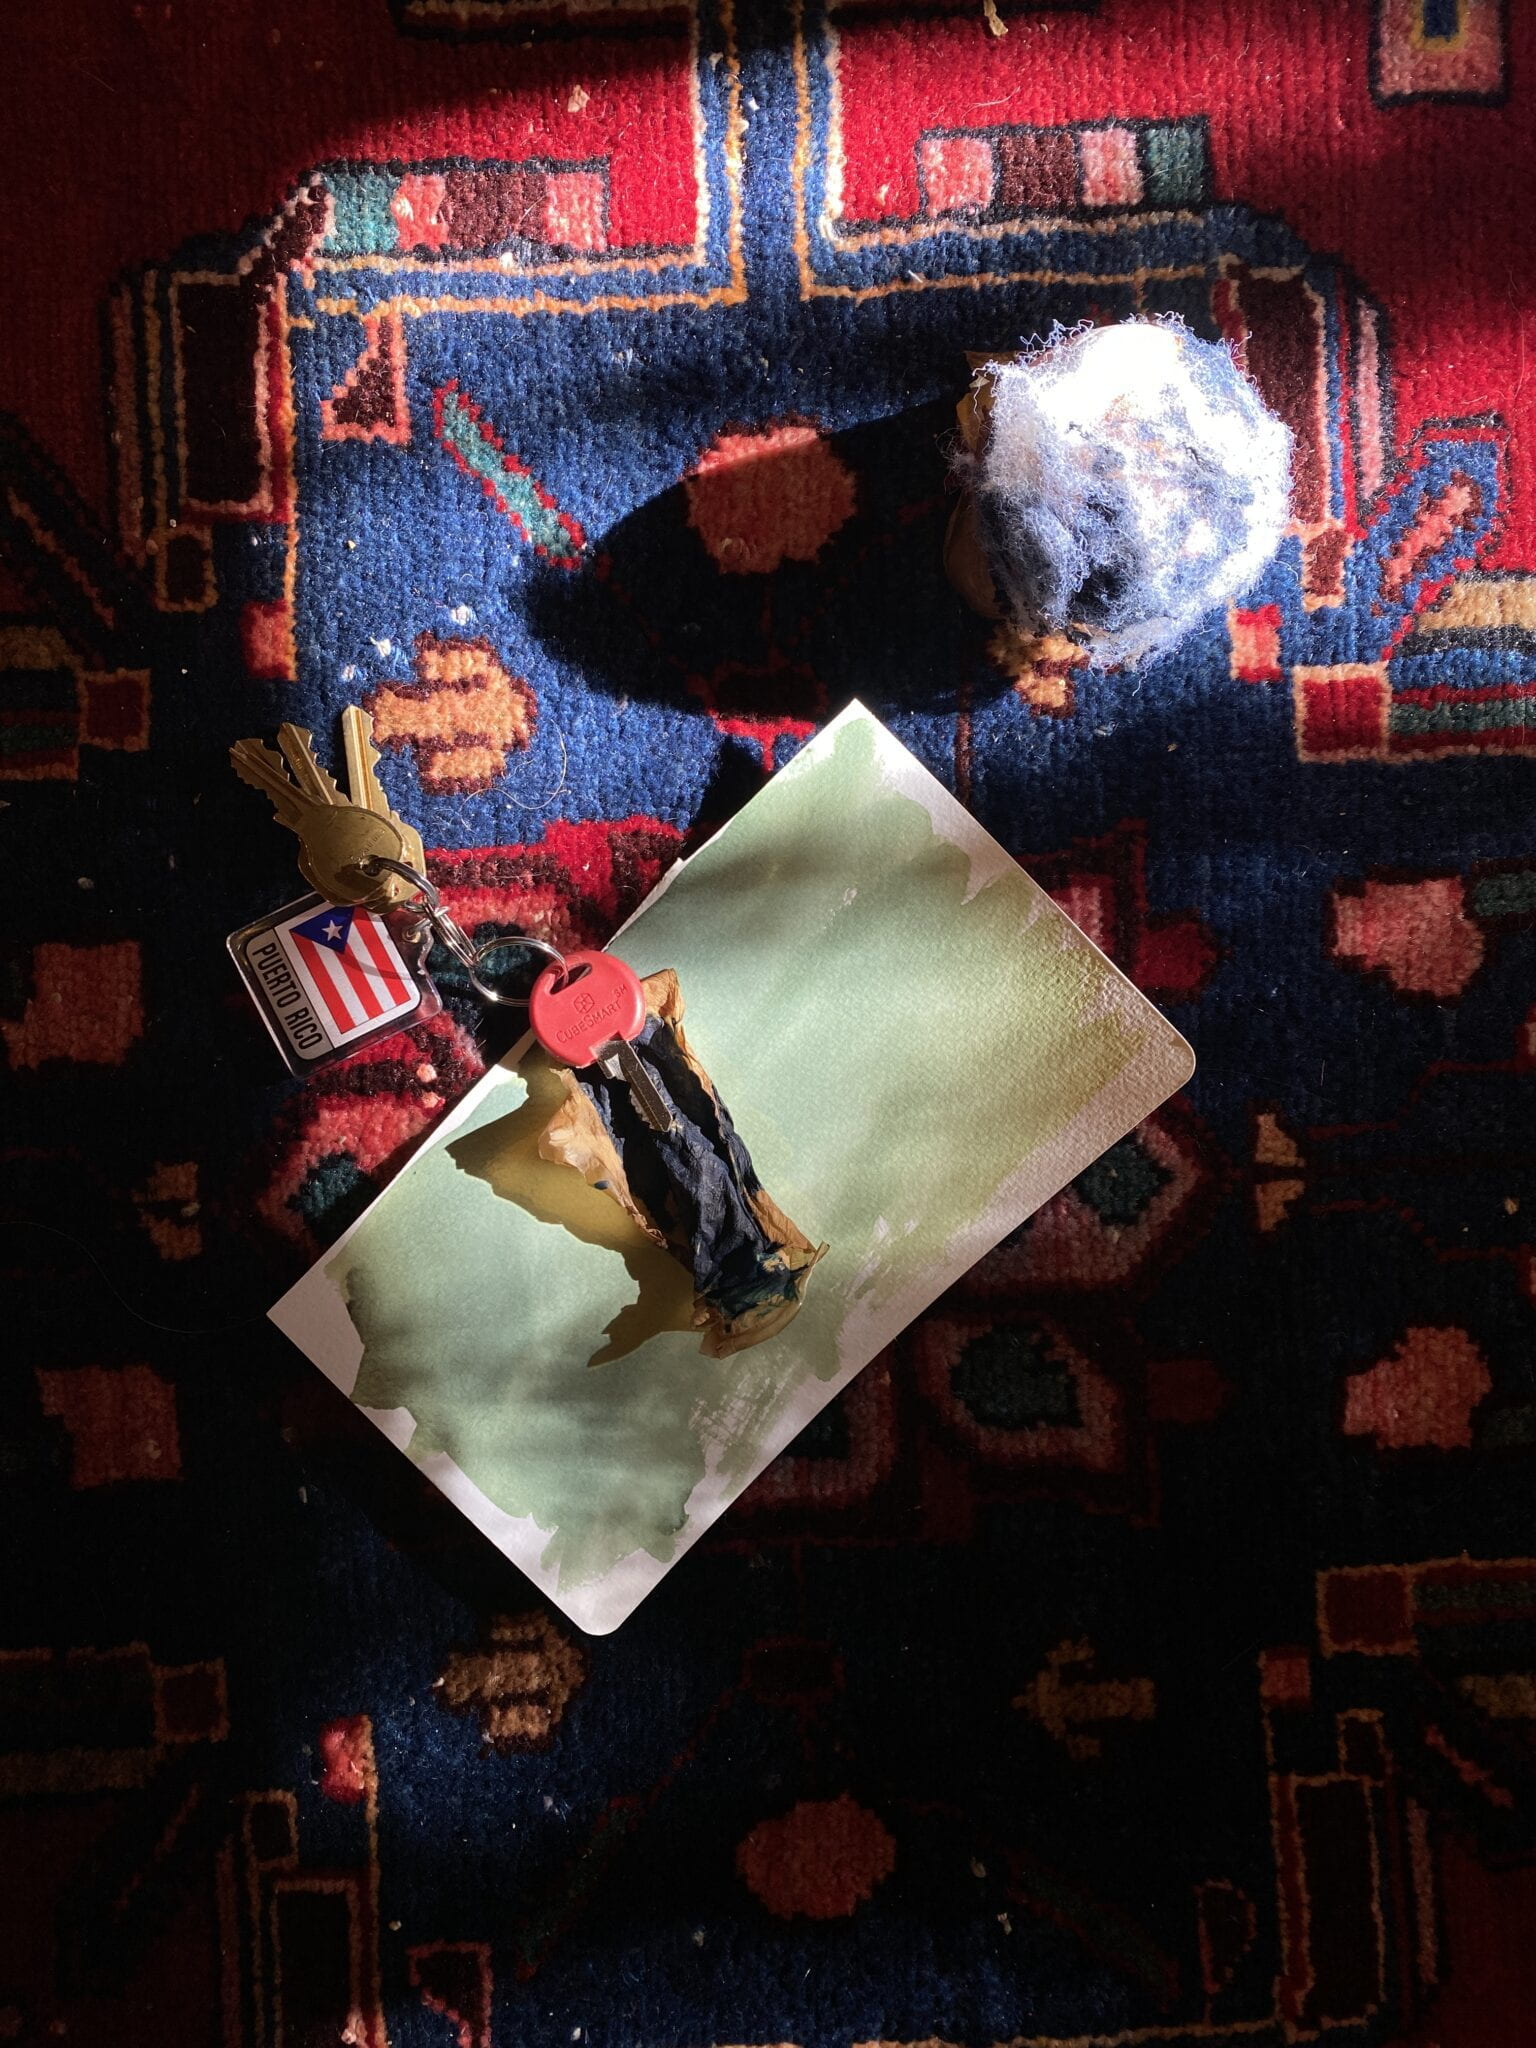
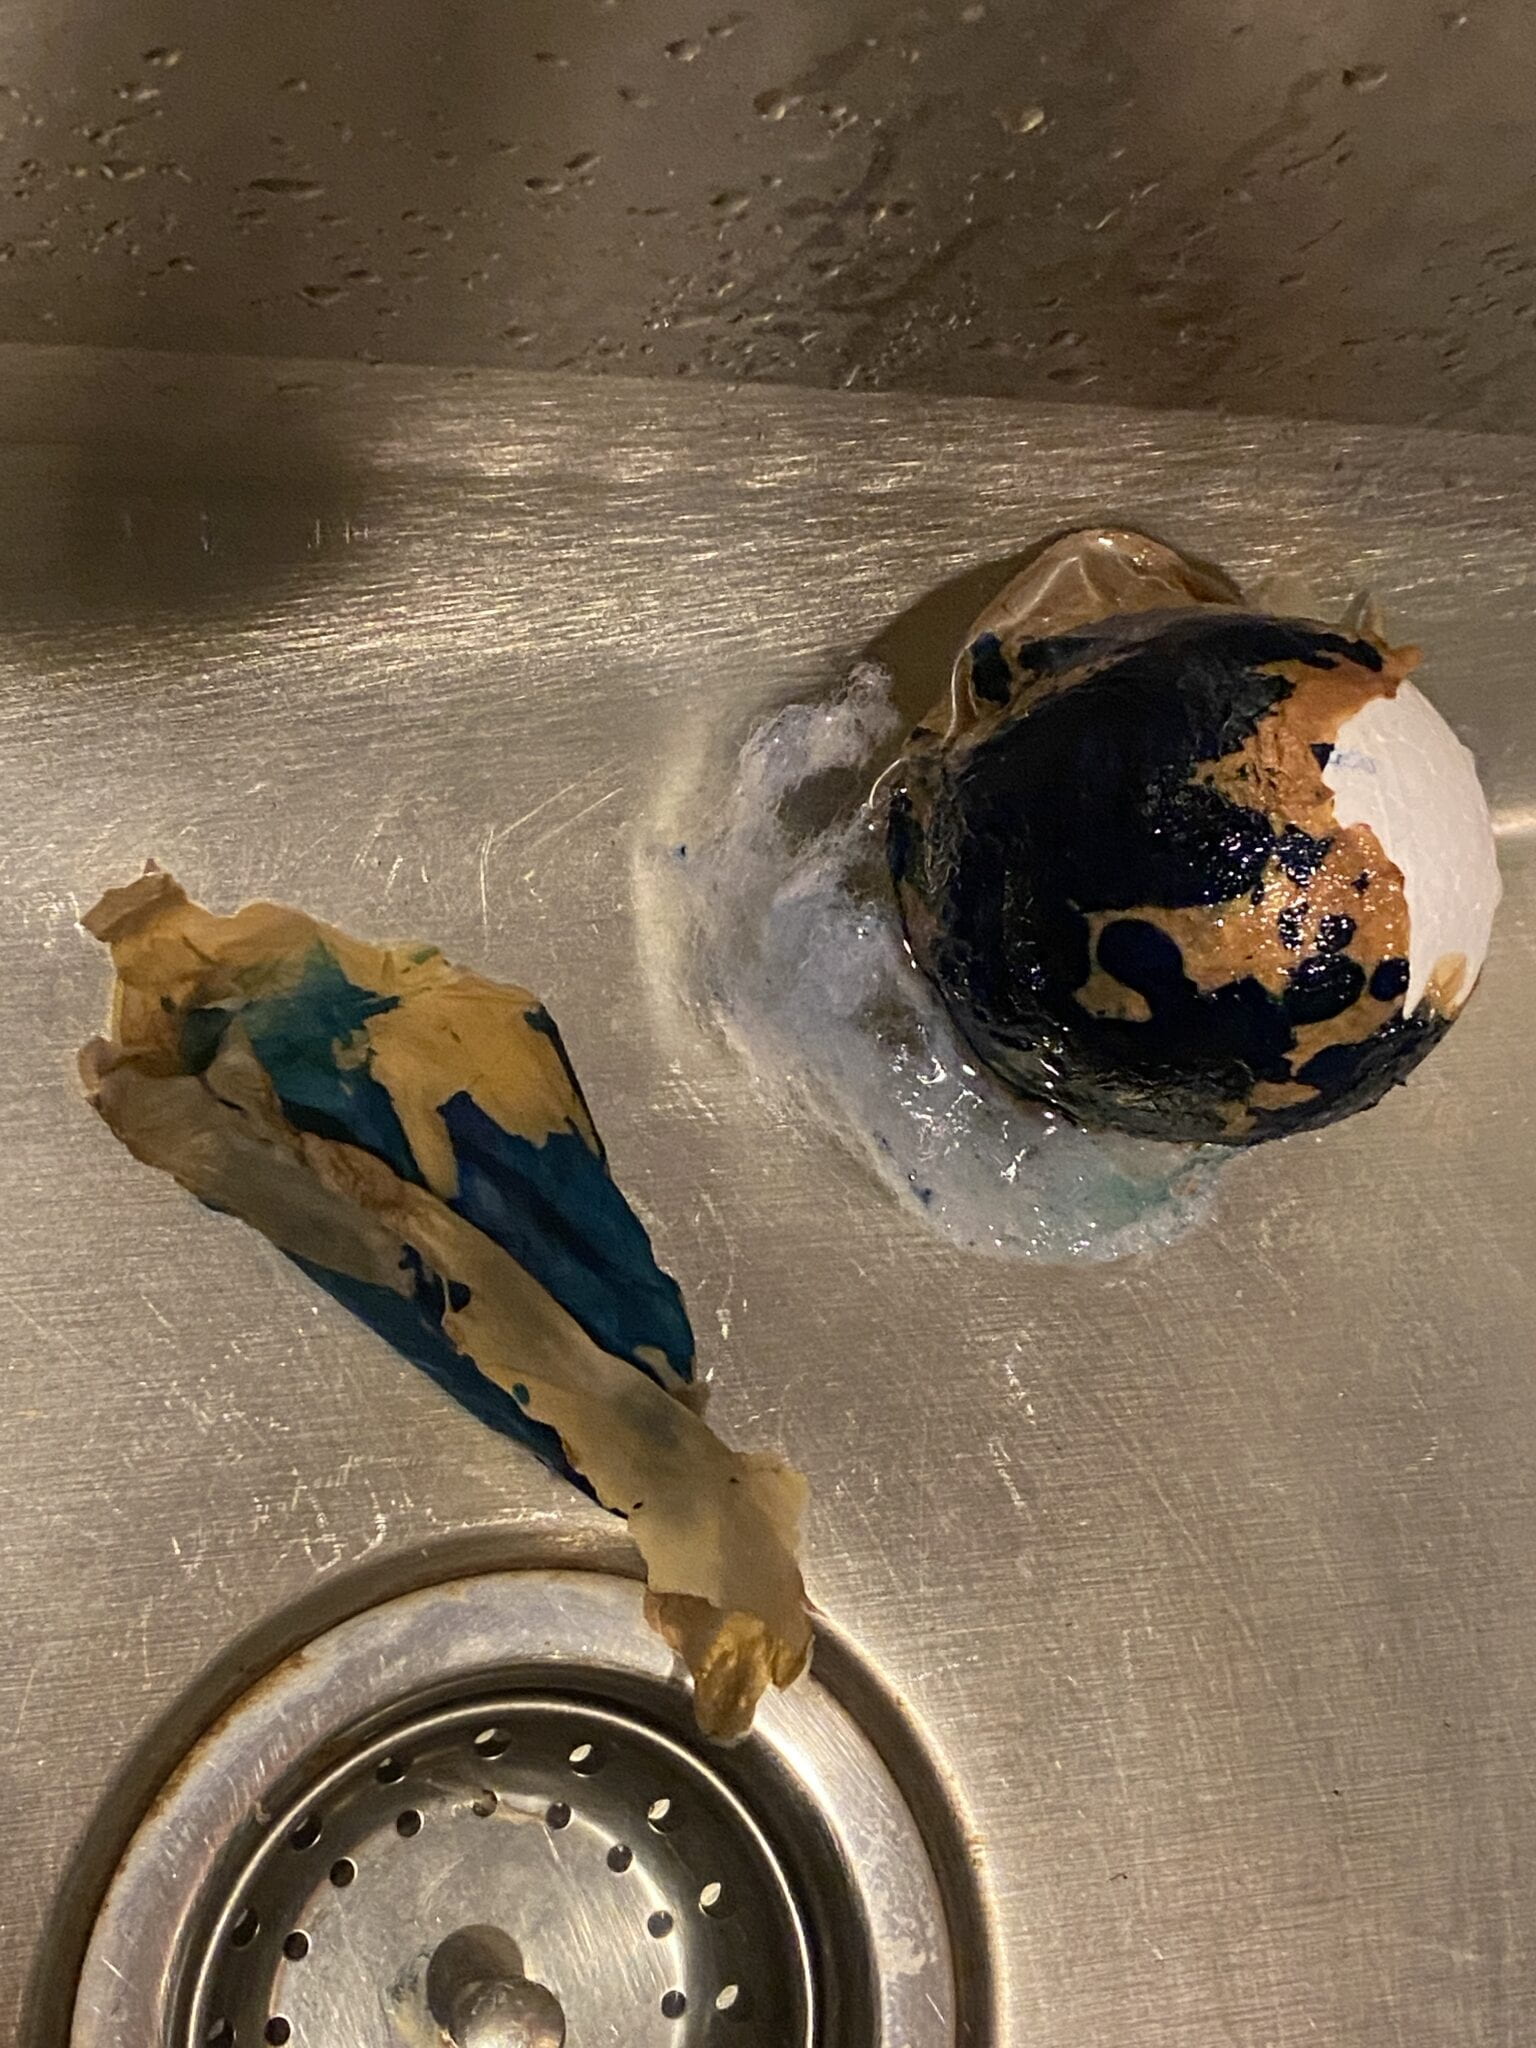
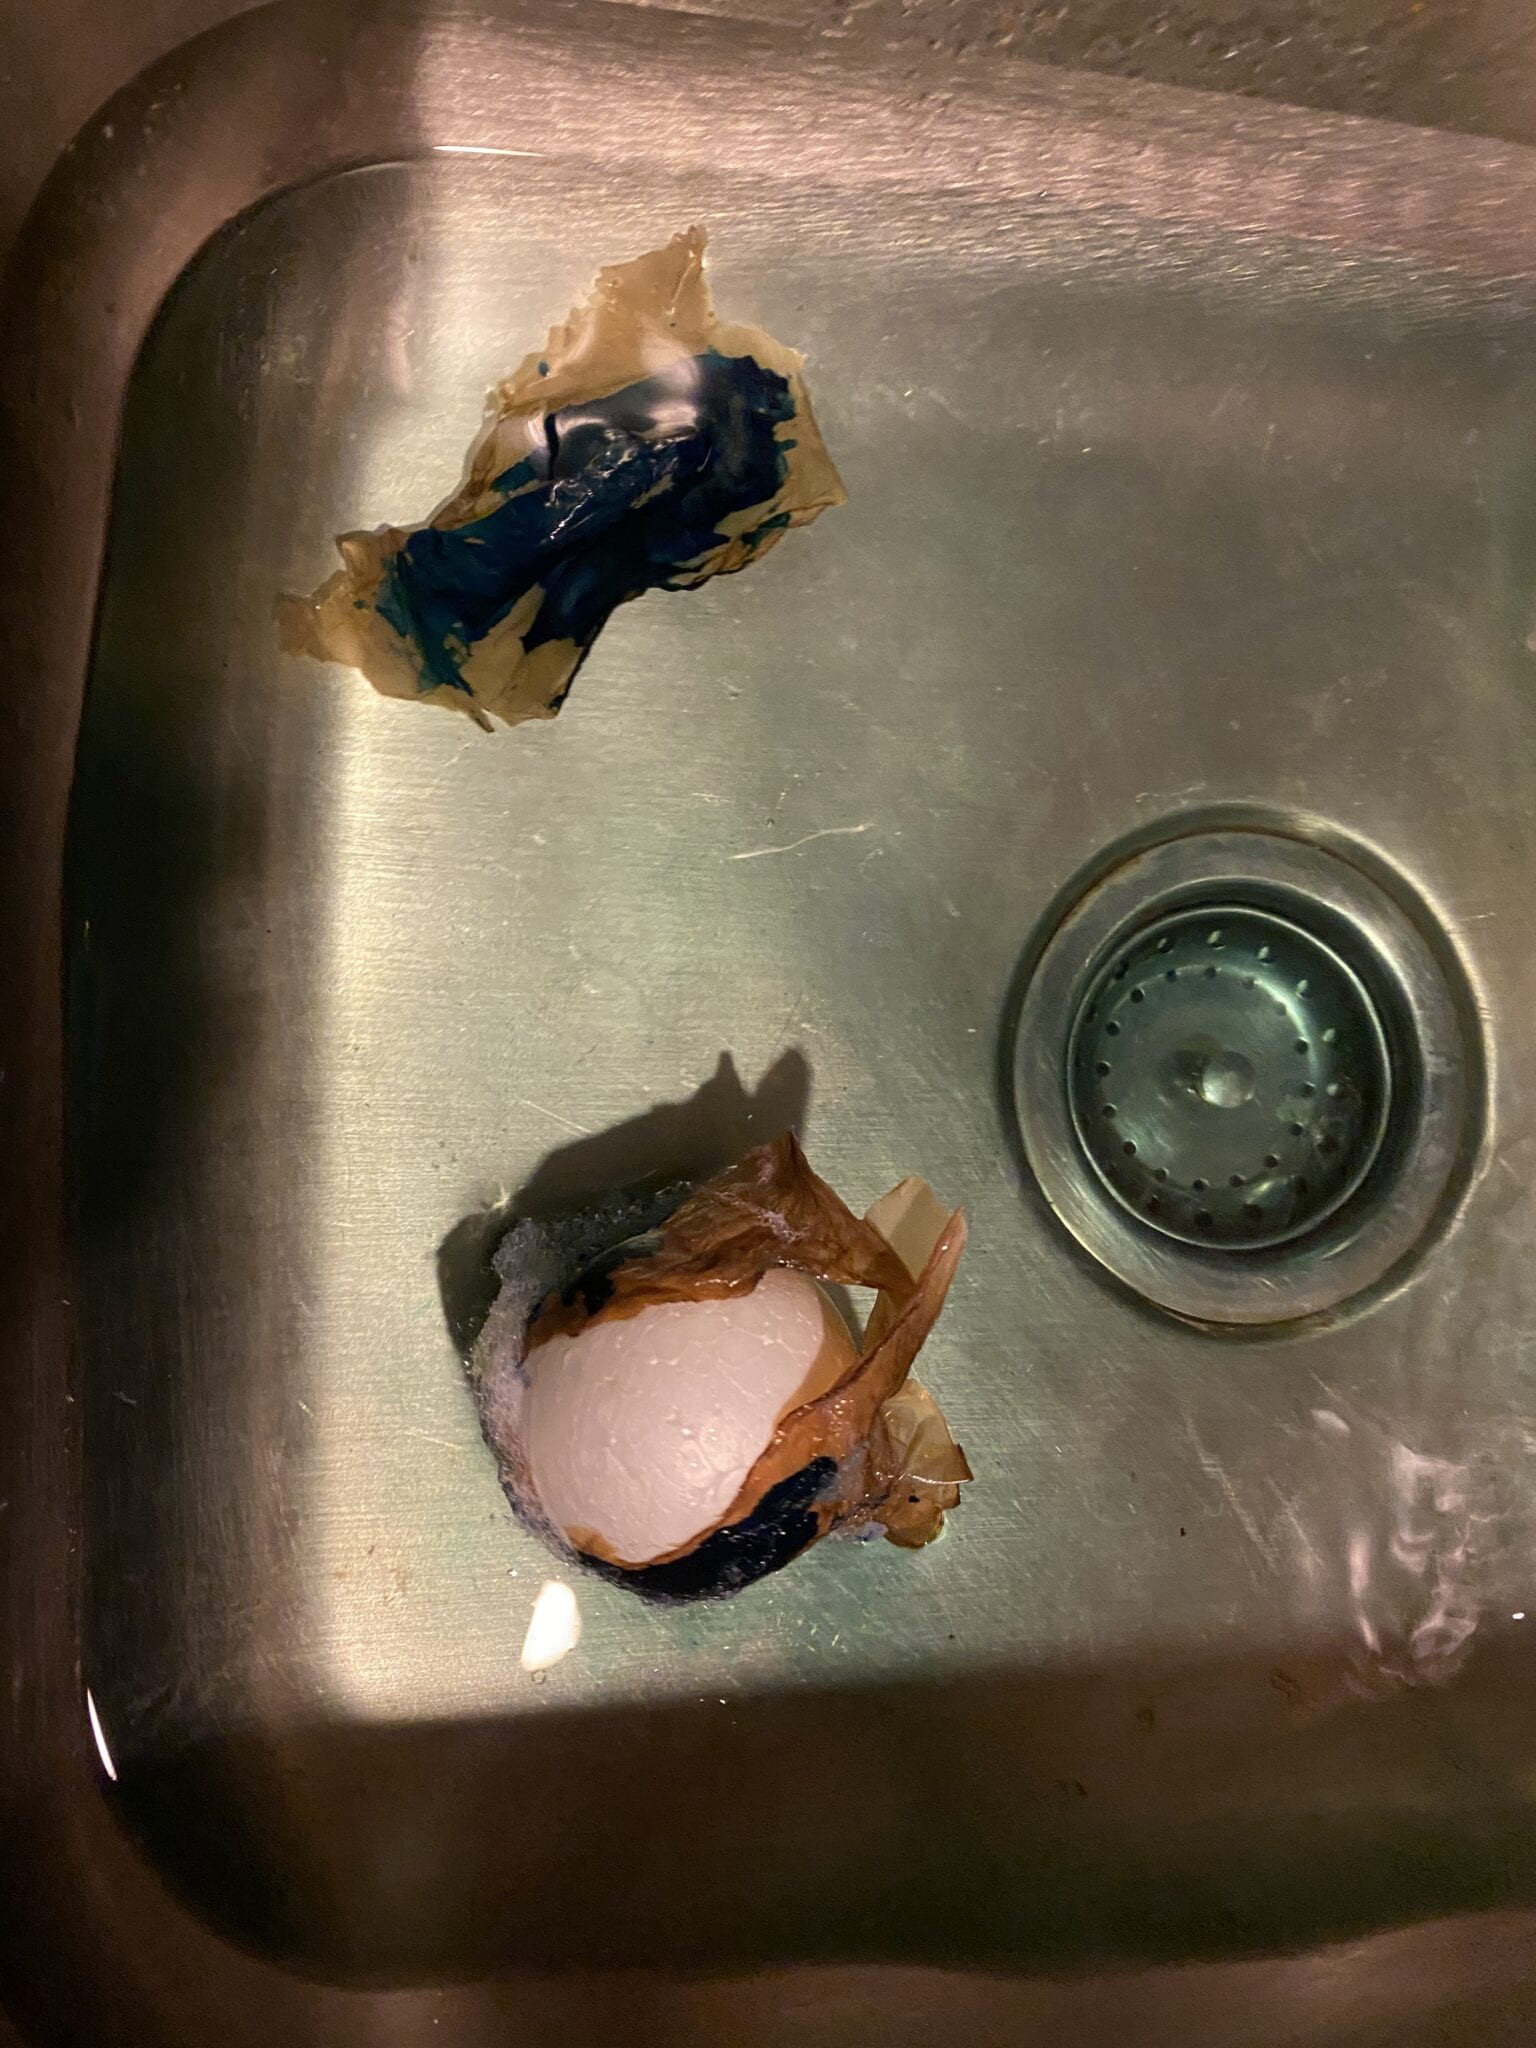
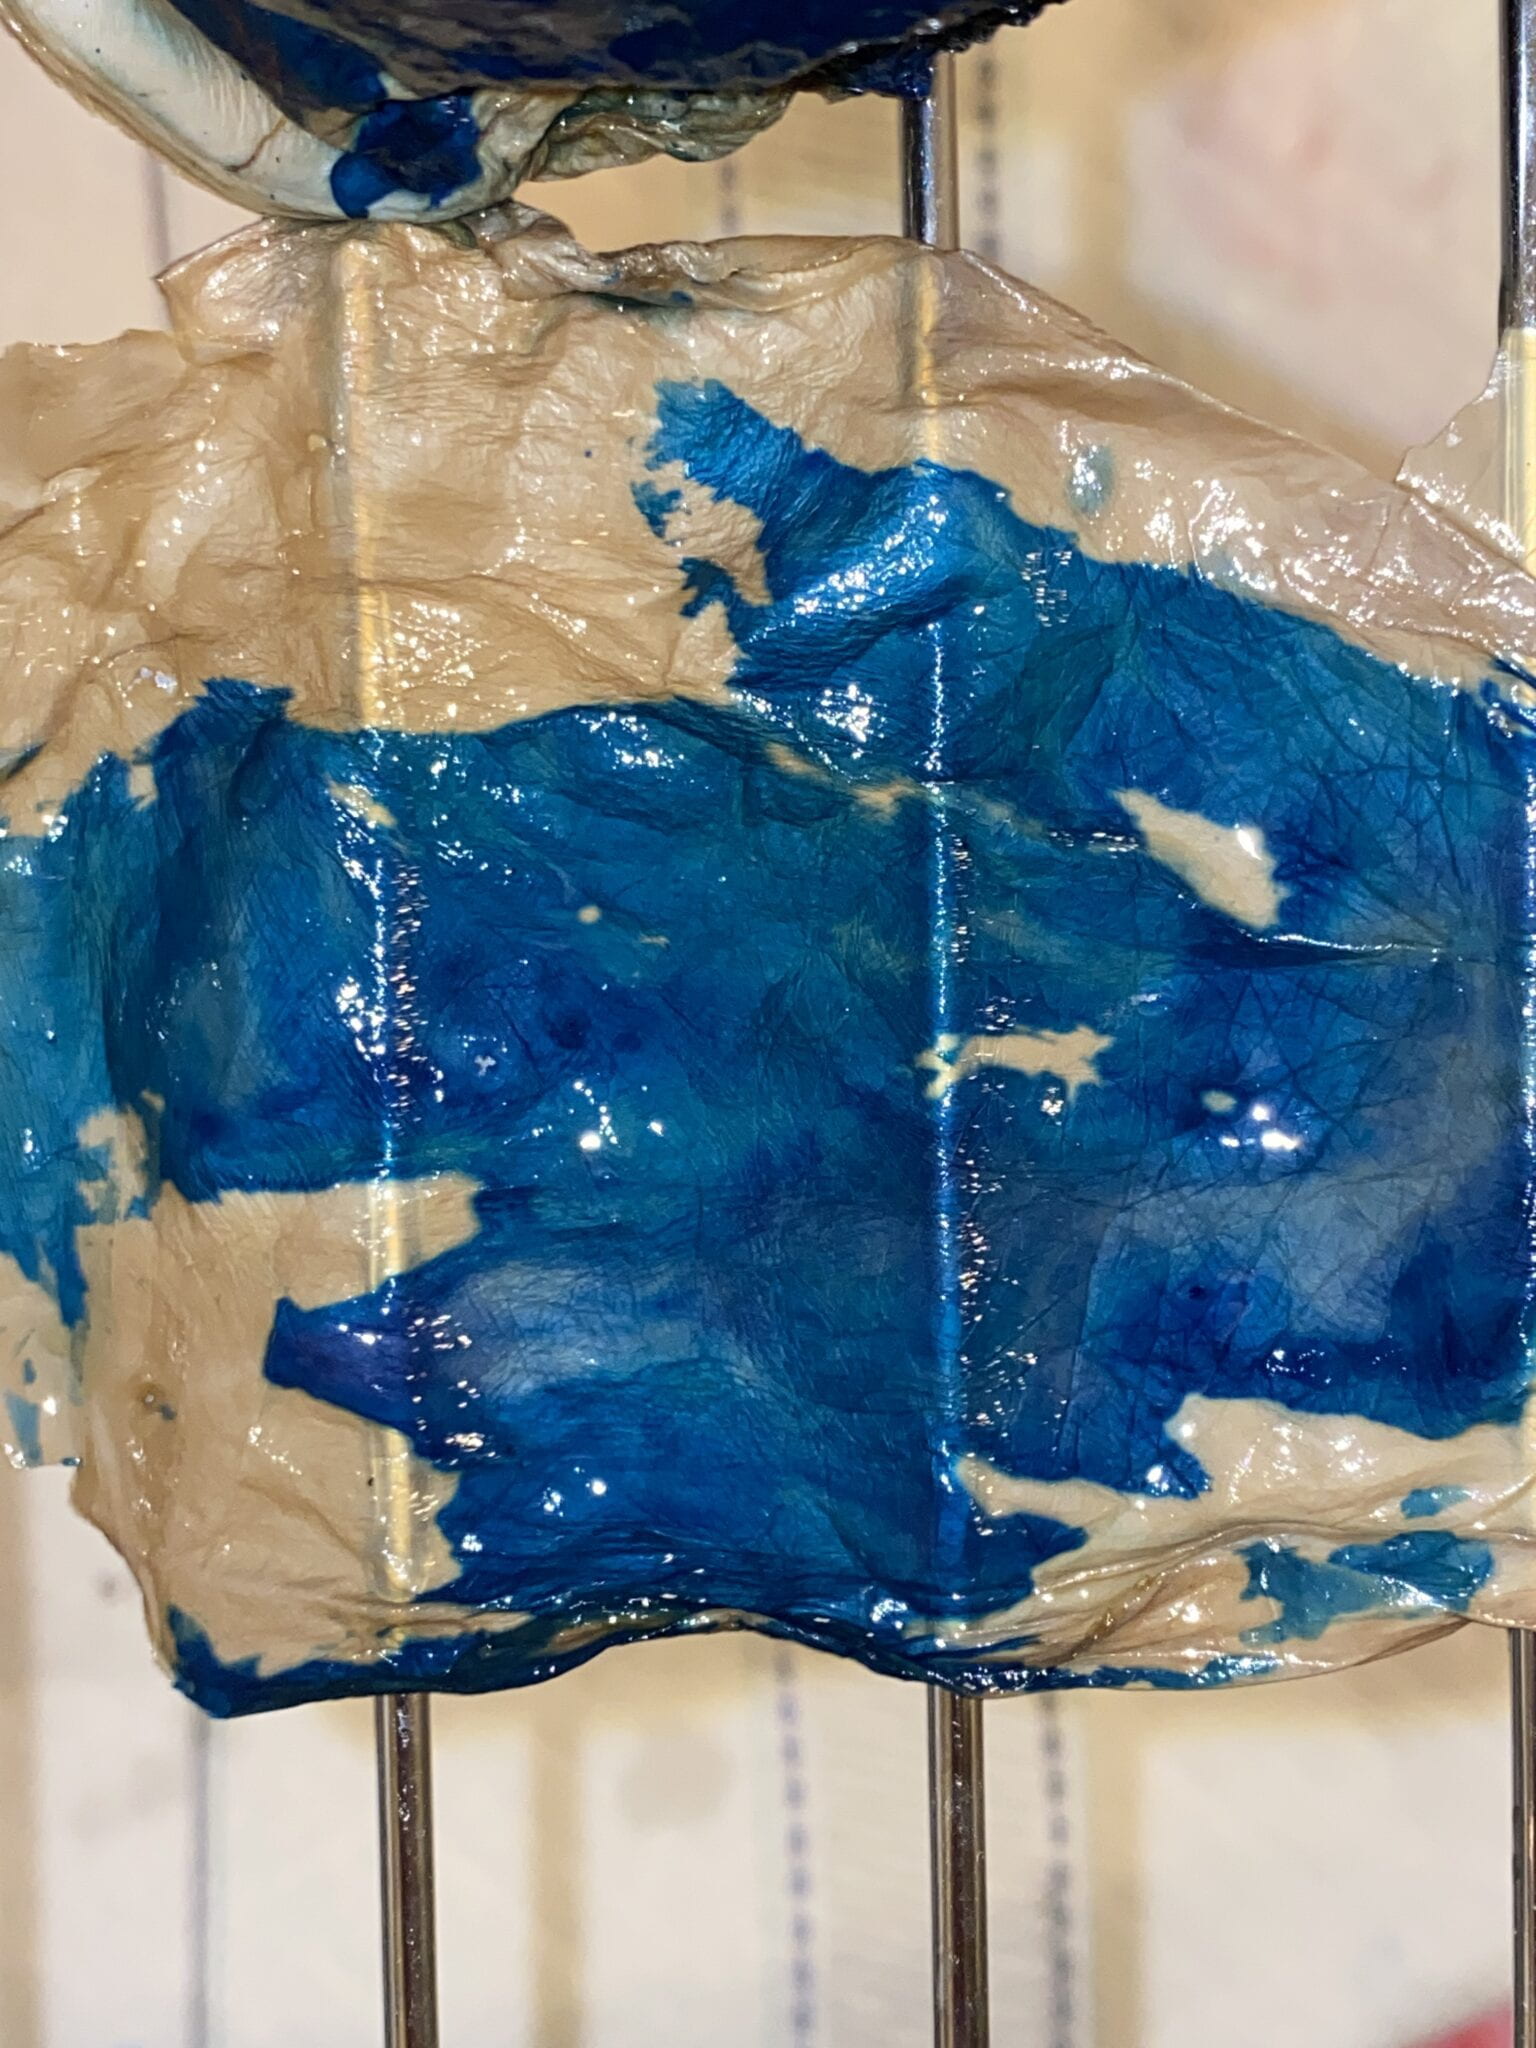
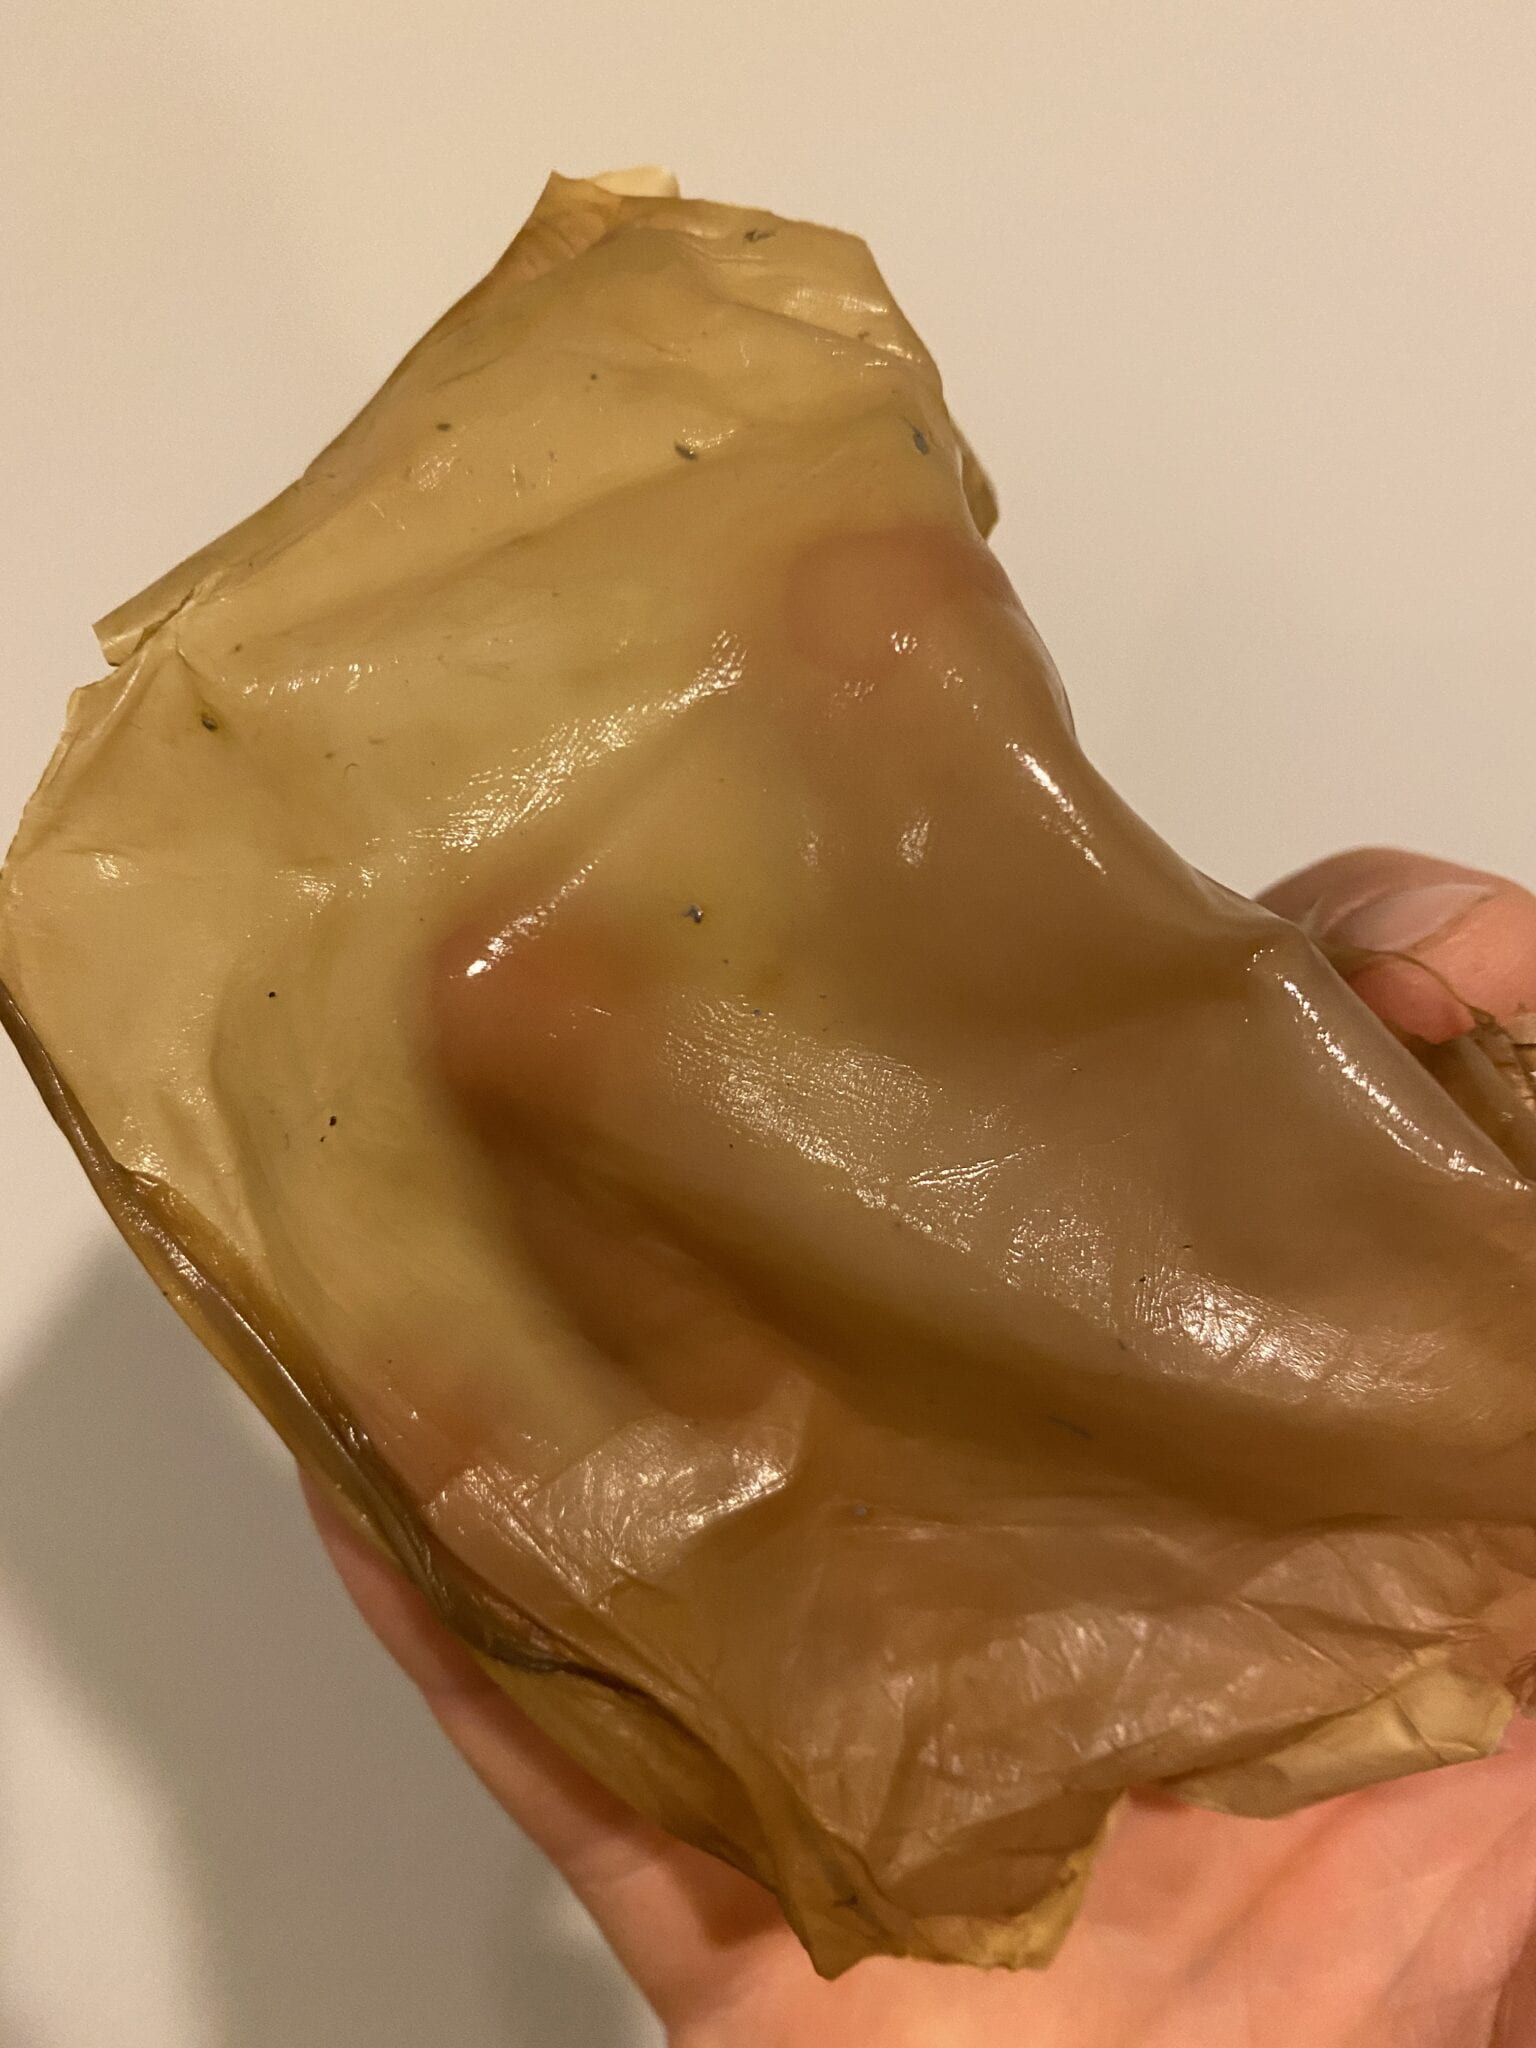
I also continued to work on my Scoby Cyanotype process experiment.  Something really interesting happened immediately after coating the Scoby with the cyanotype solution it reacted and turned the deep blue that typically happens only after exposure. Below are two images of the exposure process you can see how the Scobys are blue while the paper is green, which is typical of the process. The only thing that I can think of is the acidy in the Scoby might have made the chemical react prematurely. Unforchentely, since it reacted I wasn’t able to print a silhouette on it. It did dye the Scoby a beautiful blue. Below the exposure images are images of the washing and re-drying processes. I don’t think this is a failure just a shift in the expected outcome. I would like to test this idea on other materials that we work with. 

Scoby

scoby

Scoby

Scoby

Scoby

Bio Materials SCOBY study

SCOBY-

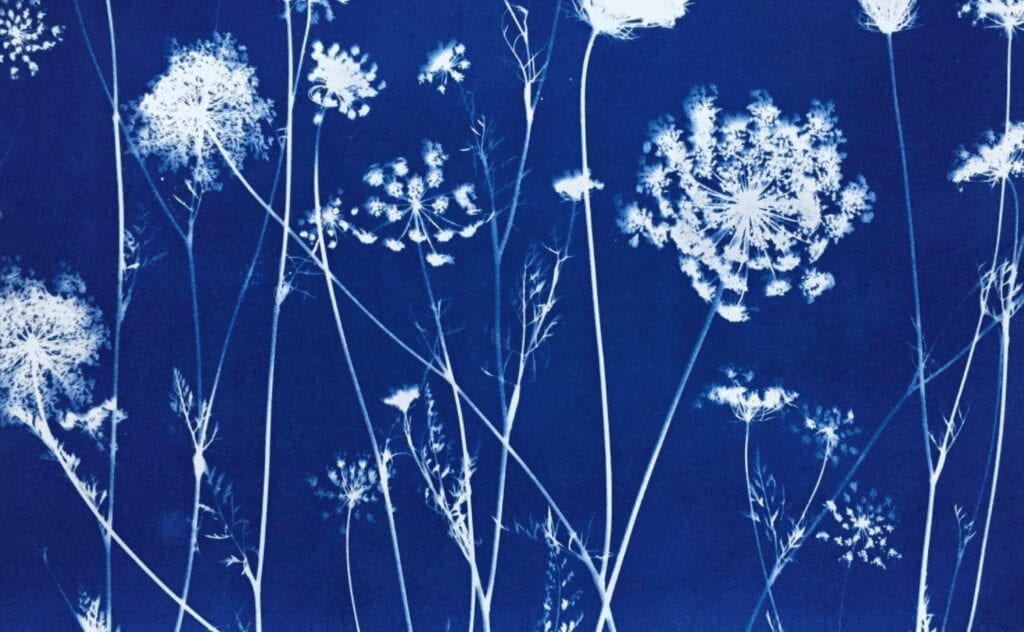
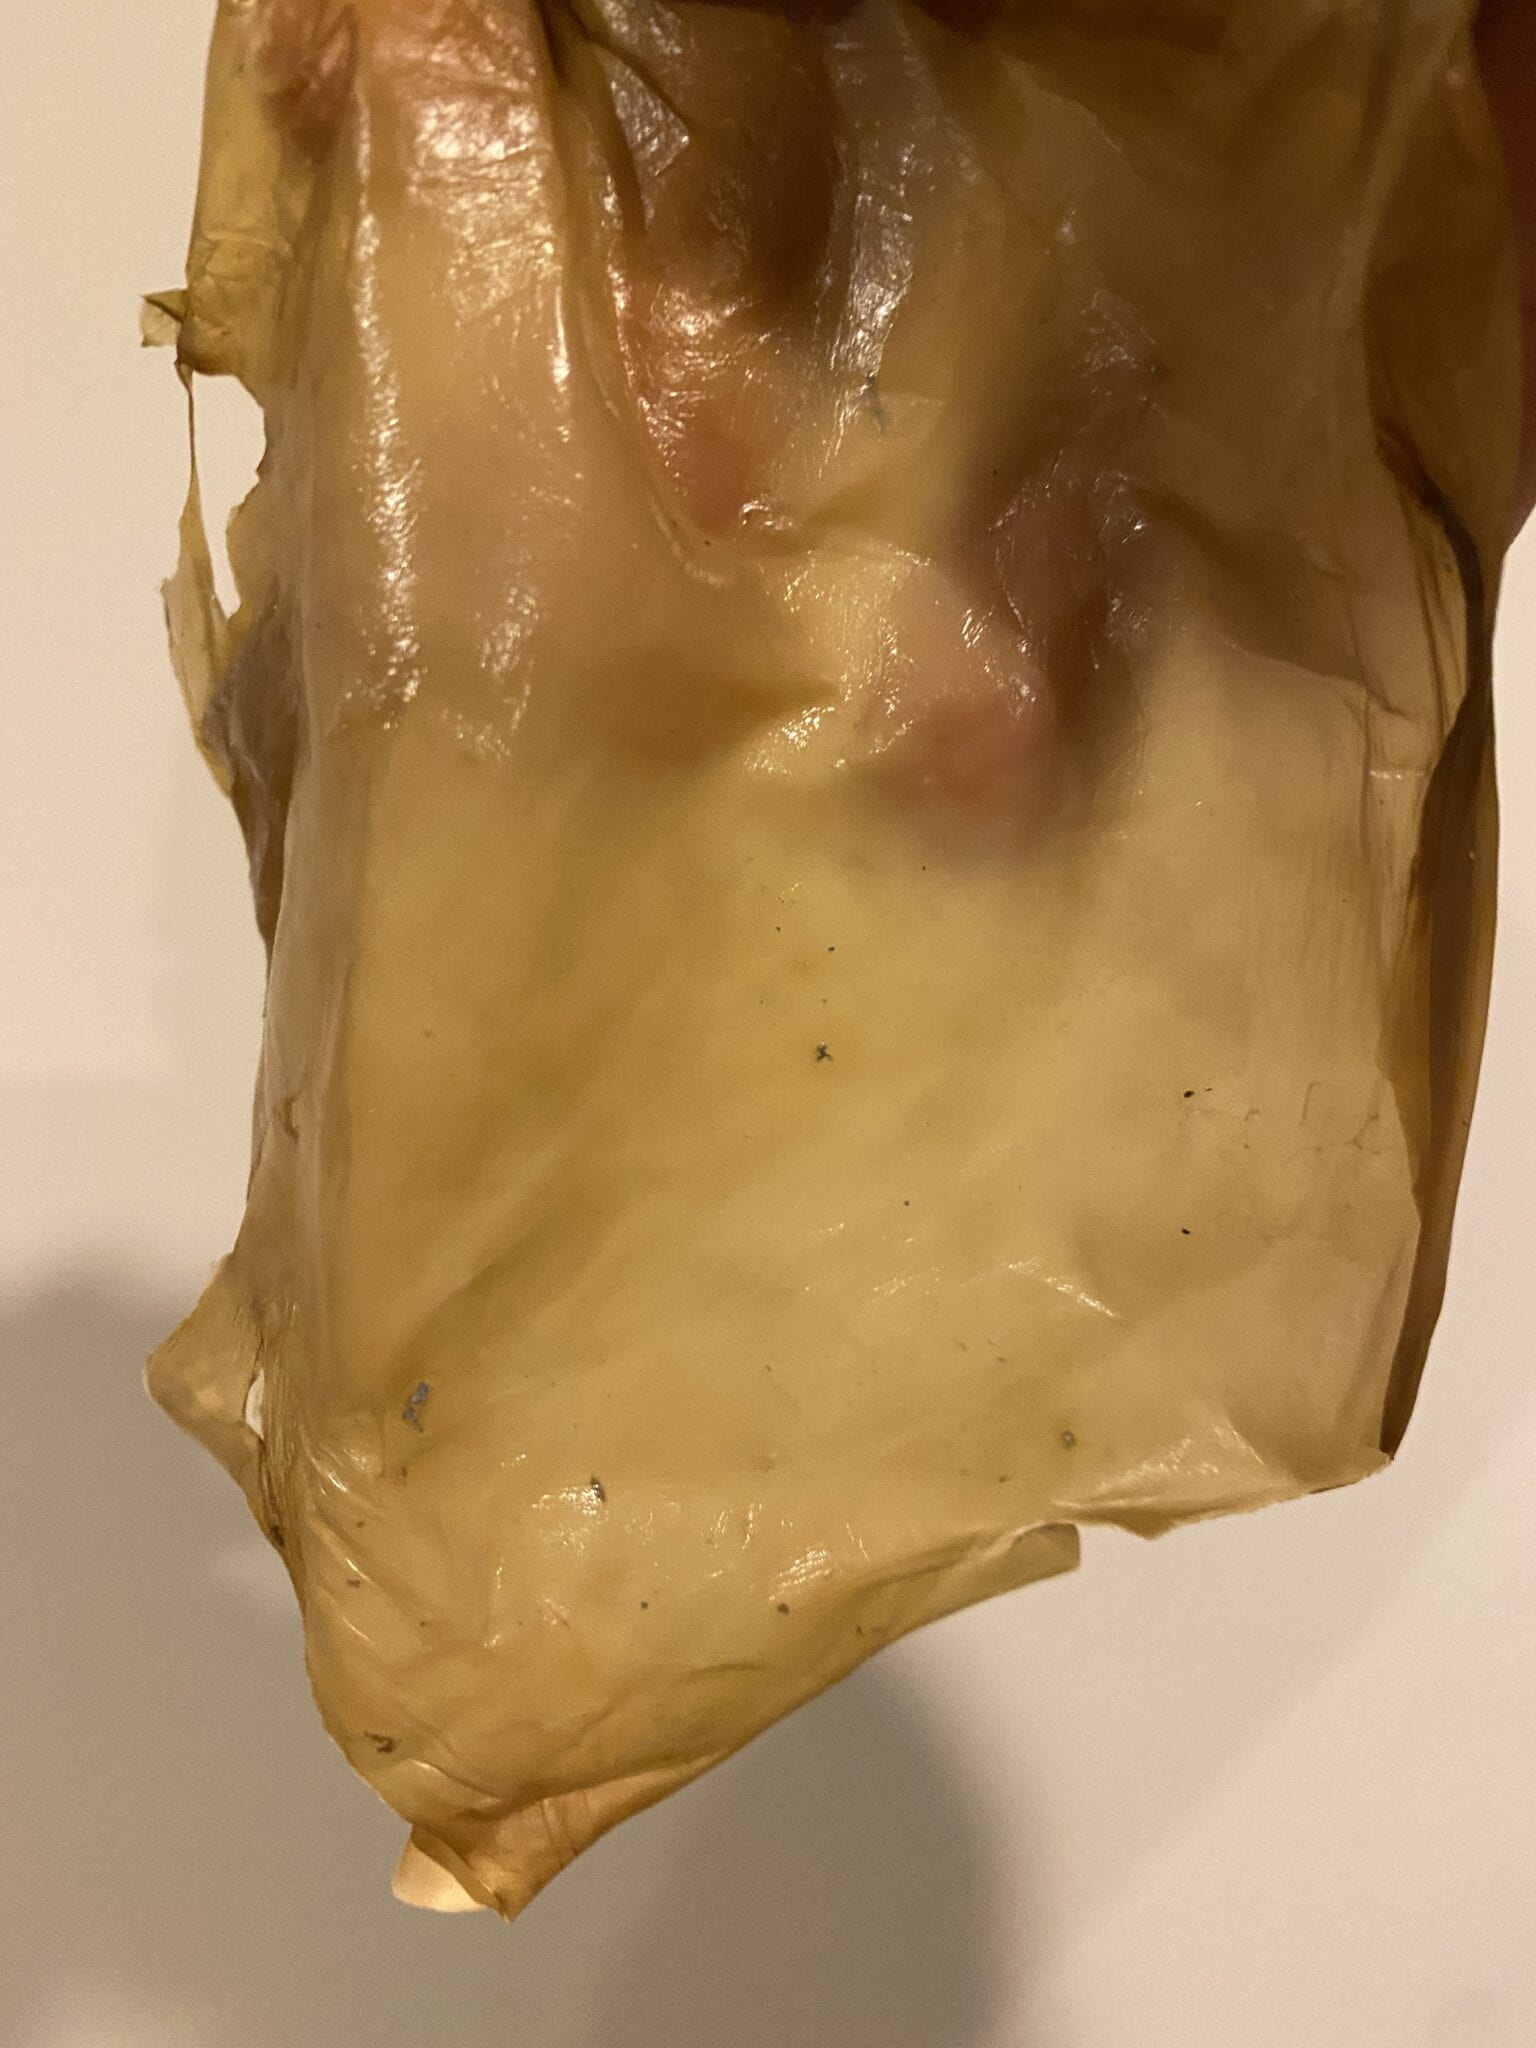
While playing with the SCOBY in class, I started to think about how it can absorb water and is somewhat translucent. This made me think of a photographic process called cyanotypes that was developed in 1842. The process involves painting a light-sensitive solution on anything that is water-soluble. After drying, the chemical can be exposed to sunlight and produce a brilliant blue color.  

For this process to work, however, I needed to do two things. First, I needed to dry the SCOBY completely, and second I needed to paint on the solution and let the SCOBY dry in a dark place again. 

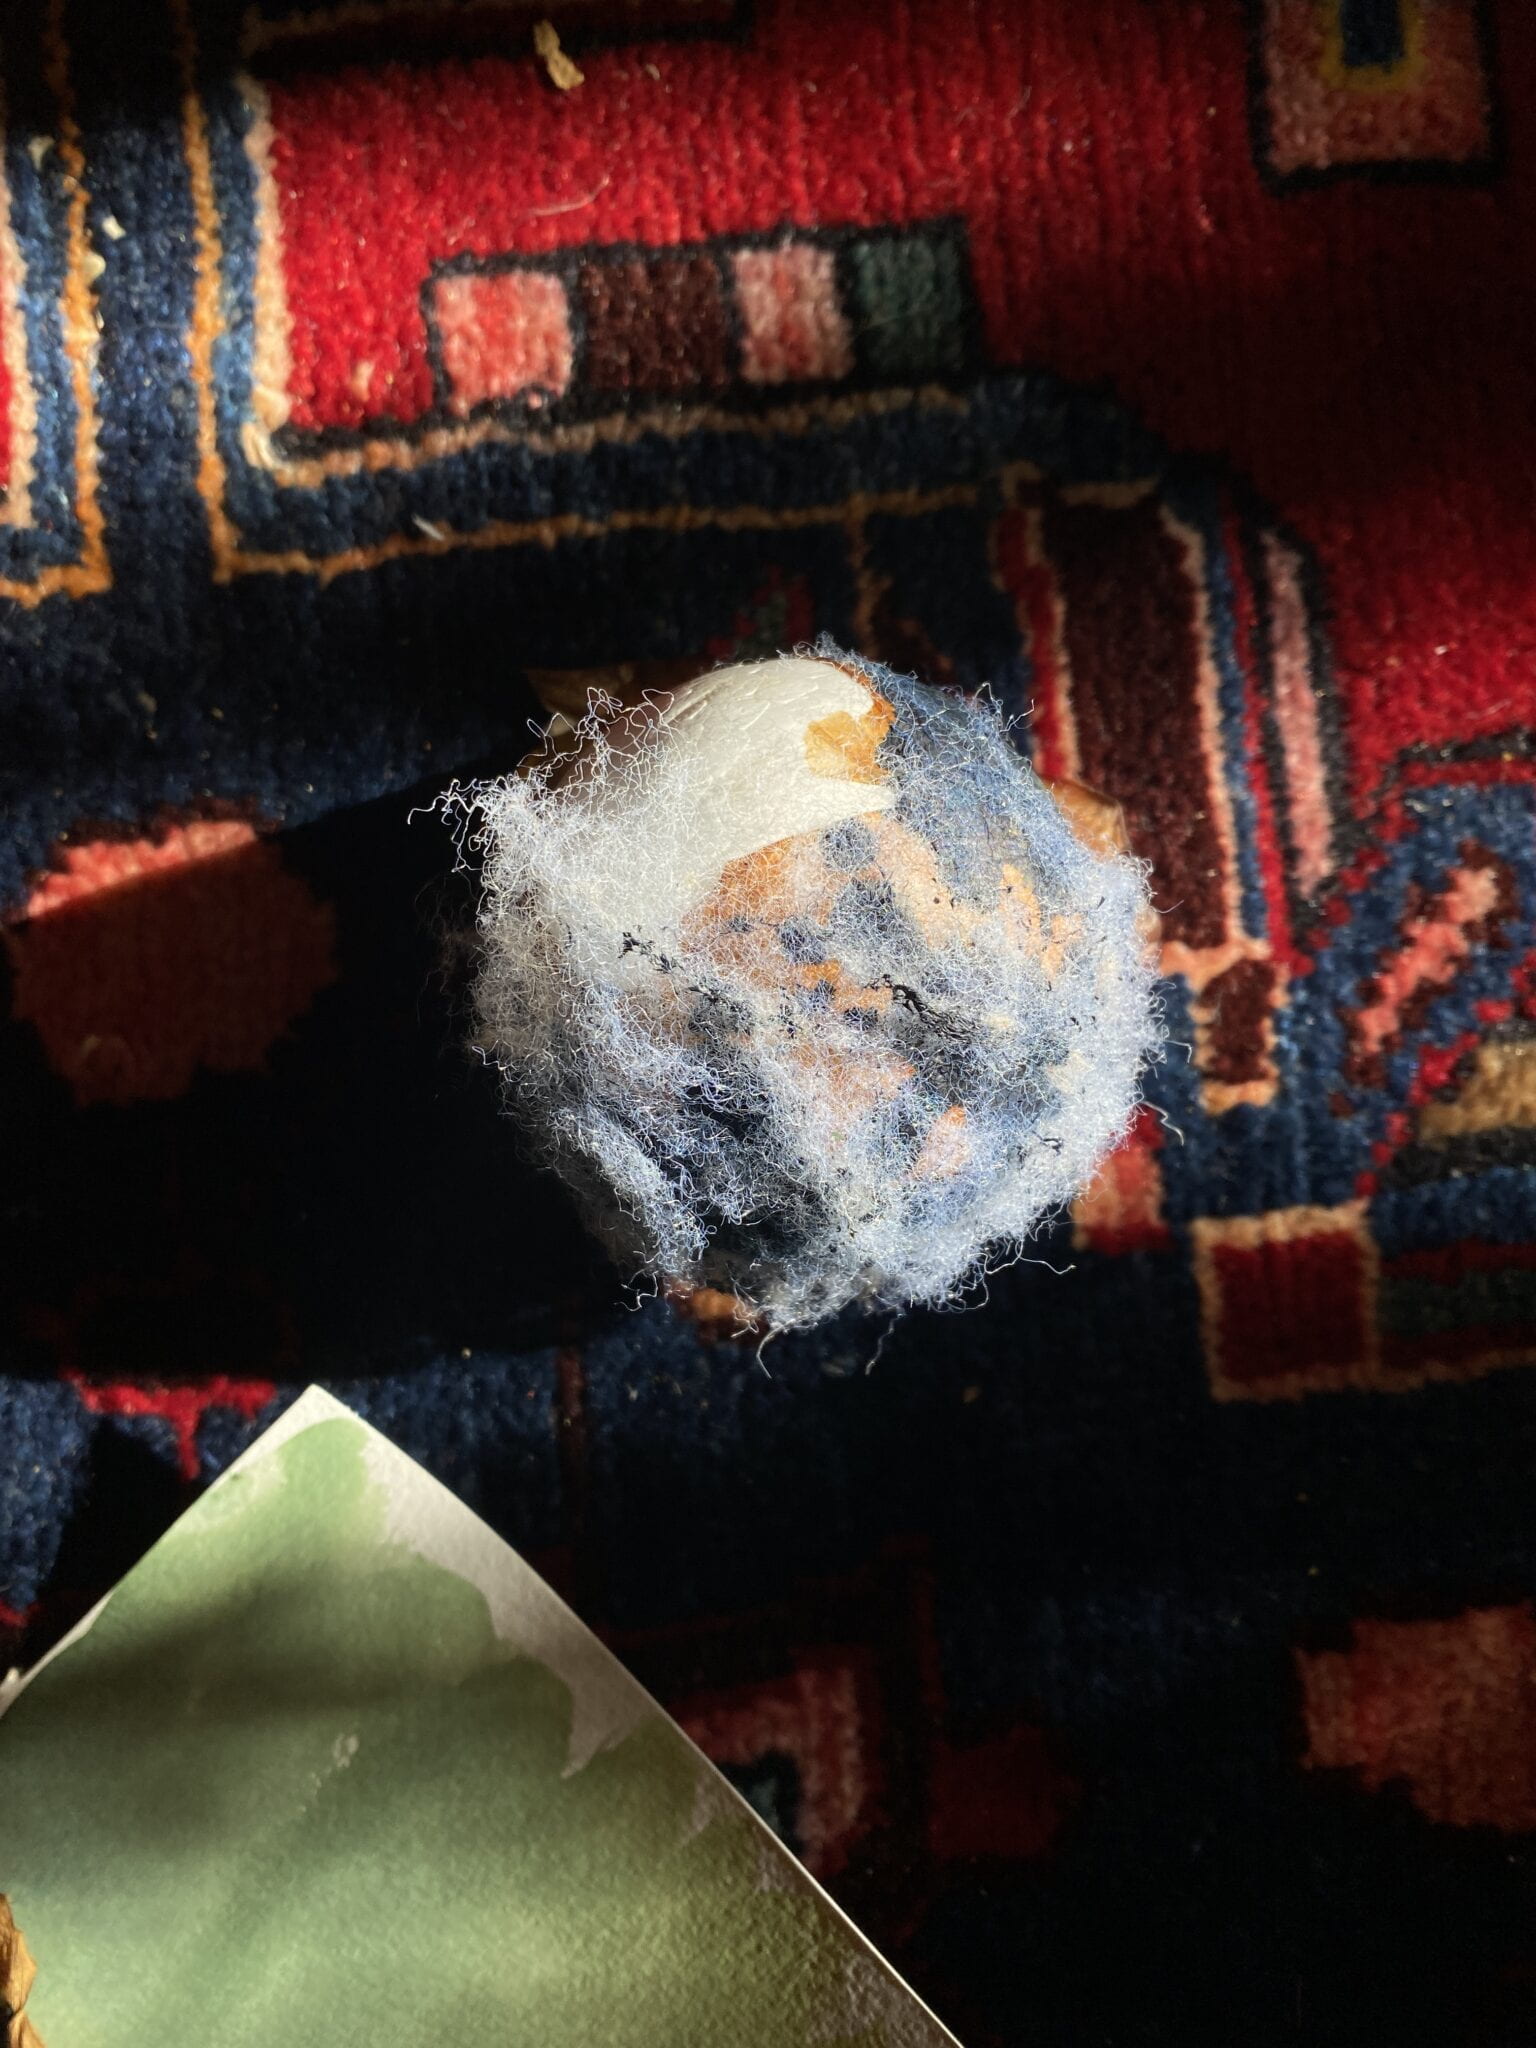
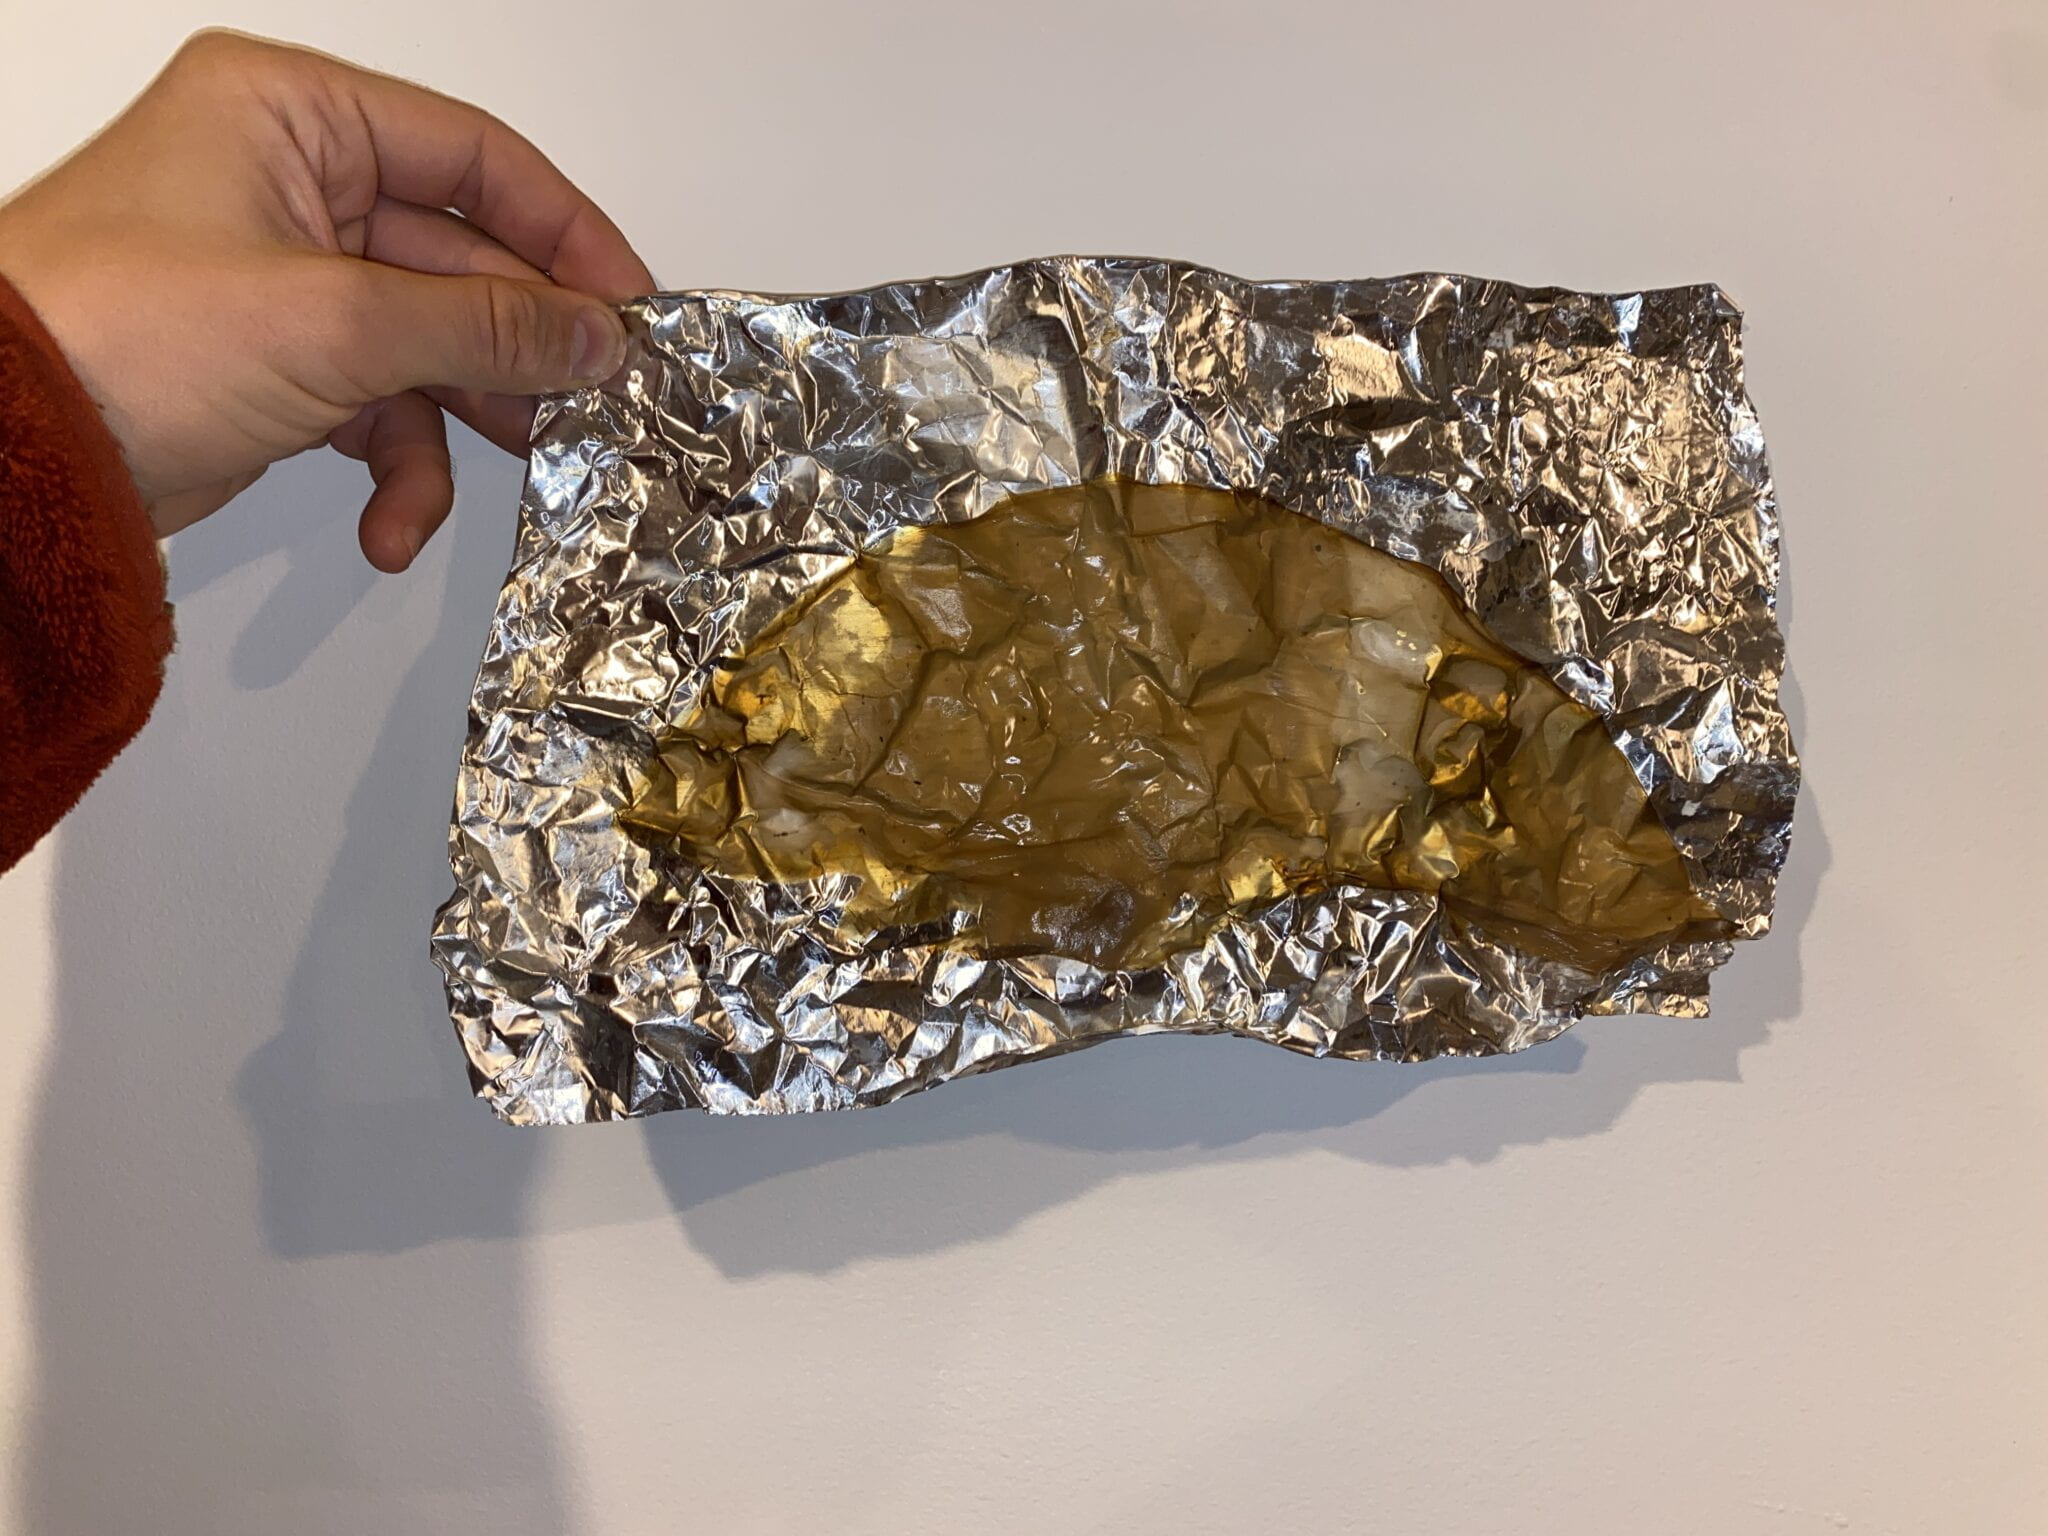
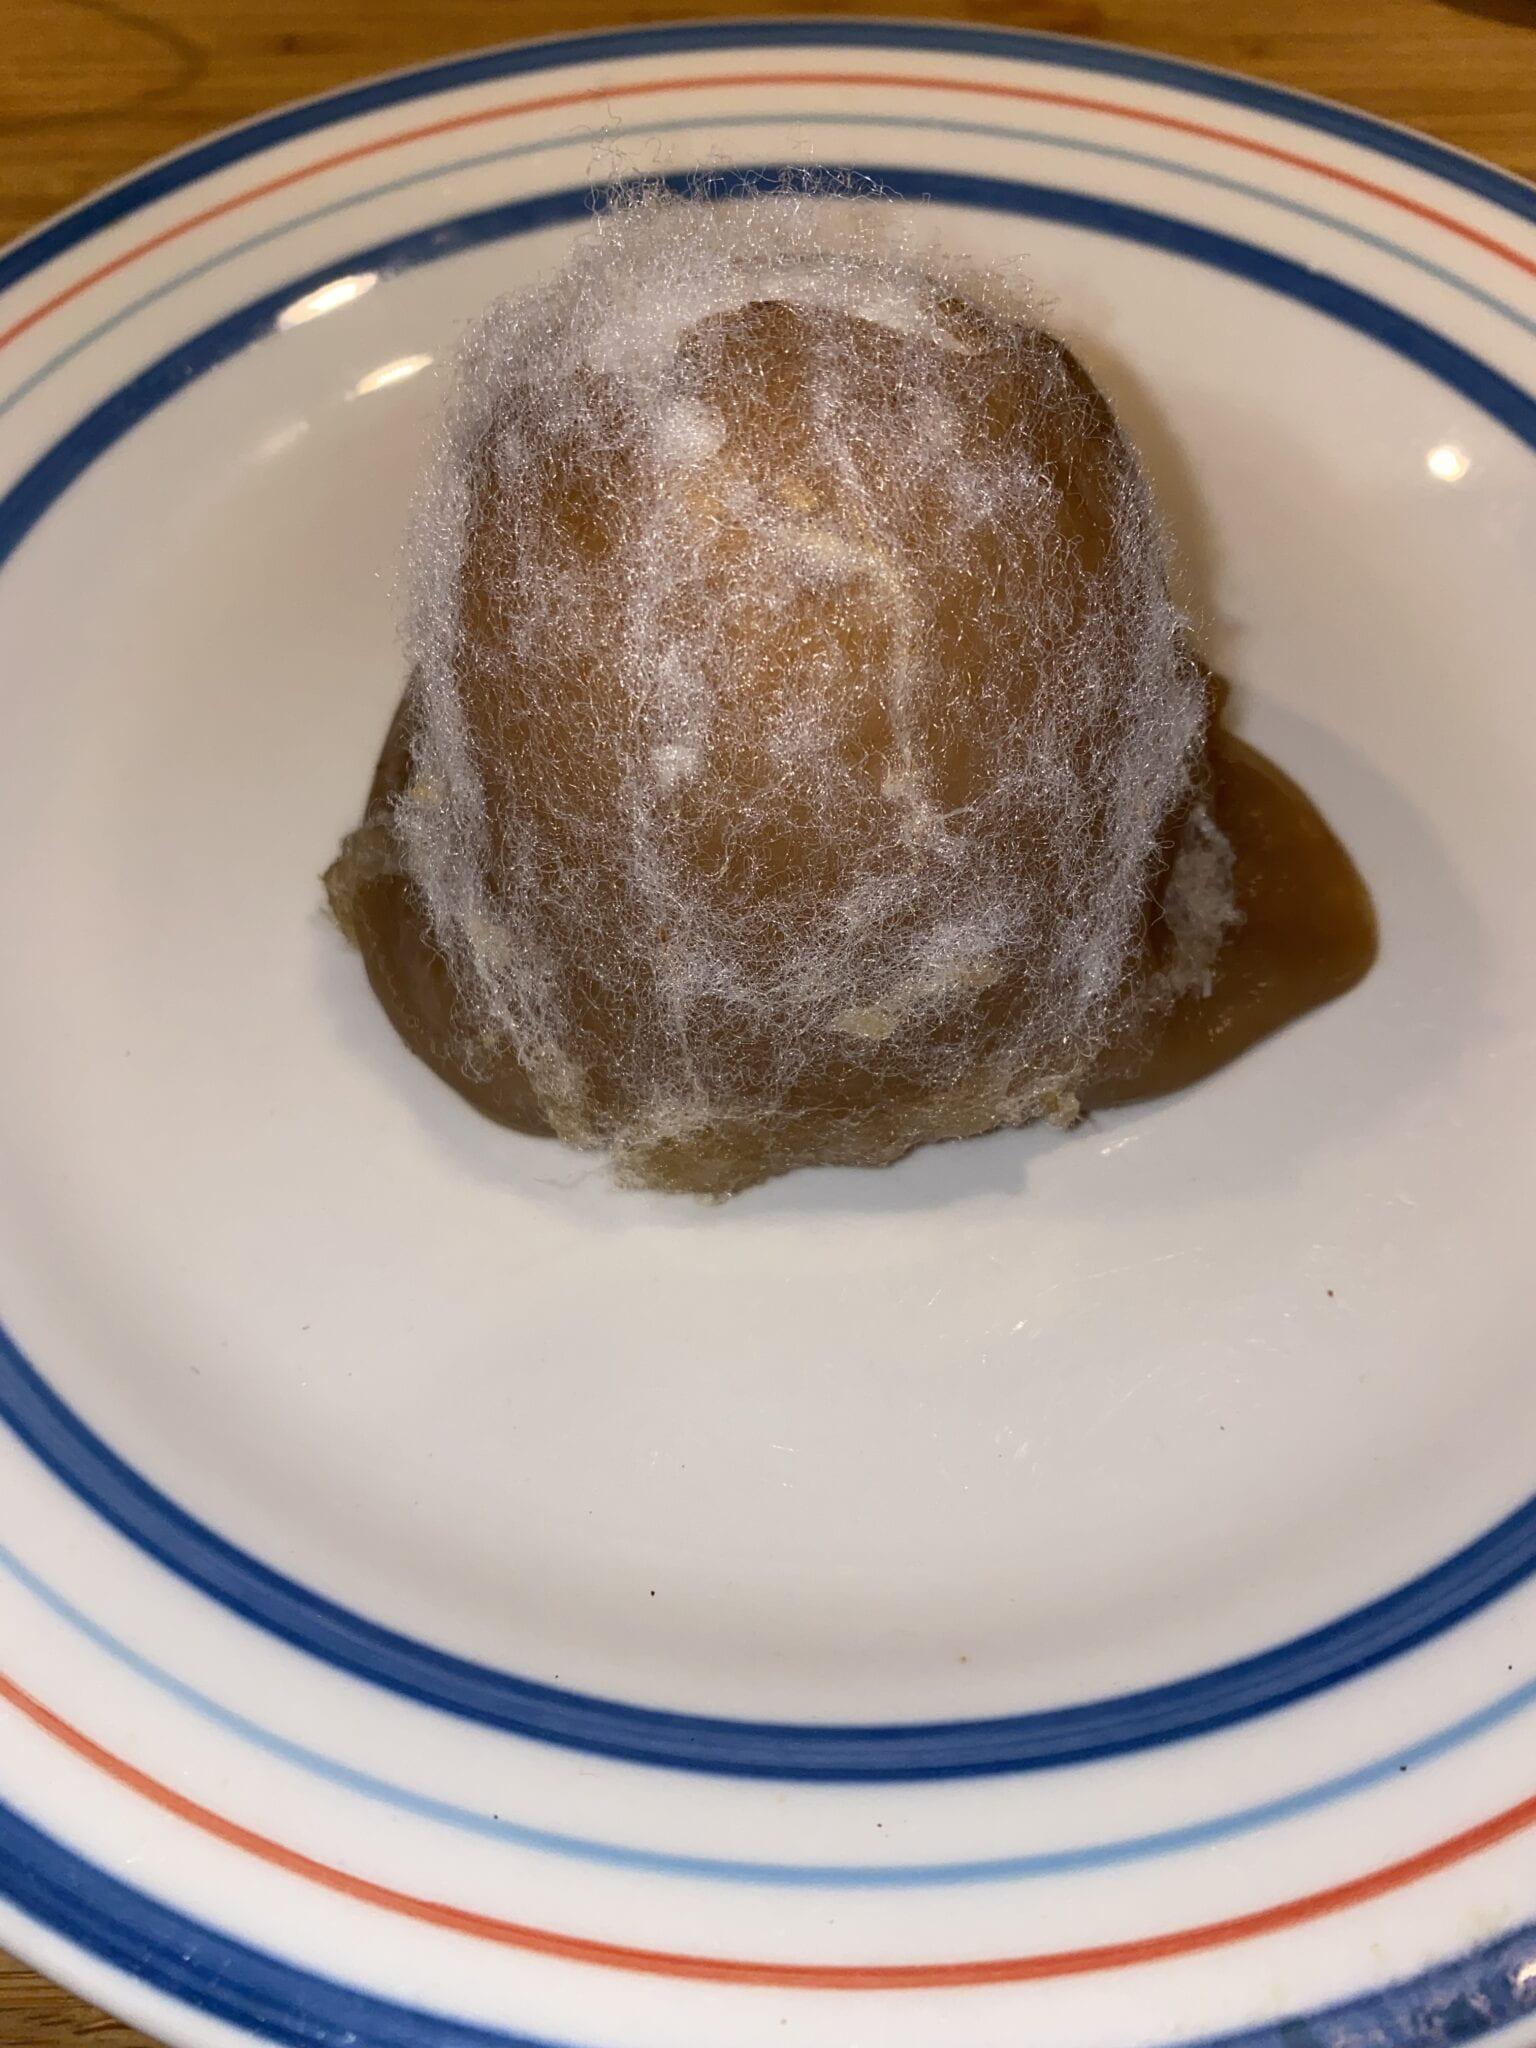
I first made two tests: a razor-thin sheet, and second, a ball that I pressed cotton into. I figured the cotton could work as an absorbent material for the cyanotype solution to give richer colors. 

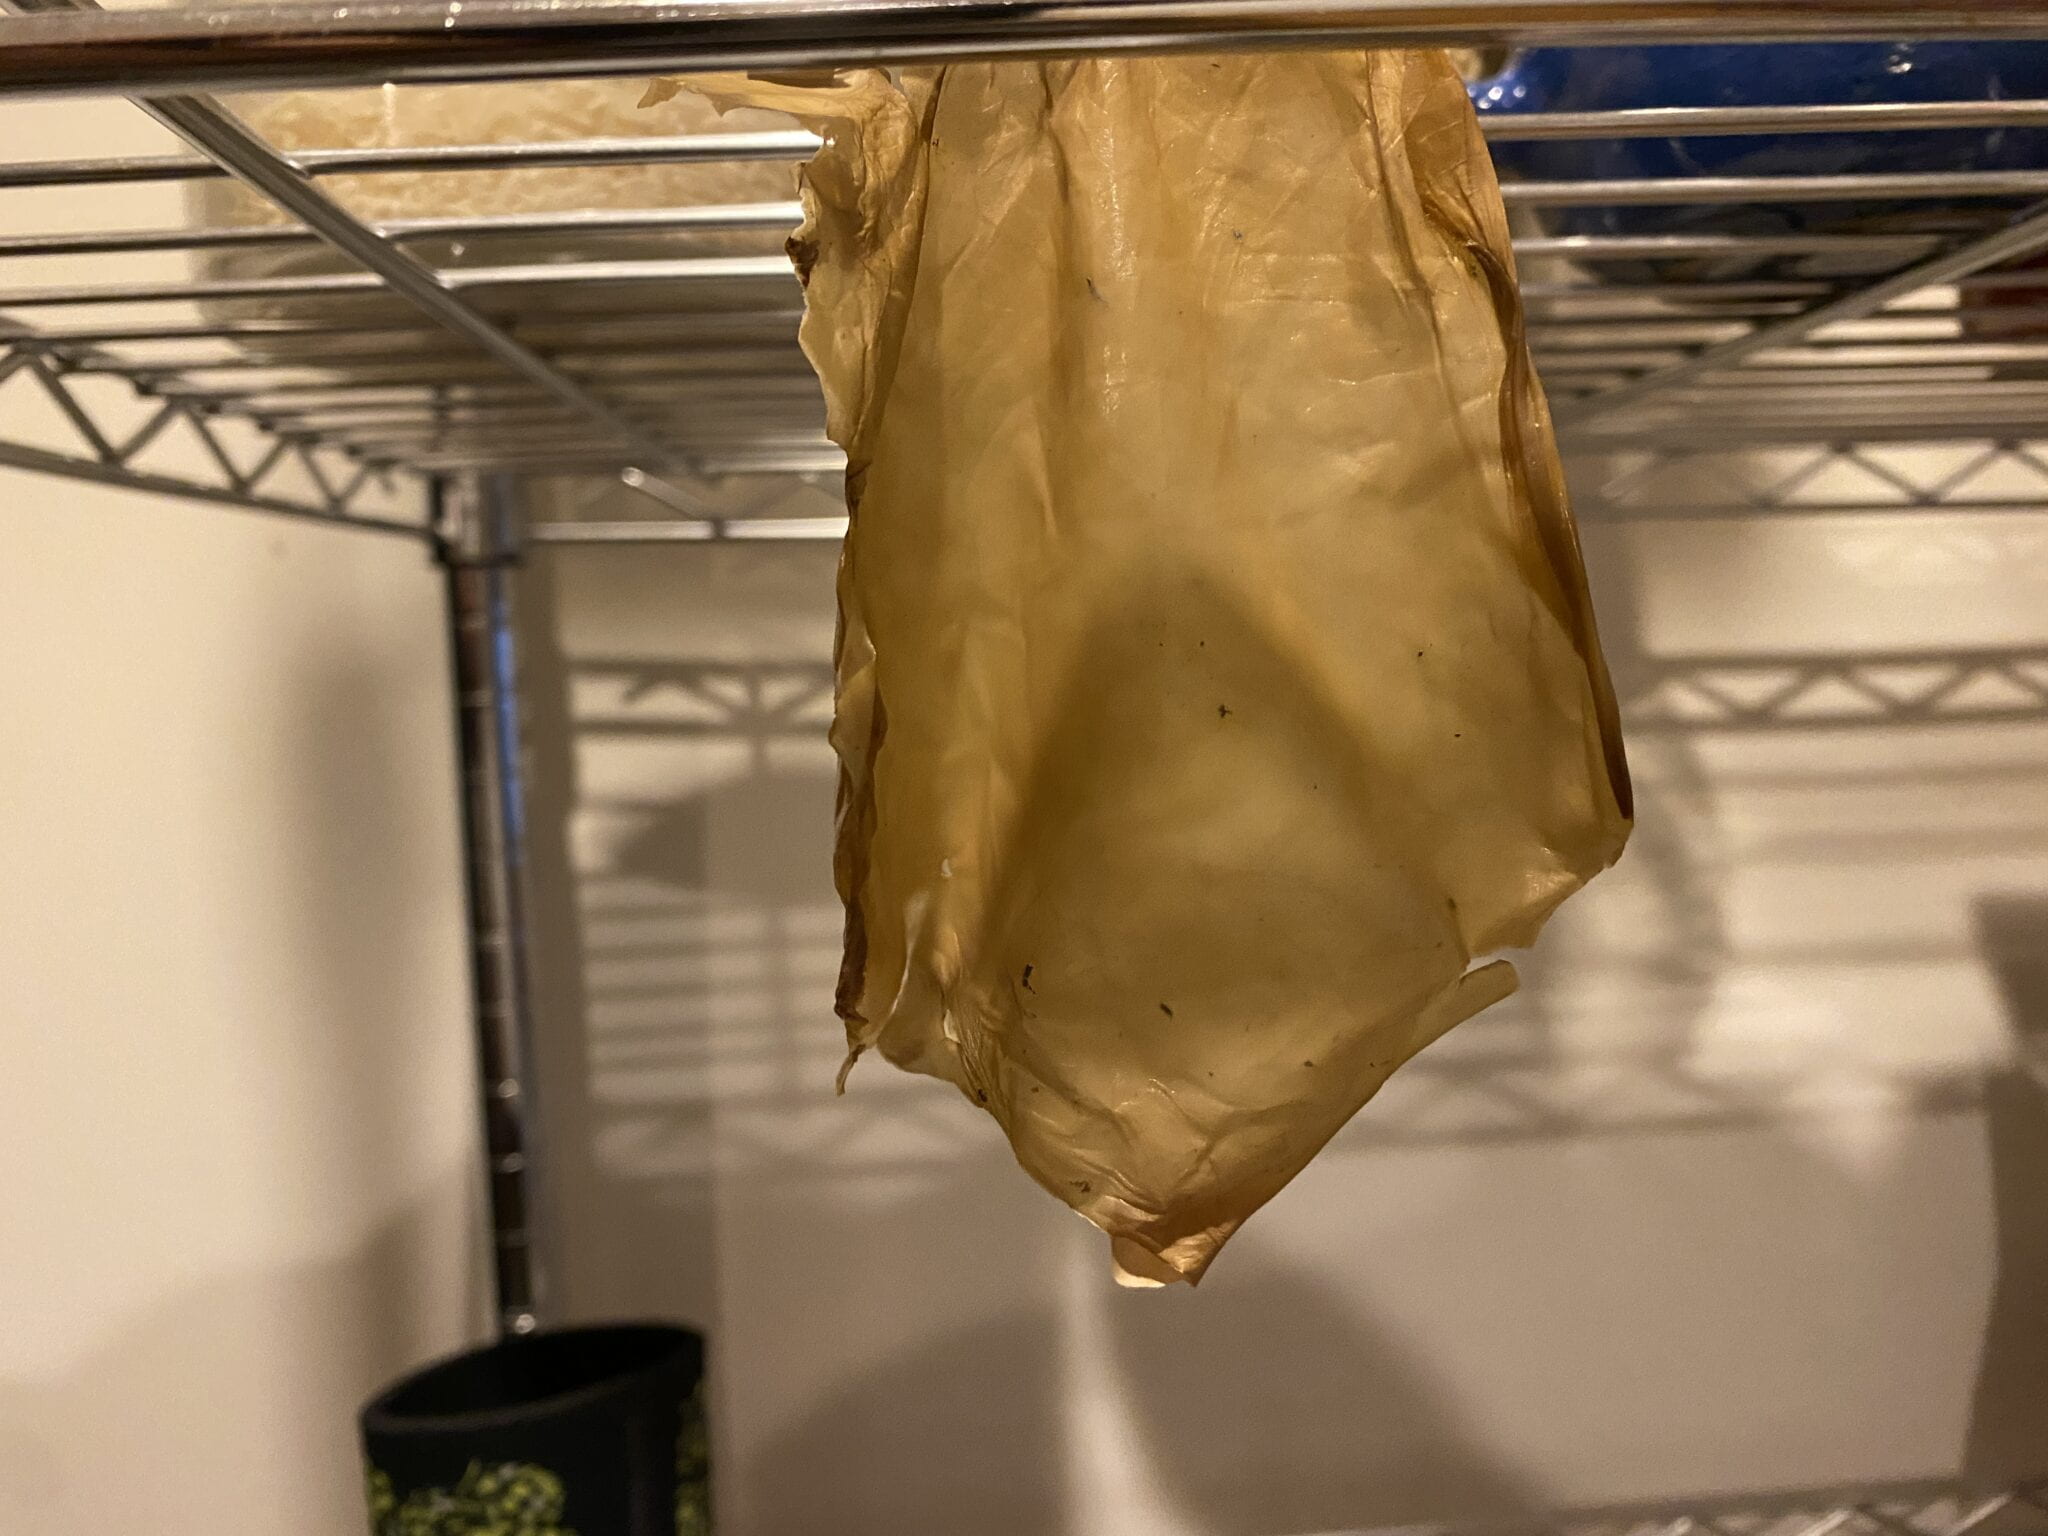
I ran into two significant problems with my test. First, neither test dried completely; I believe the drying process is prolonged with the damp, cold weather. Thursday morning, I moved the thin SCOBY off its foil and clamped it to a shelf. I’m hoping that this will make it dry faster. The second problem is the edges of the thin SCOBY stuck to the foil and ripped when I was trying to remove it. 

The good news is that my chemicals to make the prints came to attempt the track this coming weekend. 

Below are the images of my process. 

 
scoby

scoby

scoby

scoby

scoby