IxLab Final Project: Global Experience
Project Title: Global Experience
Artist: Andy Ye & Jason Xia
Instructor: Margaret Minsky
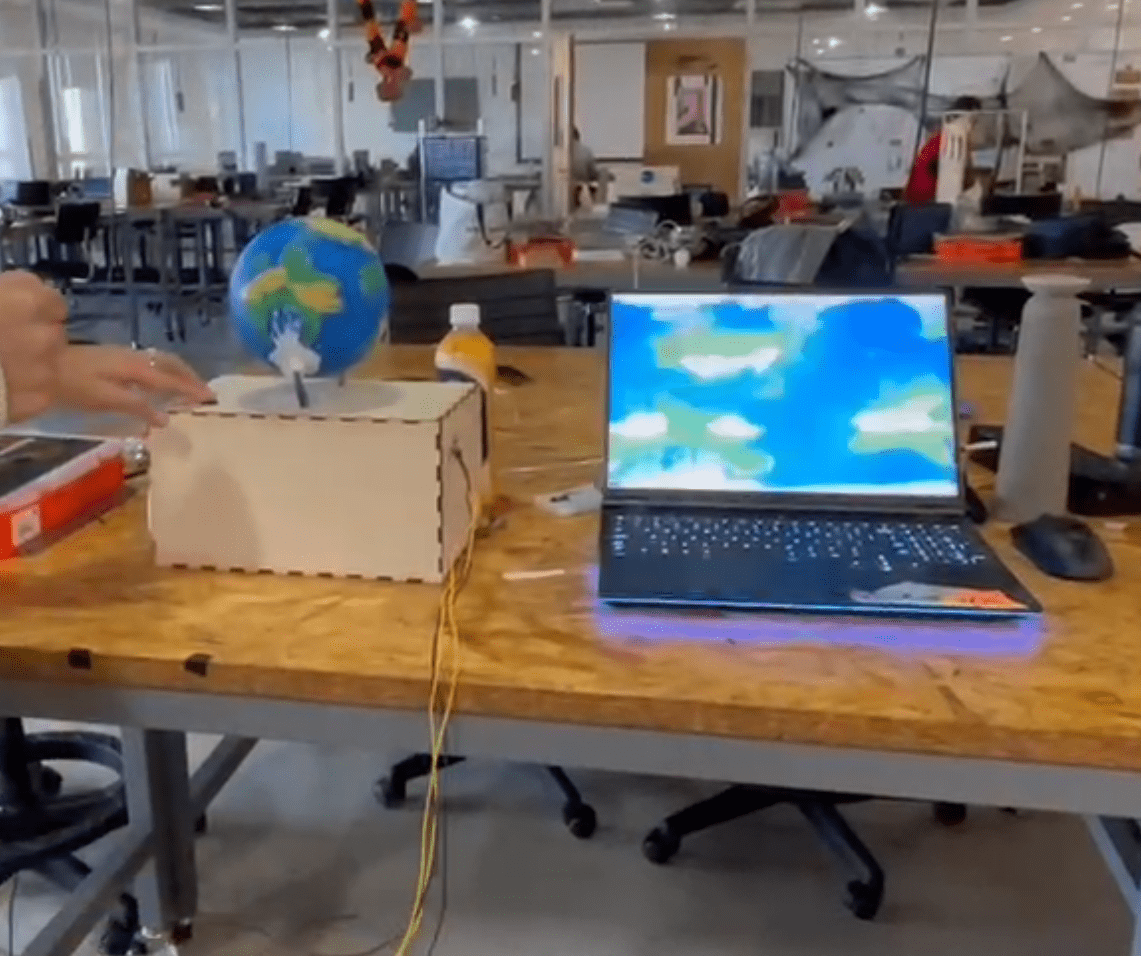
Demo
Conception and Design
At the very beginning, we intended to design an interactive installation that can restore the memories and experiences of a particular place which can make people enjoy an immersive and real-like experience without spending a lot of time traveling.
The first idea that we’ve come up with is a small scenario that can let the user see the scenes directly on the table. The user can directly control the small characters in the scenes to interact with the environment:
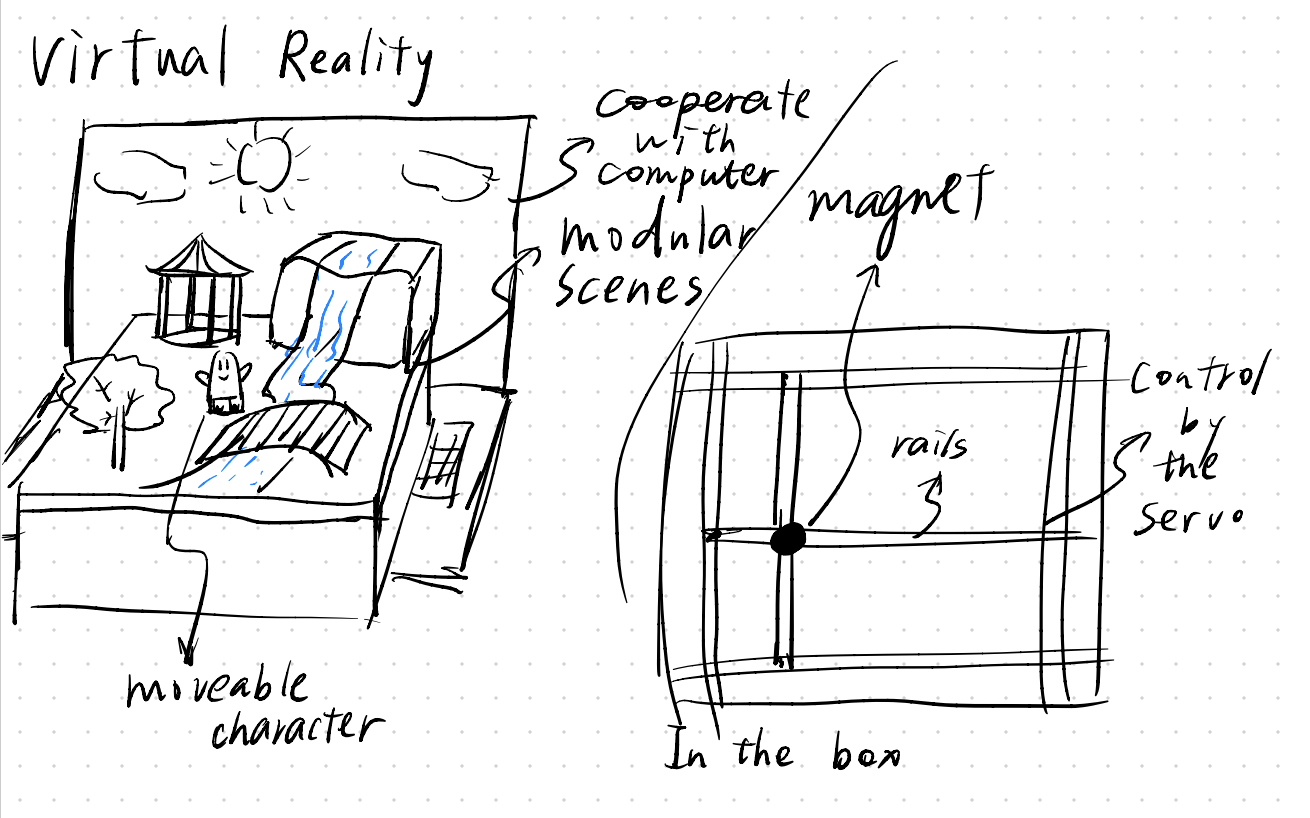
The highlight of this design is that our users can directly see the realistic scenes and see take themself into the view of the small characters. However, the problem of this design requires us to design a 2-DoF magnetic rail to drive the small character to move. We all think this drive system is too complicated to finish in a few weeks.
After our brainstorming and with the help of our instructor, we came up with an idea is that we can make a globe to let the user choose different places on that globe by themselves. The globe will turn with the world map on the computer screen simultaneously. With this idea, without getting in trouble with the complex mechanical design, we can still bring the user a realistic feeling and experience. Moreover, we can add more scenarios to our project which will make it more colorful.
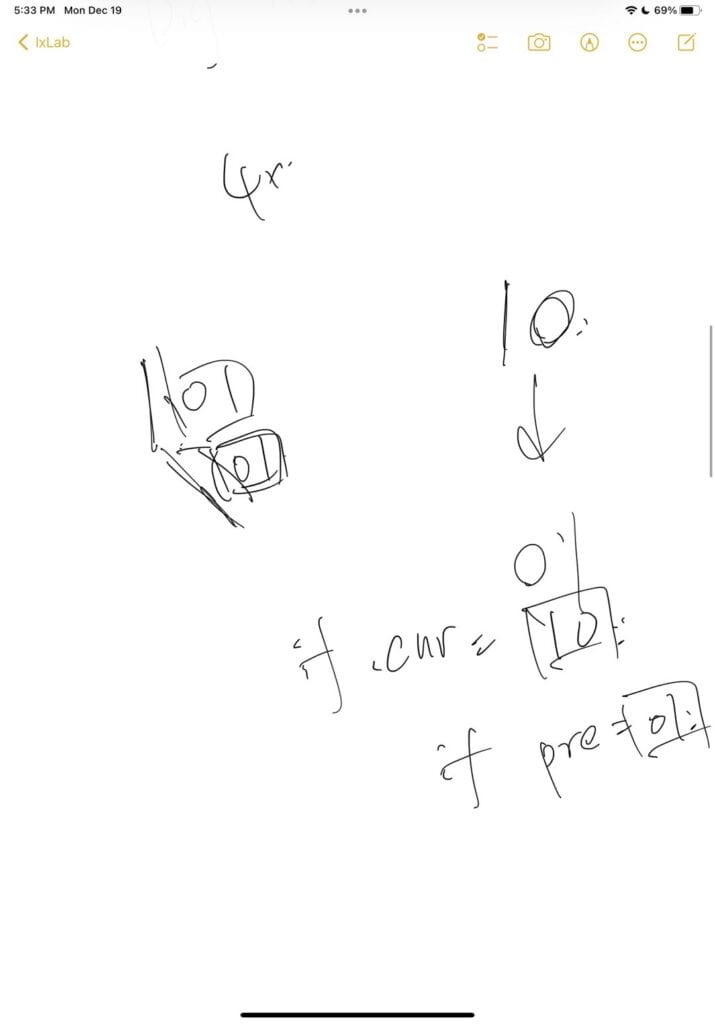
When we were choosing the sensor, I wanted to use a gyroscope to measure the activity of the user. However, my partner thought that it was too complicated and could not make sure we could successfully combine it into our system. So, along with the K.I.S.S. principle, we finally use the tilt sensor as the only sensor in our project. The tilt sensor can give a binary value of one axis which is quite enough for us to realize many exciting functions.
The scenario design always goes after the mechanical design. At the very beginning, we were quite confused about how should we design the interaction part in different scenarios. Our initial scenario is Ocean, Hills, and Forest. The ocean scene is letting the user swim in the sea. The hill scene lets the user climb the hills. The forest scene lets the user fight with monsters in the forest. After we’ve elaborated on these scenarios in great detail, we found that it’s quite hard to sense the swim action using our tilt sensors. So we changed the ocean scenario into the desert and let the user ride a camel. After the user test, we received many suggestions. The most important suggestion for our scenario design is to let our project only focus on the scenery experience to form an easy and peaceful feeling for the users. After that, we changed the interaction in the forest from beating the monster to picking the mushrooms. Finally, it indeed makes our project get rid of the tension of a game and brings the user a peaceful experience.
Fabrication and Production
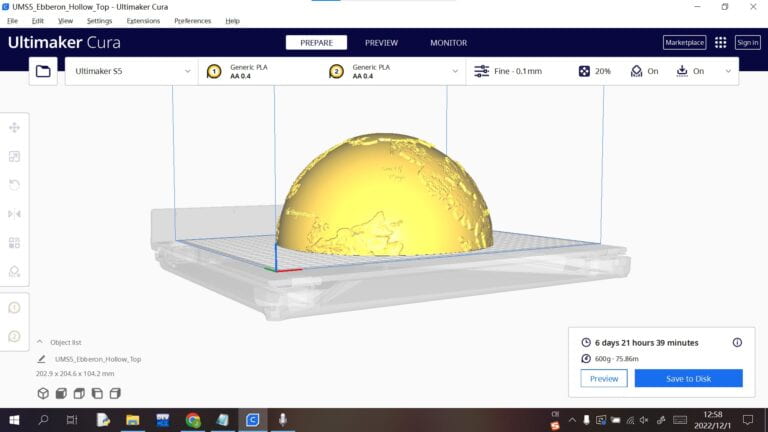
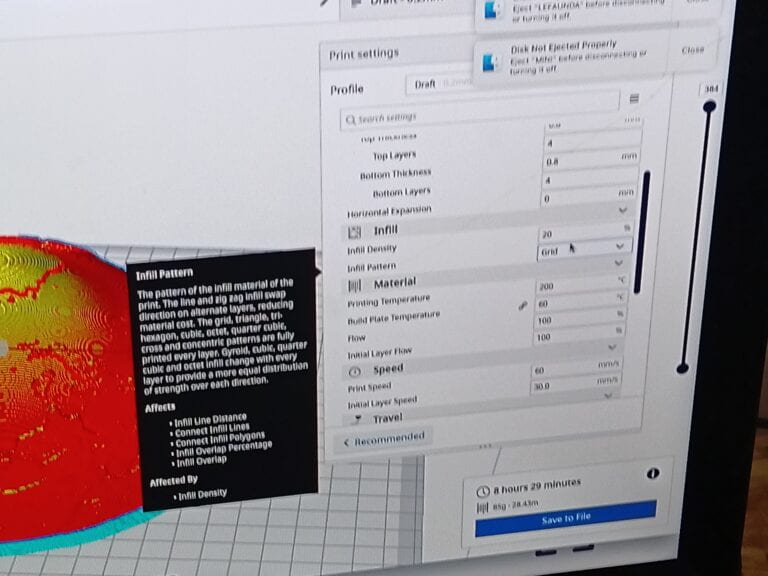
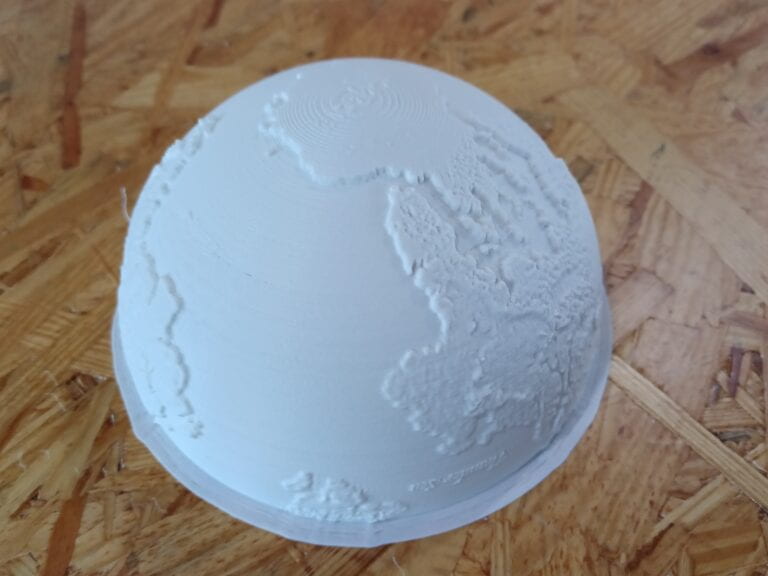
The fabrication part is much more troublesome than we thought. The first problem that we’ve encountered is using the 3D printer to print the globe. We first find a proper 3D model from the internet to print. To make this project has more fantastic elements, we chose the globe from the game DND. Then Jason use the 3D printer prints the first model
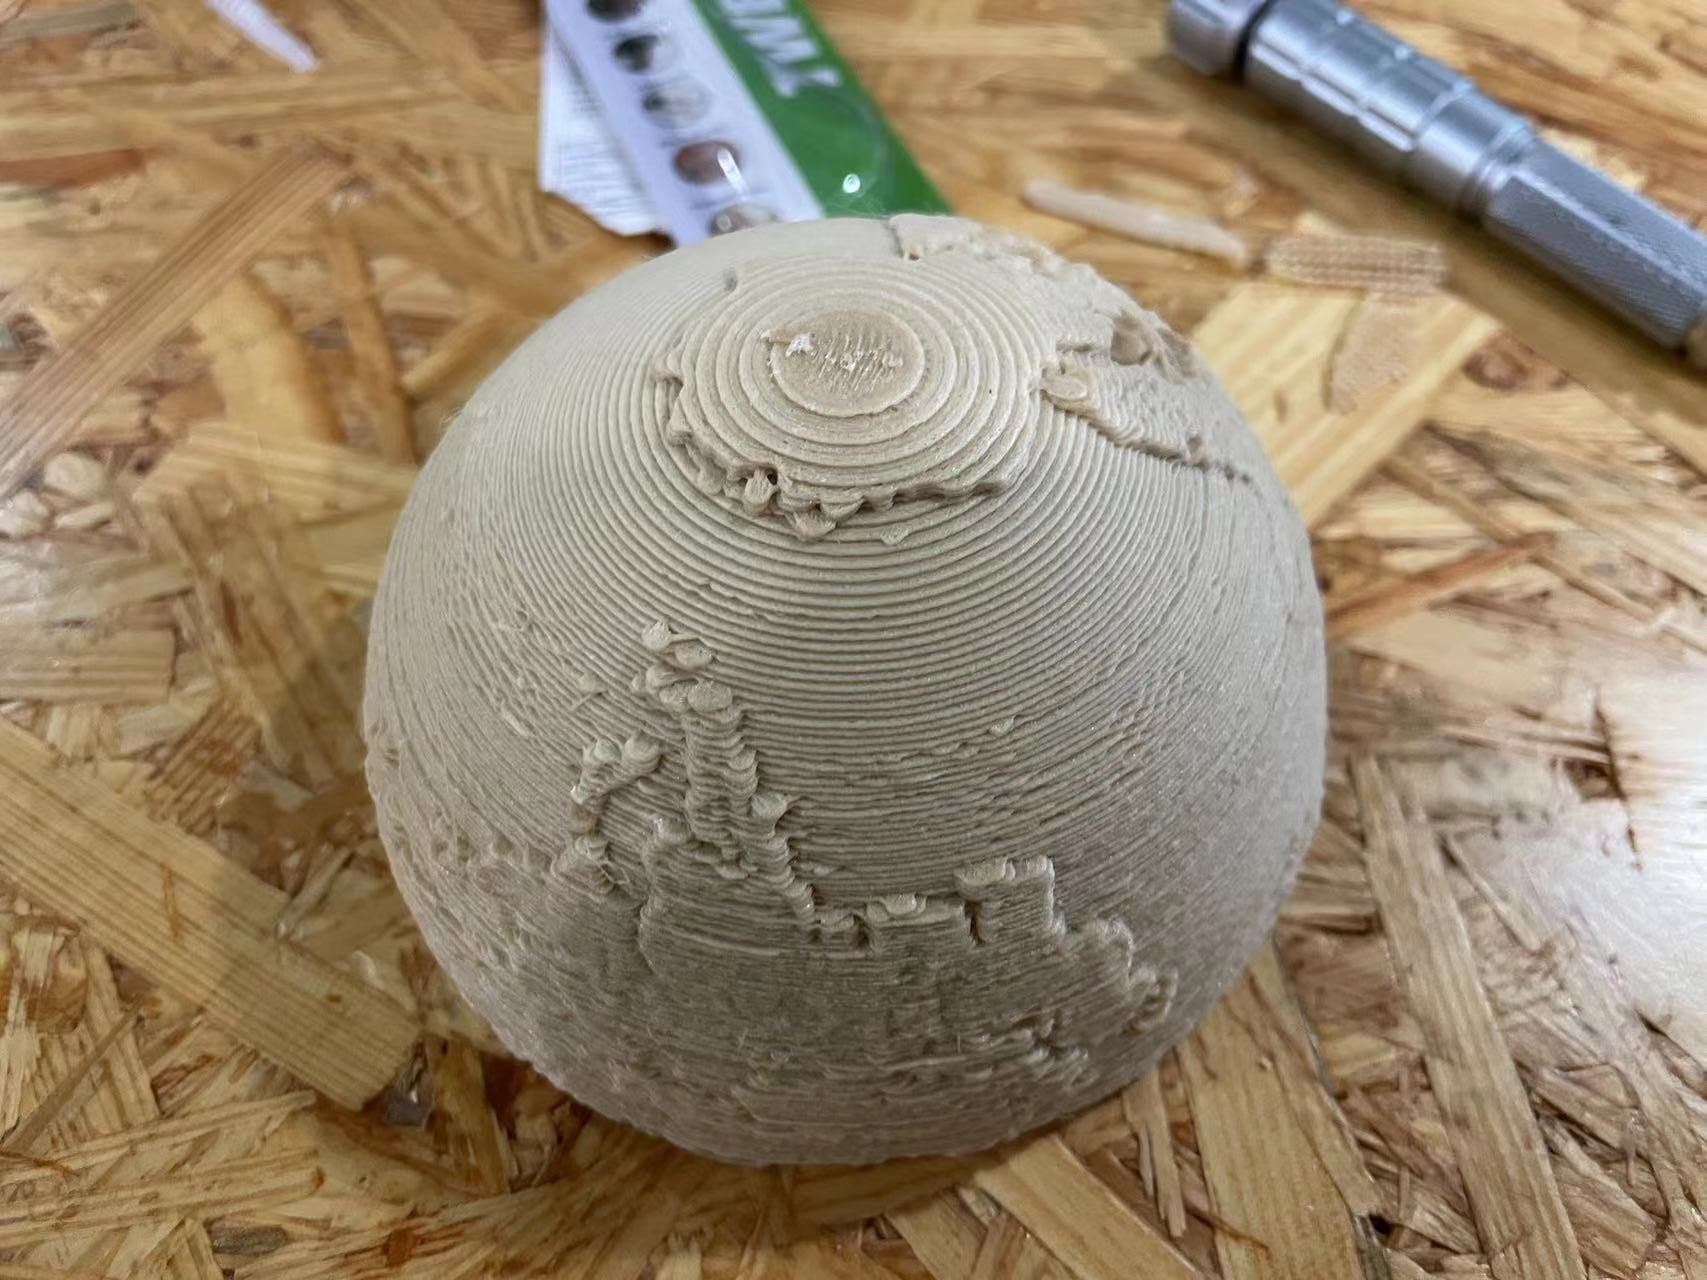
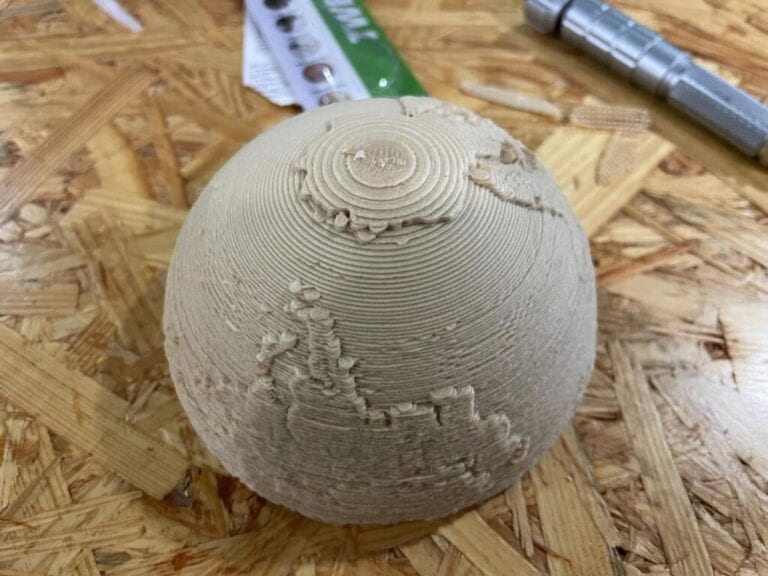
Since we have no experience in 3D printing, the first globe was very rough and a little bit too small. Also, since Jason has designed the support to print, I spent a lot of time demolishing them.
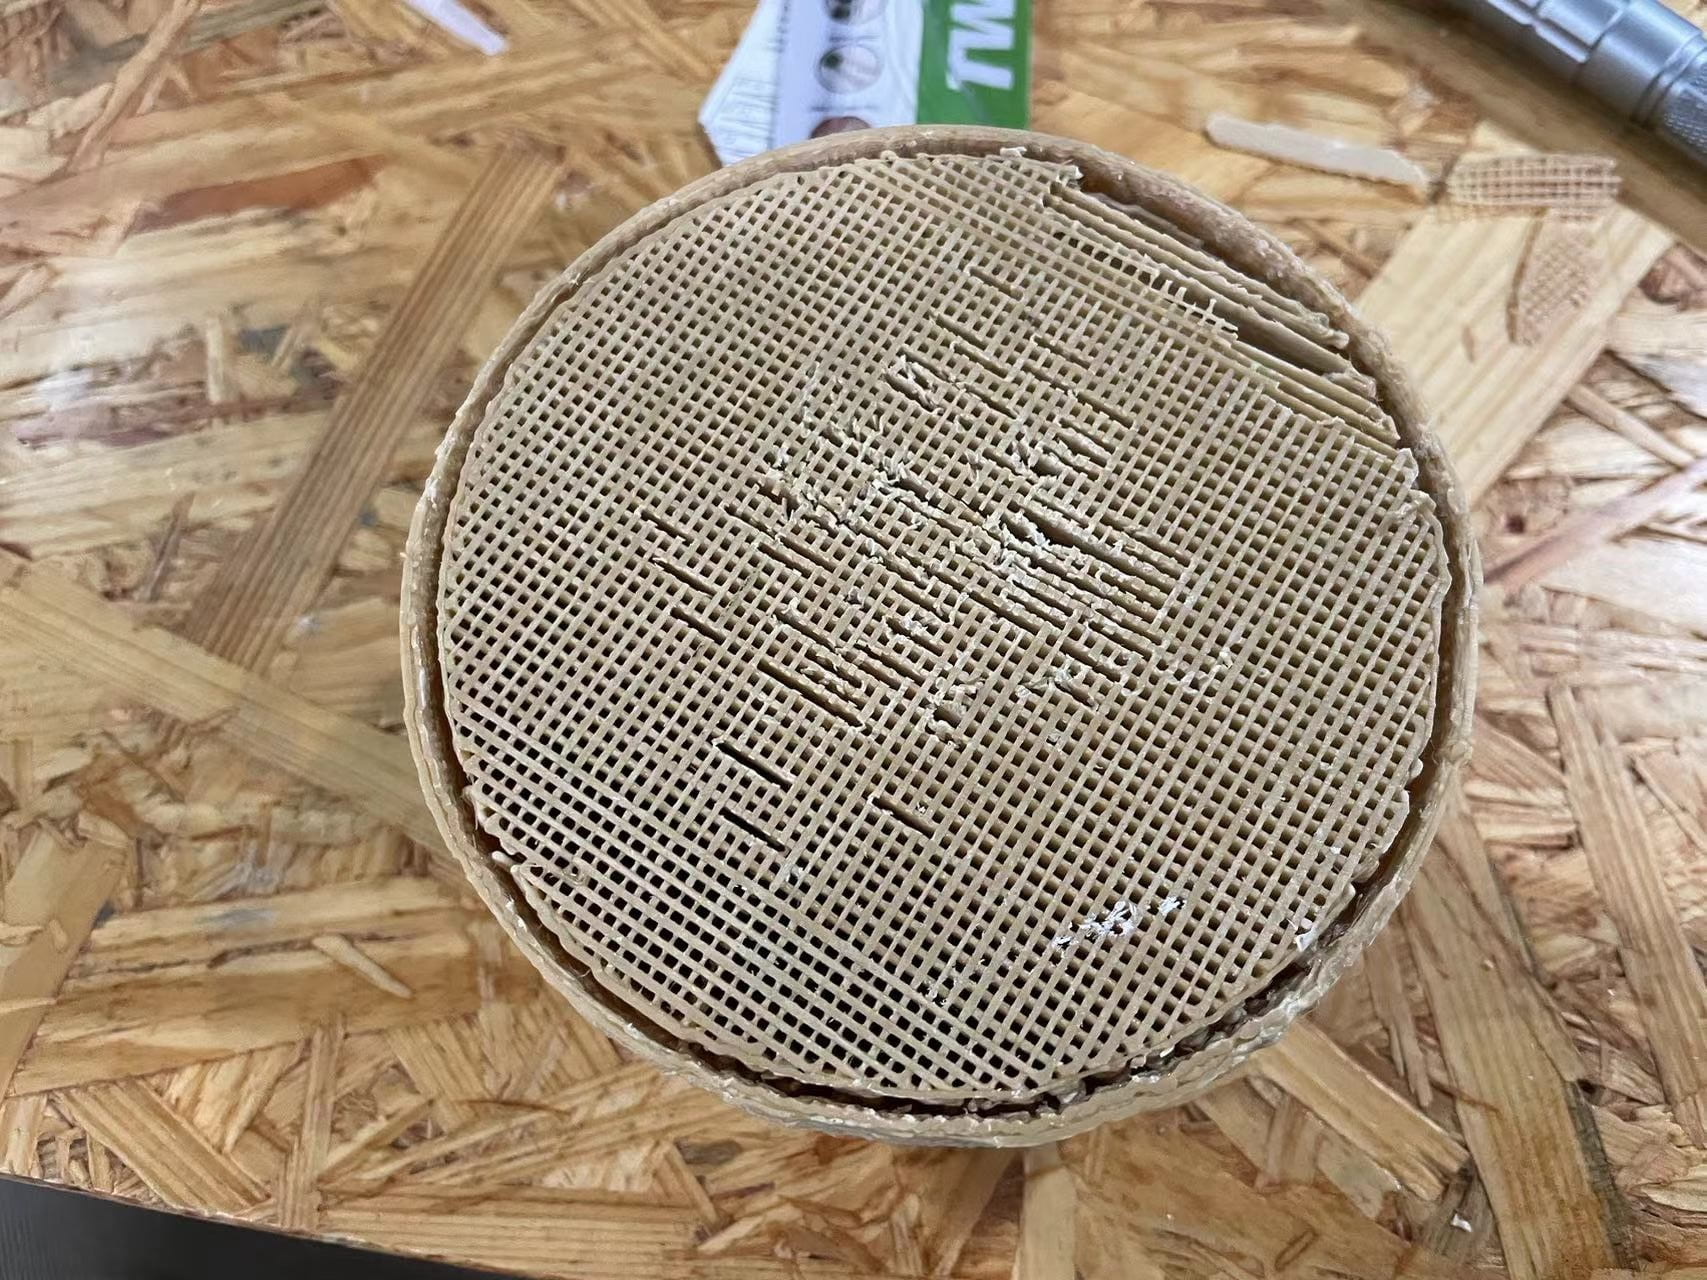
After our first failure, we seek help from the Fab Lab assistant Andy for help. Under his guidance, we successfully made our globe:
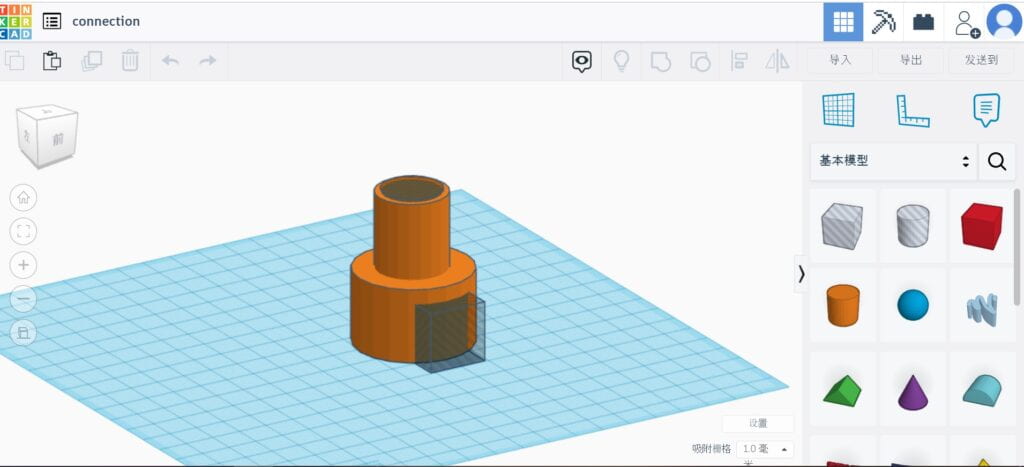
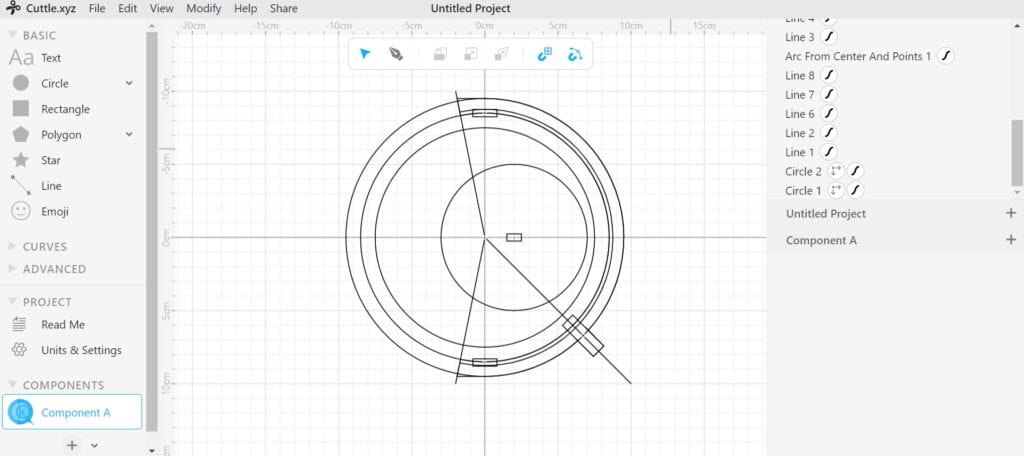
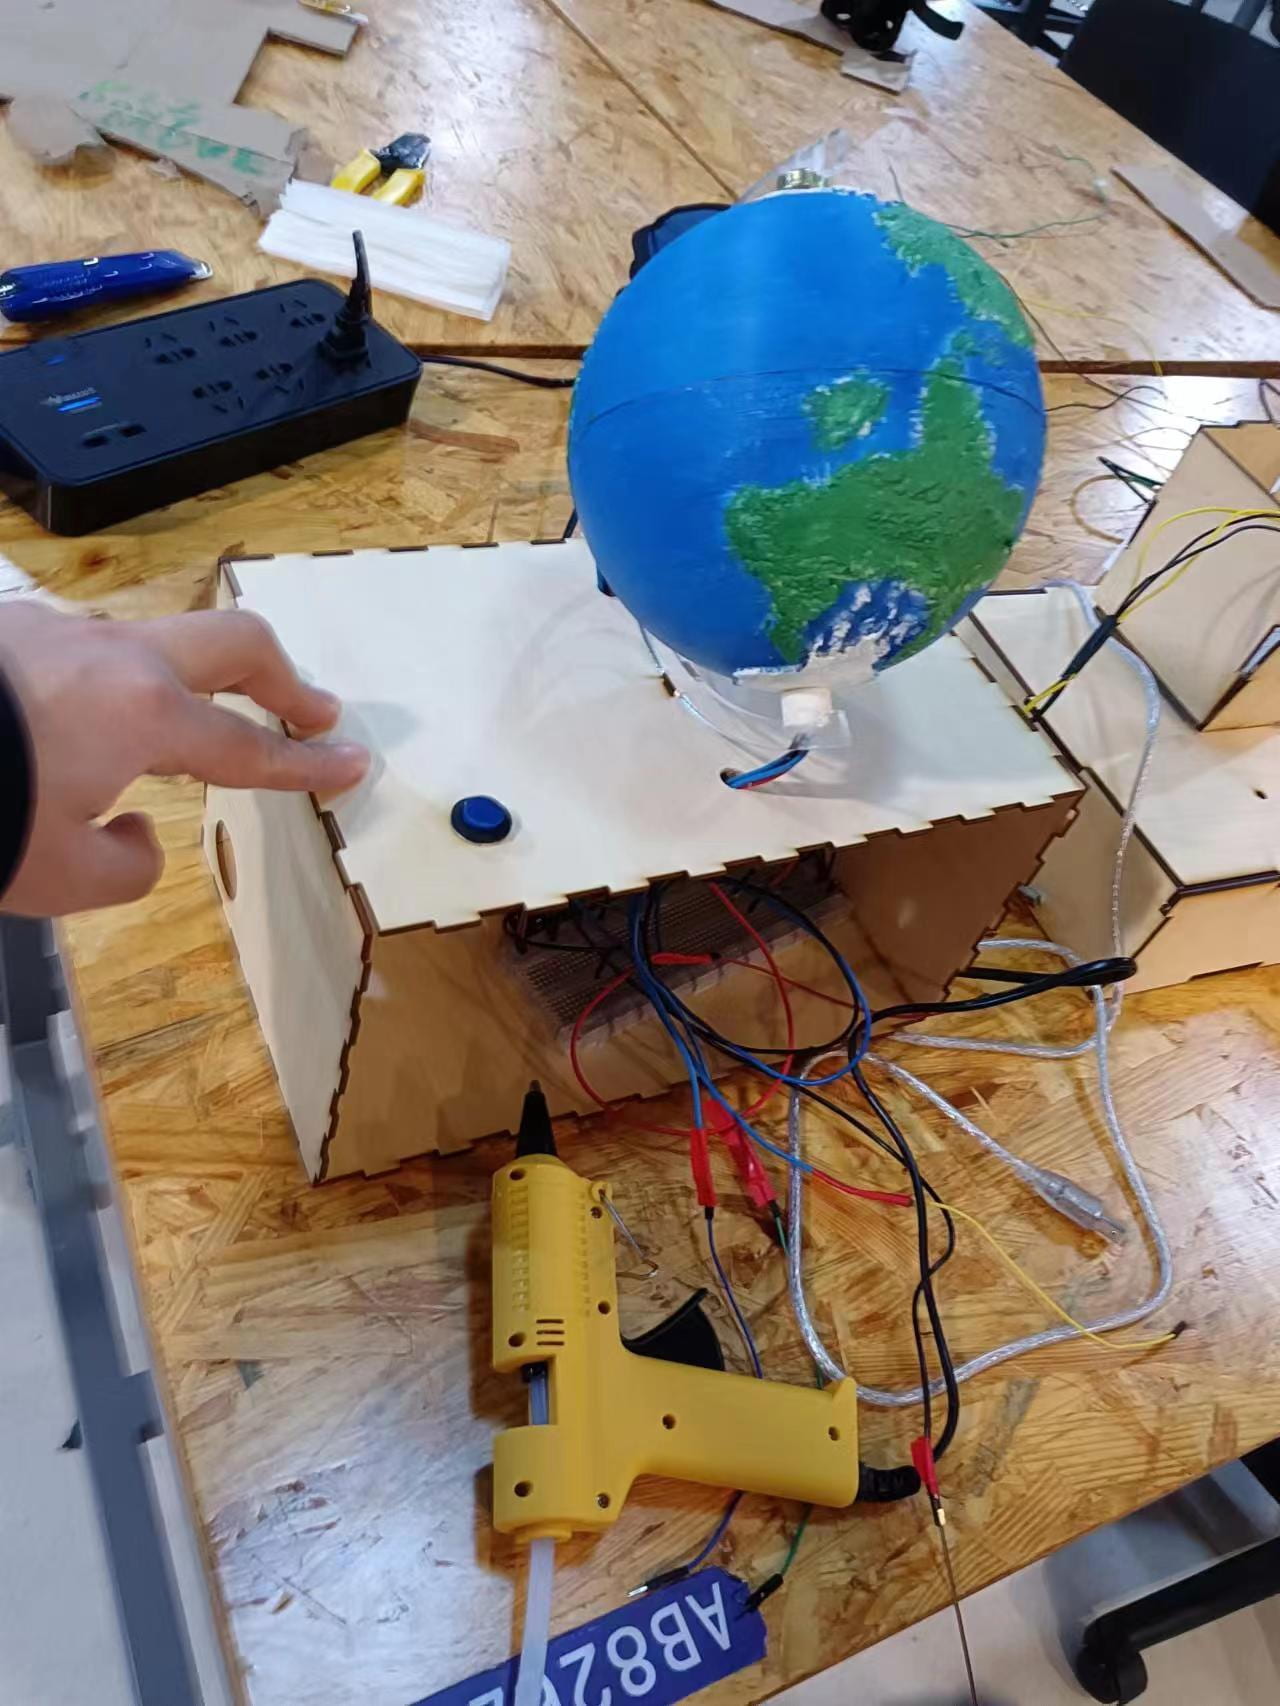
Jason also designed the shelf for the globe. Since we need to let the map move with the globe, we need to use a potentiometer to sense the angle of the globe. So we kept the place for the potentiometer empty and designed the stand for the globe on another side of the globe to support it and keep the place for the cables to come out.
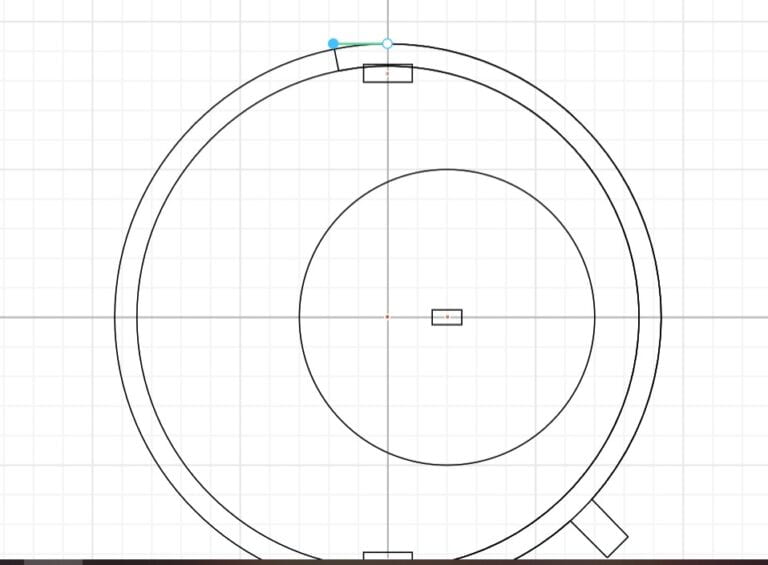
Then is installing the inner electronic elements of the globe. At first, we have divergence on using the touch sensor or the button. After interviewing our user during the user test, since everyone voted for the button, we finally decided to use the button. From the result, we can see that the button can give the user a more realistic experience and clearer feedback when they interact with them.
The first thing of installation is to try our best to minimize the number of cables since the space of the hole on the globe is limited. I soldered the buttons, resistors, and cables together and make all the positive and negative cables connect with each other separately within the globe. In this case, the hole is species enough to only contain 5 cables. Then we use hot glue and tape to install these buttons inside the globe.
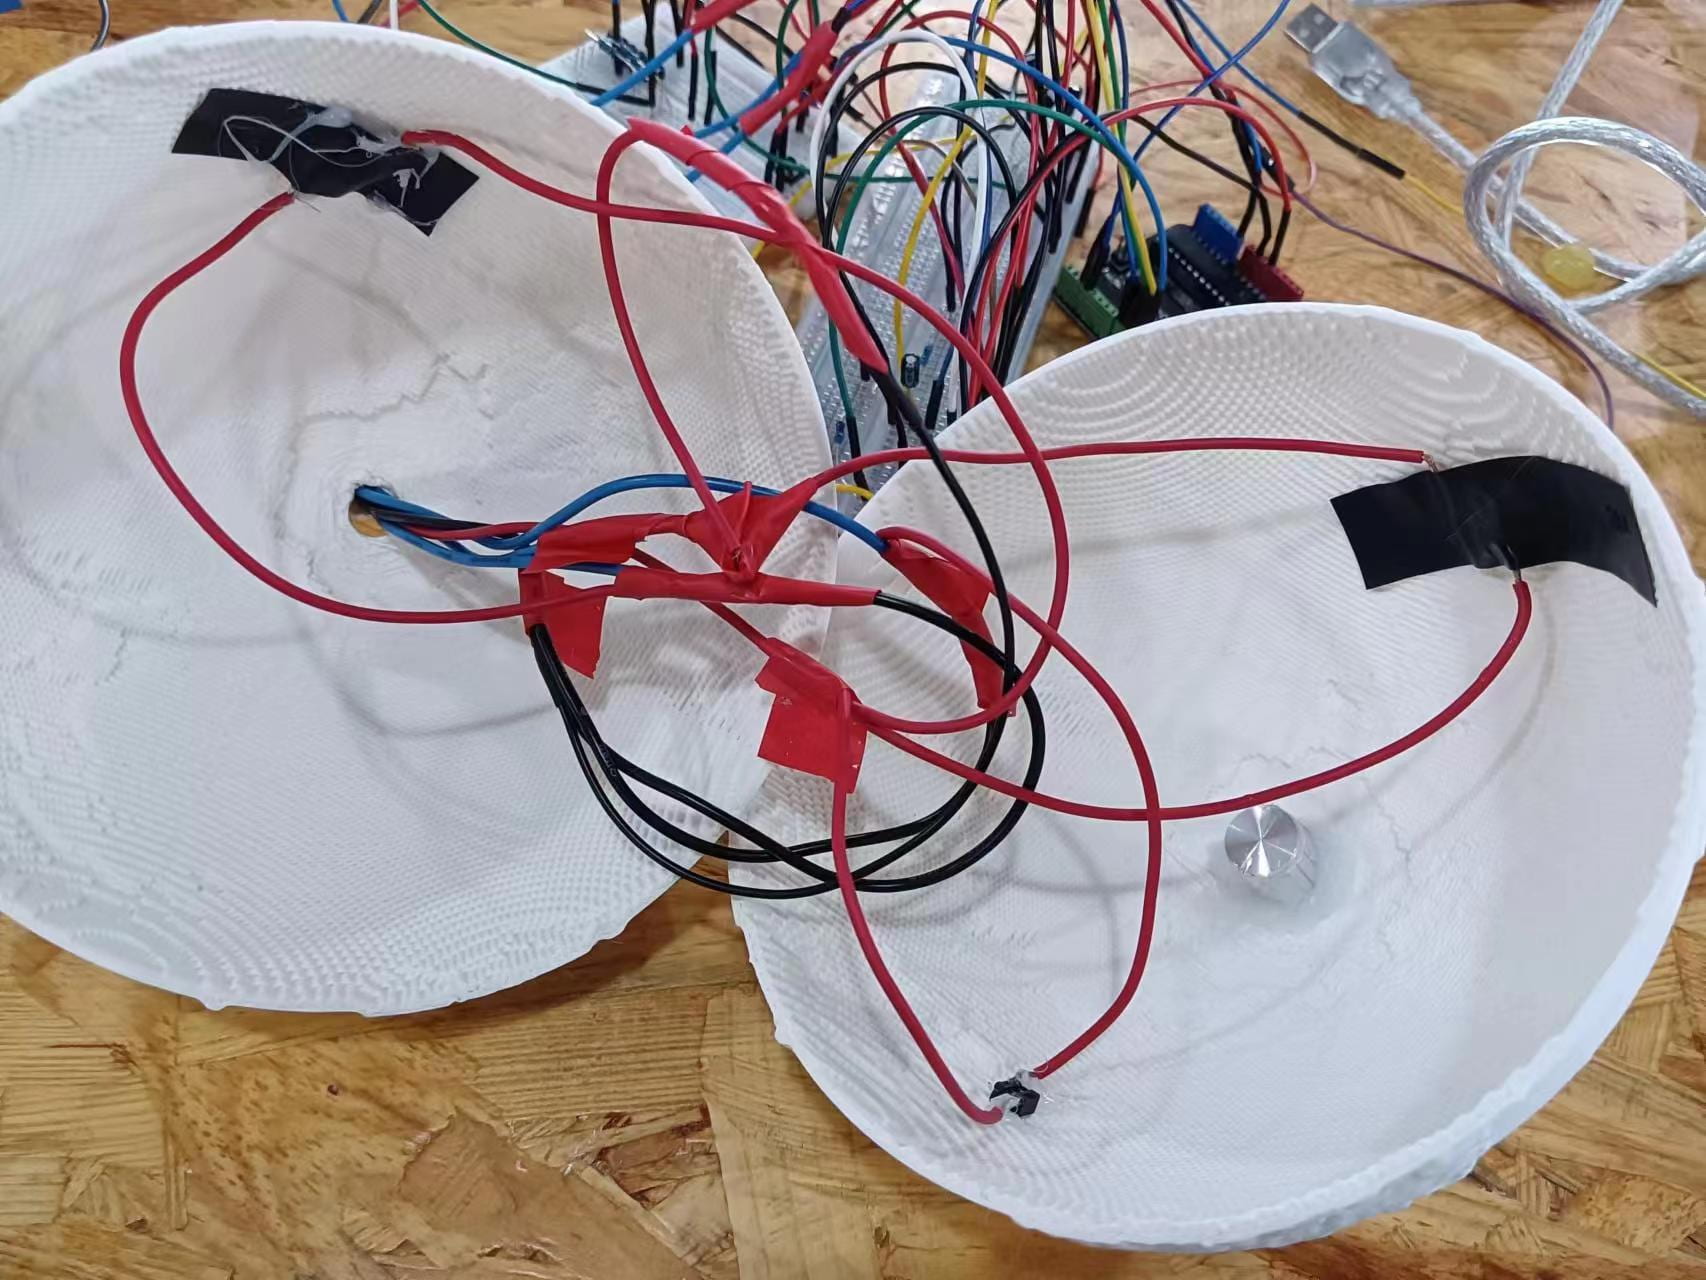
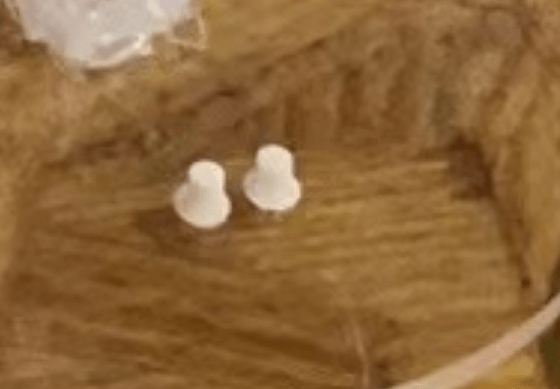
However, we found that the button is too short that the user can hardly press them. So we 3D printed the extended button cap.
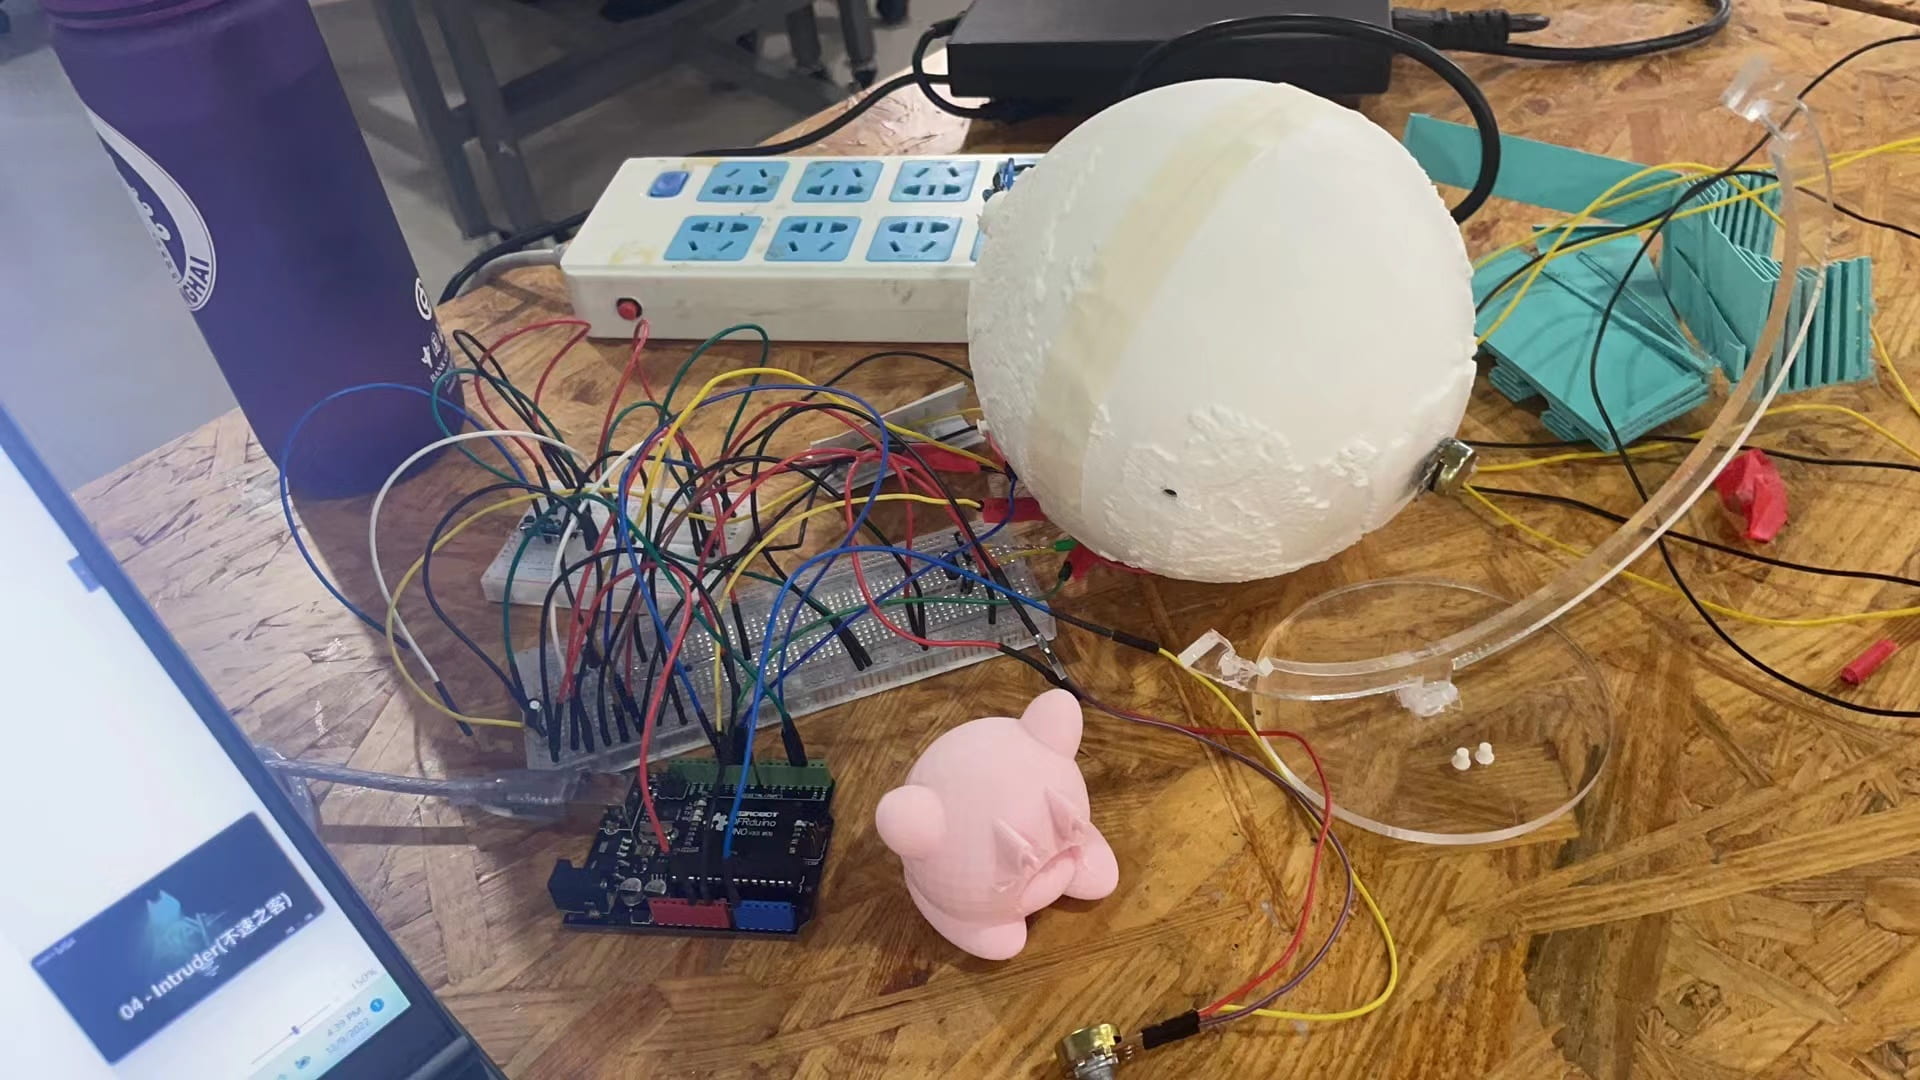
I also built the rest of the part of circuits which contains 2 tilt sensor. Then we connect all the components together and found everything works well.
Also, we’ve used different colors to paint our globe to make it more vivid and fascinating.
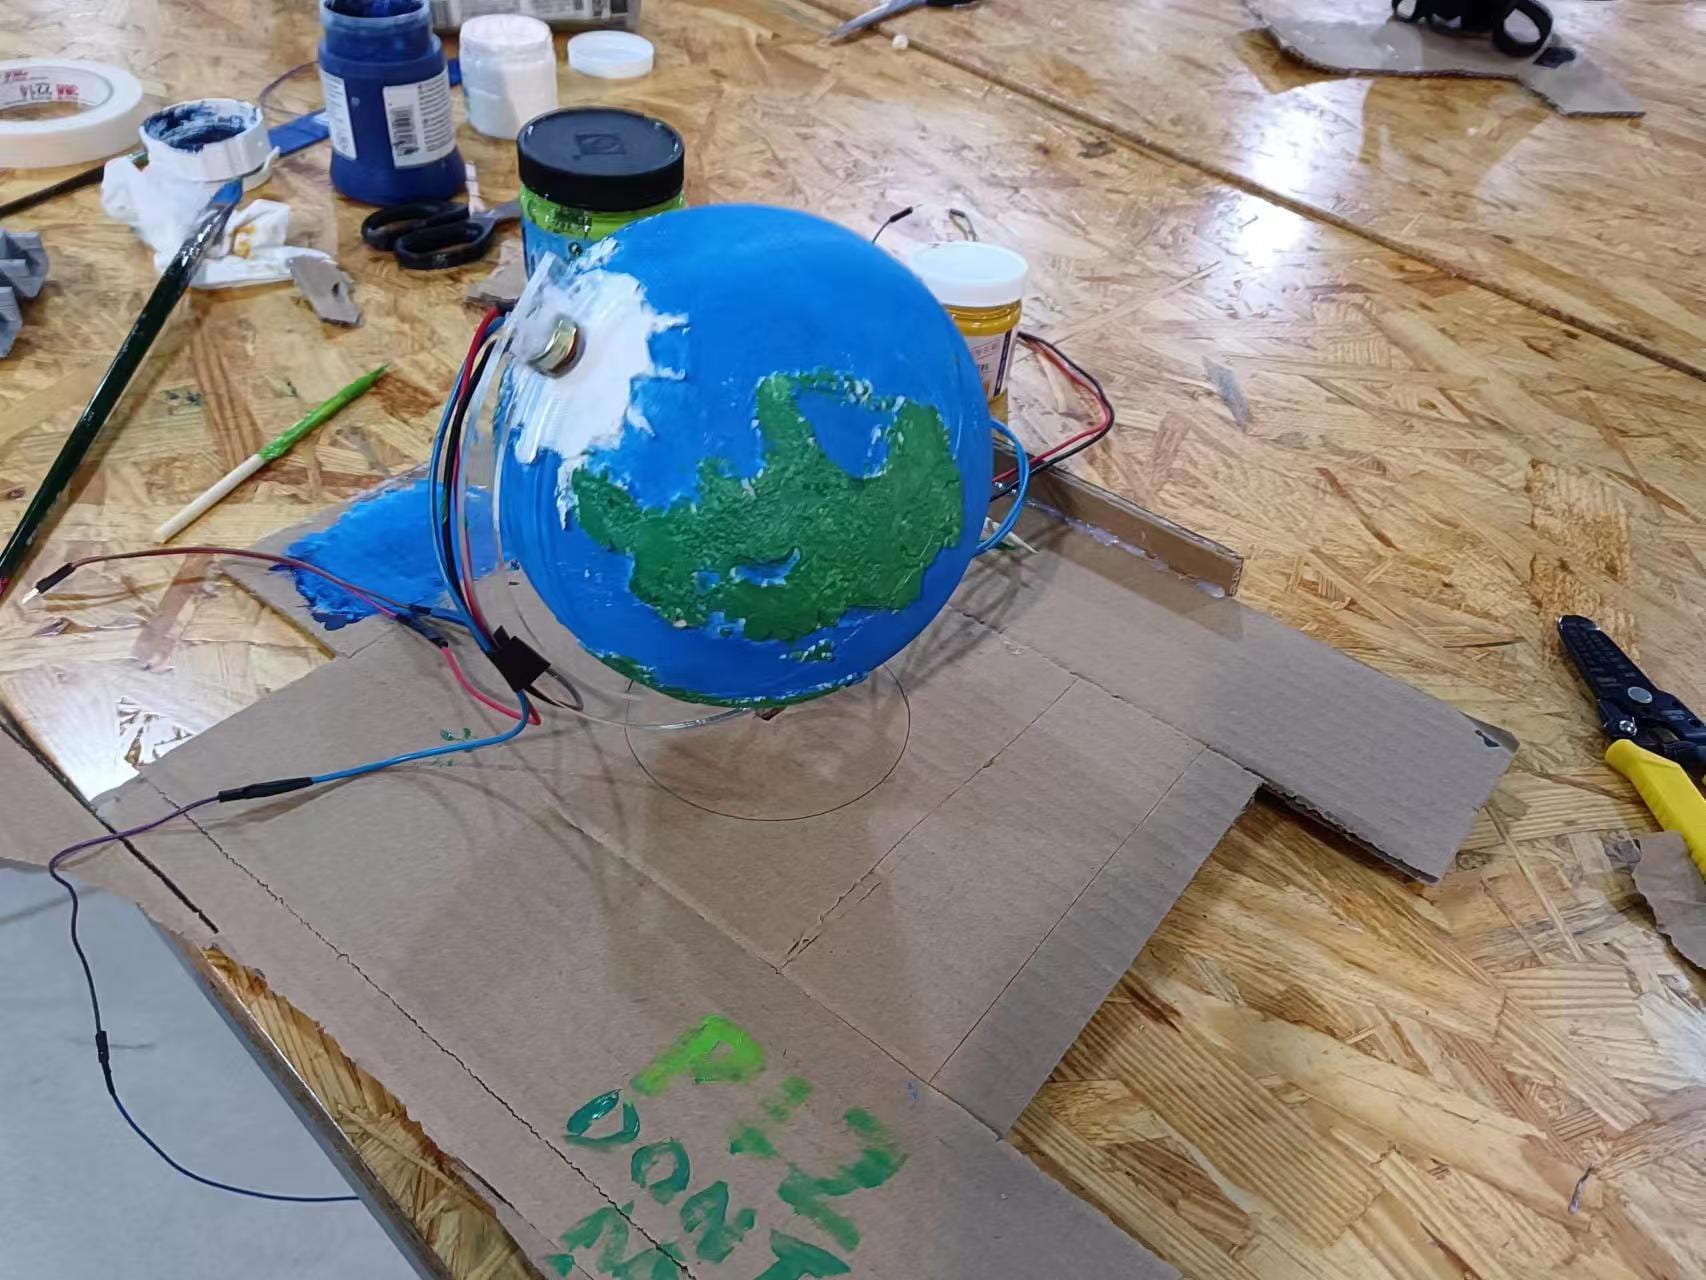
In order to hide all the cables and the Arduino board, Jason has laser cut a box for these components to put in. Above the box is our globe.
Coding
As for the coding part, the first is the Arduino code. The code for the Arduino is quite simple. Only give the values of the sensors and the potentiometers and buttons to the processing. So the code looks like this:
#include "SerialRecord.h"
SerialRecord writer(7);

void setup() {
  Serial.begin(9600);
  pinMode(8,INPUT);
  pinMode(9,INPUT);
  pinMode(10,INPUT);
  pinMode(11,INPUT);
}

void loop() {
  int value1 = analogRead(A0);
  int value2 = digitalRead(8);
  int value3 = digitalRead(9);
  int value4 = digitalRead(10);
  int value5 = digitalRead(11);
  int RTilt1 = digitalRead(2);
  int RTilt2 = digitalRead(3);
  writer[0] = value1;
  writer[1] = value2;
  writer[2] = value3;
  writer[3] = value4;
  writer[4] = value5;
  writer[5] = RTilt1;
  writer[6] = RTilt2;
  writer.send();
  delay(20);
}
Here the delay(20) is a point worth mentioning. In our attempt, found that if the delay is higher than 50, the processing will become quite lag since the fresh rate of the value will be 20 or fewer. If the delay is lower than 20, the Processing will become very lag too. I thought it may be caused by the Processing need to compute the array too many times per second and have no more power to compute other stuff.
Then is the code for processing. We decided to write functions in order to make our code more modular and easier to merge together. Jason mainly wrote the code for the state machine which is for changing the state of the map in order to display different scenarios:
  //------------------------------------------------------------------
  //main structure
  if (STATE == S_INS) {
    ...
    if (val[5]==0) {
      if (val[6]==0) {
        STATE = S_MAP;
      }
    }
  }

  if (STATE == S_MAP) {
    ...
    if (val[0] >= 850) {
      image(Map, -1700, 0);
    } else {
      image(Map, -val[0]*2, 0);
    }
    //fill(0);
    //text(-val[0]*2,100,100);
    if (val[1]==1) {
      if (pre[1]==0) {
        STATE = S_HEAP;
      }
    }
    if (val[4]==1) {
      if (pre[4]==0) {
        STATE = S_INS;
      }
    }
    if (val[2]==1) {
      if (pre[2]==0) {
        STATE = S_OCEAN;
      }
    }
    if (val[3]==1) {
      if (pre[3]==0) {
        STATE = S_FOREST;
      }
    }
  }

  //------------------------------------------------------------------
  if (STATE == S_OCEAN) {
    if (val[4]==1) {
      if (pre[4]==0) {
        STATE = S_MAP;
      }
    }

    ...
  //------------------------------------------------------------------
  if (STATE == S_HEAP) {
    if (val[4]==1) {
      if (pre[4]==0) {
        STATE = S_MAP;
      }
    }


    ...

  //------------------------------------------------------------------
  if (STATE == S_FOREST) {

    ...
    if (val[4]==1) {
      if (pre[4]==0) {
        STATE = S_MAP;
      }
    }
  }
With this state machine, we can easily change between different scenes.
Based on his structure, I wrote the climbing and the character function:
  //------------------------------------------------------------------
  if (STATE == S_HEAP) {
    //image(img2,0,0,width,height);
    if (val[4]==1) {
      if (pre[4]==0) {
        STATE = S_MAP;
      }
    }


    if (oceanPlay == false) {
      oceanS.play();
      oceanPlay = true;
    }

    //initialize
    if (LAST_STATE != STATE) {
      climbTran = 0;
      climbCount = 0;
      cliffY = -5120;
      manTransX = 0;
      manTransY = 0;
    }

    //Rtilt1 = 0;
    push();
    translate(0, climbTran);
    //image(cliff, 0, cliffY, width, width*3);
    image(img2, -1, cliffY);
    displayMan();
    pop();
    climb();
  }

  //------------------------------------------------------------------
void climb() {
  status = Rtilt2;
  if (status != preStatus && status == 1) {
    climbCount = 1;
    climbS.play();
  }
  if (climbCount>= 1 && climbCount < 25 && cliffY <= -10) {
    cliffY += 10;
    climbCount += 1;
    manTransY += 1;
    if (manTransY >= 200 && manTransY < 500) {
      manTransX -= 3;
    } else if (manTransY >= 500) {
      manTransY += 11;
    }
  } else {
    climbCount = 0;
  }
  preStatus = status;
  fill(0, 100);
  rect(2100, 0, 600, 1600);
  fill(255);
  textSize(150);
  text(-cliffY/50, 2150, 120);
  text("M", 2400, 120);
  textSize(100);
  text("Remains", 2150, 220);
  push();
  strokeWeight(100);
  stroke(255);
  line(2350, 400, 2350, 1500);
  stroke(0);
  line(2350, 1500-1100-cliffY/5, 2350, 1500);
  pop();
}
void displayMan() {


  if (Rtilt2 == 0) {
    RarmHeight1 = 200;
    LarmHeight1 = 250;
  } else {
    RarmHeight1 = 250;
    LarmHeight1 = 200;
  }


  if (Rtilt1 == 0) {
    RarmHeight2 = RarmHeight1 - 25;
    LarmHeight2 = LarmHeight1 + 25;
  } else {
    RarmHeight2 = RarmHeight1 + 25;
    LarmHeight2 = LarmHeight1 - 25;
  }

  //text(camelManMoveX, 100, 100);

  push();
  translate(1180+ manTransX, 600 + manTransY);
  strokeWeight(30);
  fill(255);
  stroke(255);
  ellipse(100, 100, 100, 100);
  line(100, 100, 100, 300);

  line(100, 300, 150, 400);
  ellipse(100, 100, 100, 100);
  line(100, 225, 175, RarmHeight1);
  line(175, RarmHeight1, 200, RarmHeight2);
  if (STATE != S_OCEAN) {
    line(100, 225, 25, LarmHeight1);//left arm
    line(25, LarmHeight1, 0, LarmHeight2);//left arm
    line(100, 300, 50, 400);//left leg
  }
  pop();
}
With these functions, the basic interaction has been completed in the scenario. I’ll pick a part of the functions that are worth mentioning to discuss here.
First is the human character.
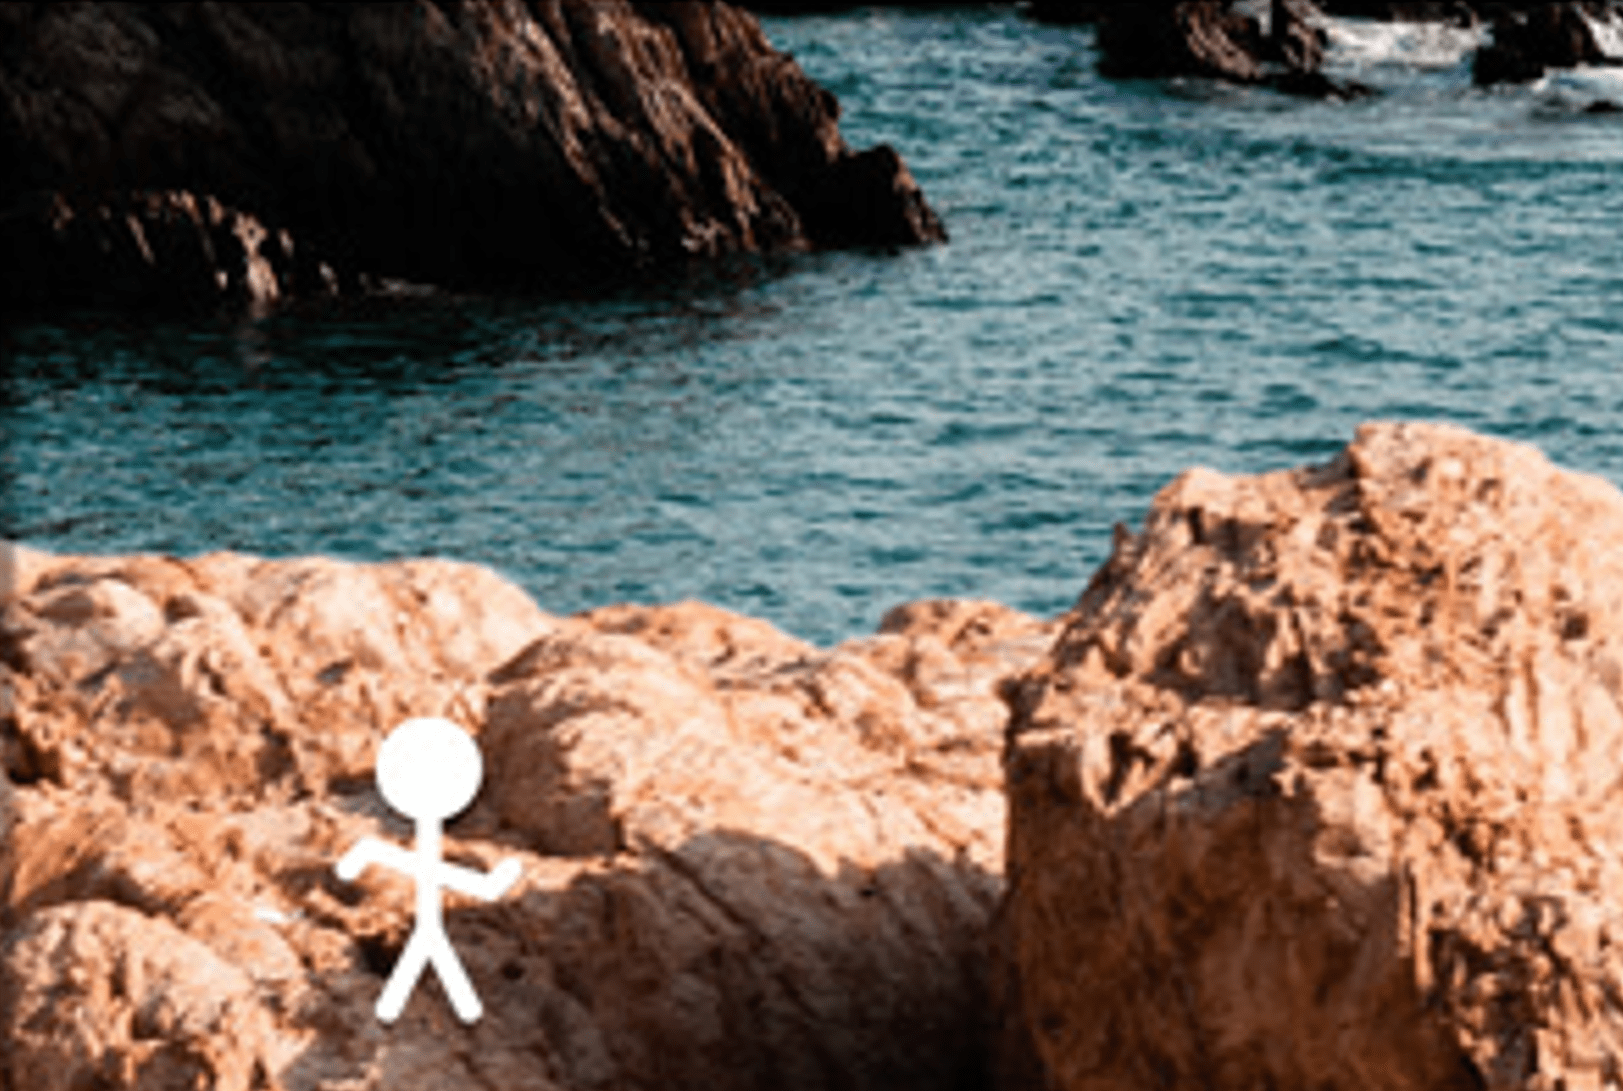
I set the height of the arms related to the tilt sensor’s value and make every component have a relative position with others in order to translate them conveniently and adapt to different tilt sensor inputs. In this case, the character can easily follow the action of the user.
Then is the climbing animation. Once the user has changed the position of the tilt sensor, the value will be recorded. If the current value is different from the last one and the current one is downward, the program will proceed with the action of climbing. The background will move downward and the position of the character will remain the same to form a sense of moving upward.
  if (status != preStatus && status == 1) {
    climbCount = 1;
    climbS.play();
  }
  if (climbCount>= 1 && climbCount < 25 && cliffY <= -10) {
    cliffY += 10;
    climbCount += 1;
    manTransY += 1;
    if (manTransY >= 200 && manTransY < 500) {
      manTransX -= 3;
    } else if (manTransY >= 500) {
      manTransY += 11;
    }
  } else {
    climbCount = 0;
  }
Also, in order to make the user know their progress, I add a progress bar on the side of the frame. The data is according to the value of the background picture.
  fill(0, 100);
  rect(2100, 0, 600, 1600);
  fill(255);
  textSize(150);
  text(-cliffY/50, 2150, 120);
  text("M", 2400, 120);
  textSize(100);
  text("Remains", 2150, 220);
  push();
  strokeWeight(100);
  stroke(255);
  line(2350, 400, 2350, 1500);
  stroke(0);
  line(2350, 1500-1100-cliffY/5, 2350, 1500);
  pop();
Except for the climbing, I also wrote the code for riding the camel. Since they are quite similar, I’ll not show explain the code in great detail. But there’s also a thing that is interesting to mention. In order to make the camel can walk around, I use cos() to make it fluently walk around which follow the relationship between acceleration and speed.
    cosCMX = sin(camelManMoveX/100.)*800;
    Rtilt2 = 1;
    image(img1, 0, desertY);
    push();
    if (((camelManMoveX+150) % 600) <= 300) {
      translate(800+cosCMX, 0);
    } else {
      translate(800+cosCMX, 0);
      scale(-1, 1);
      translate(-1100, 0);
    }
    camel();
    displayMan();
    pop();
Conclusions
Looking back to our project itself, during the user test and the presentation, we all think that our project has almost reached the stated goals. From the enjoyable expression and movement of our users, we think that this project is a proper gadget for them to relax and give them an immersive experience traveling around the world. The project follows the nature rules from my understanding of interaction. Like the audience will naturally turn the globe to find the place they want. The interaction in every scenario is naturally the same as the real one in the real world. With the accomplishment of this project, we have discovered a brand new interactive way to let the user can not only see the scenes but also can interact with them. They can use their effort to explore the world to enjoy a better life.
However, nothing is perfect. Our project still has a lot of things that need to get improved. Like the little man character only consists of lines and shapes, if we have the ability to draw a comic character will make the interaction more immersive. Also, the instructions still need to be improved. We found that our users will feel confused about how to shift scenes and interact with different scenes. In addition, the way that we fix the tilt sensor on the user’s arm is not very elegant. There must be a better way to let our users wear these sensors.
In one sentence, our project gives people a new way to see and explore the world and it gives people a new way to share their experiences and idea with the world at the same time.
Annex
There’s a lot of stuff that I want to cover in this part.
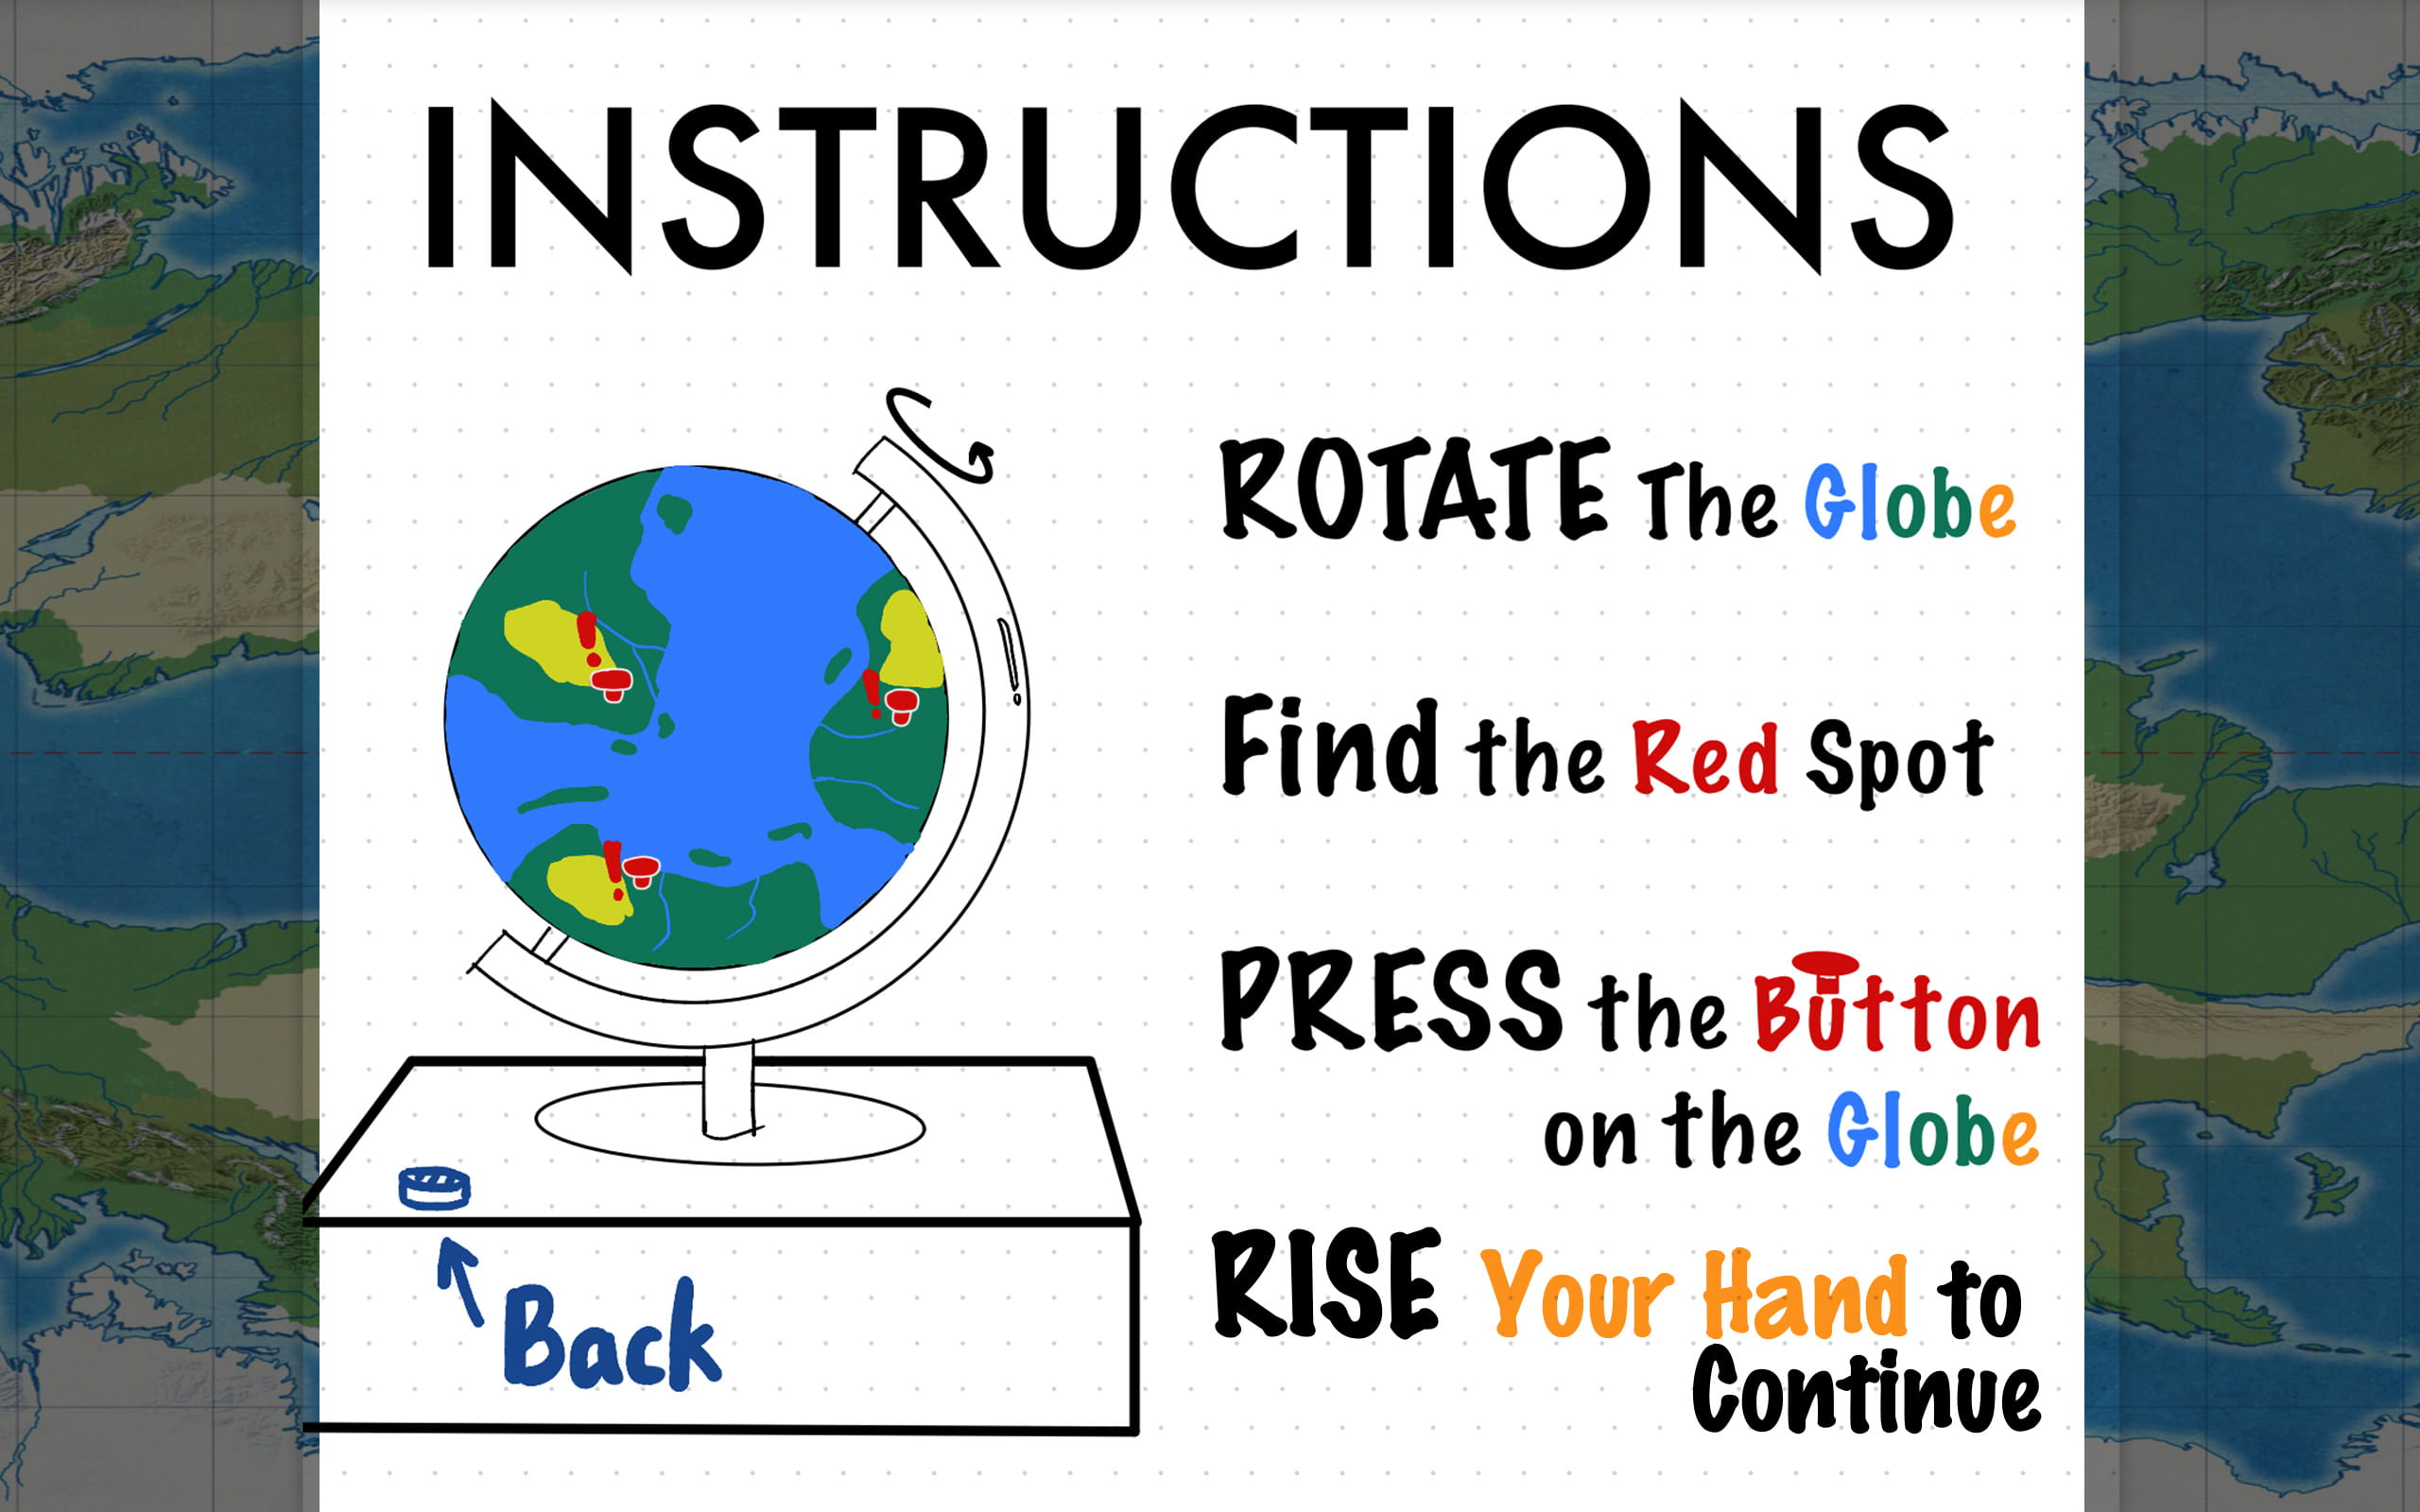
First is the instruction design. Although Jason insists that we don’t need a pop-up instruction, I still did it. I use different colors to label the different parts of the project. I use capital words to emphasize the action the user should do. The most interesting part I think is the way to skip the instruction: raise the hands. I think letting the user raise their hand can make them get familiar with the way of interaction in our project right after they read our instructions. This may give the user a further understanding of how our project should work.
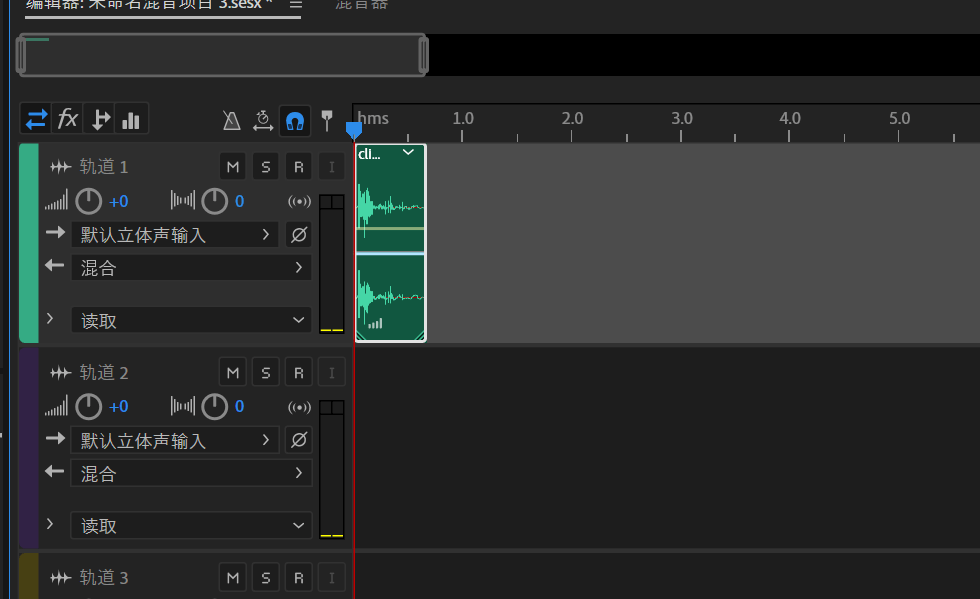
Also, we still have a quarrel with the background music. I think the background music is one of the key elements of this project since we need to give the user an immersive experience and the music is like an ambient sound that brings the user to the place we want. So I add the music and more importantly, the sound effect. With the sound effect, every time the user interacts with the project, they can receive clear feedback. I think it has the same importance as visual feedback. For those sound effects, It’s quite hard to find a proper one. So I’ve listened to over 200 pieces of audio footage and picked the proper audio. Then I use Audition to edit them into short clips that can be played repetitively.
One thing I have to complain about is the performance of the Processing. It’s really slow and lags. Since it can only use one core in the CPU, any of our photos that need zoom and move will become unsmooth. So we have to use Photoshop to make every photo exactly the same resolution as my computer screen. Then without zooming the photo, it can reach an acceptable fluent level.
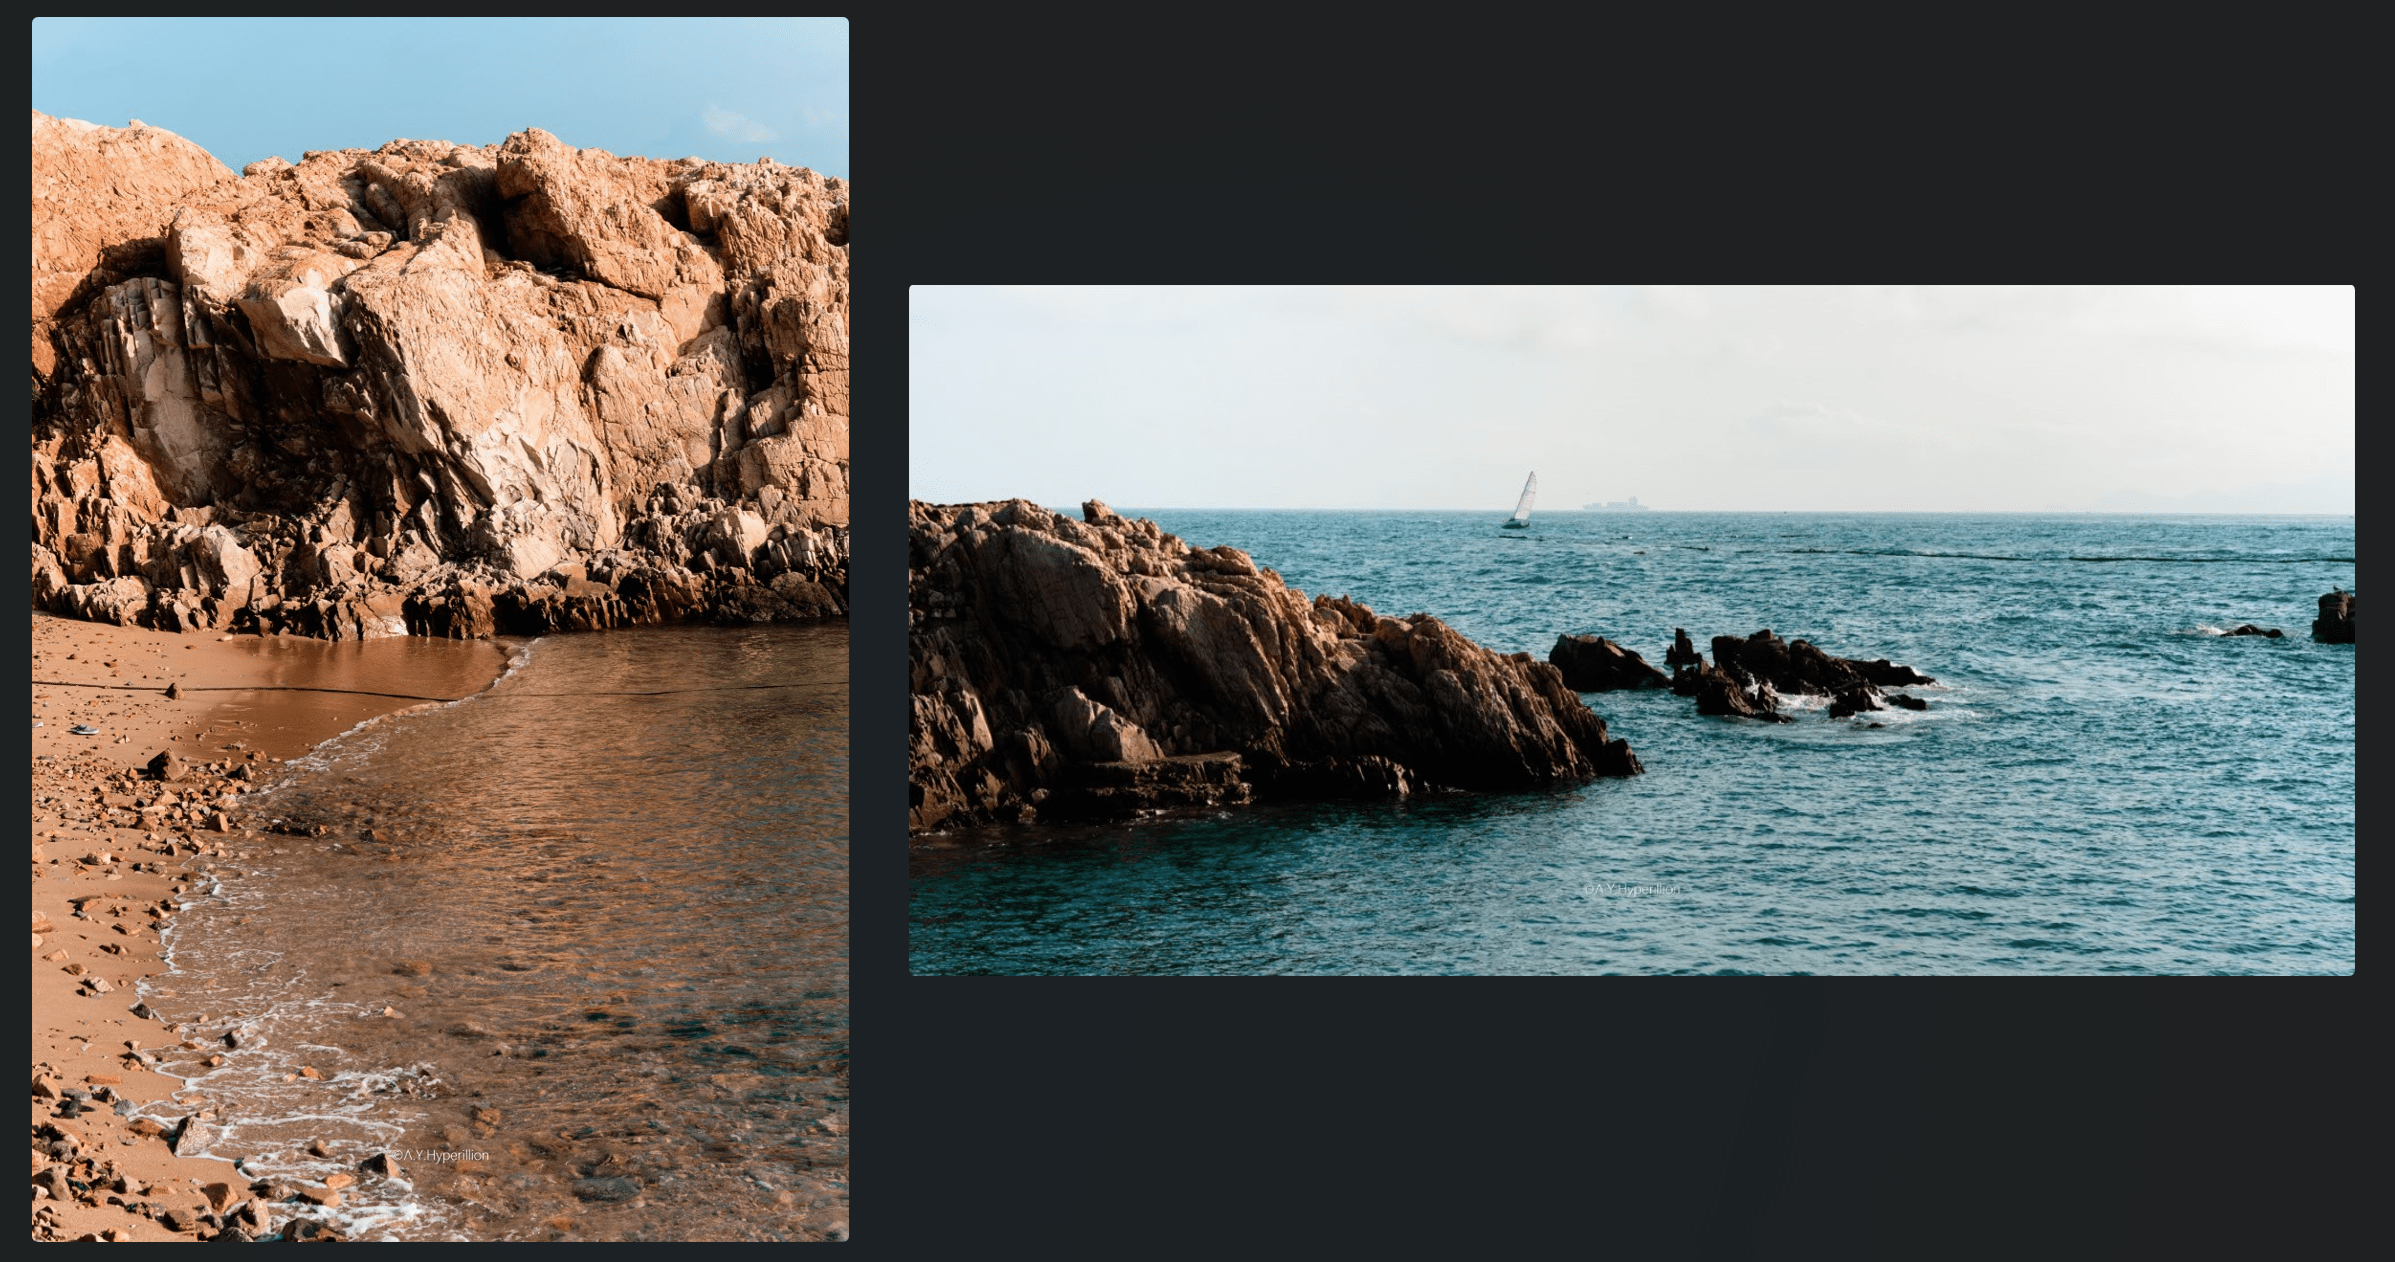
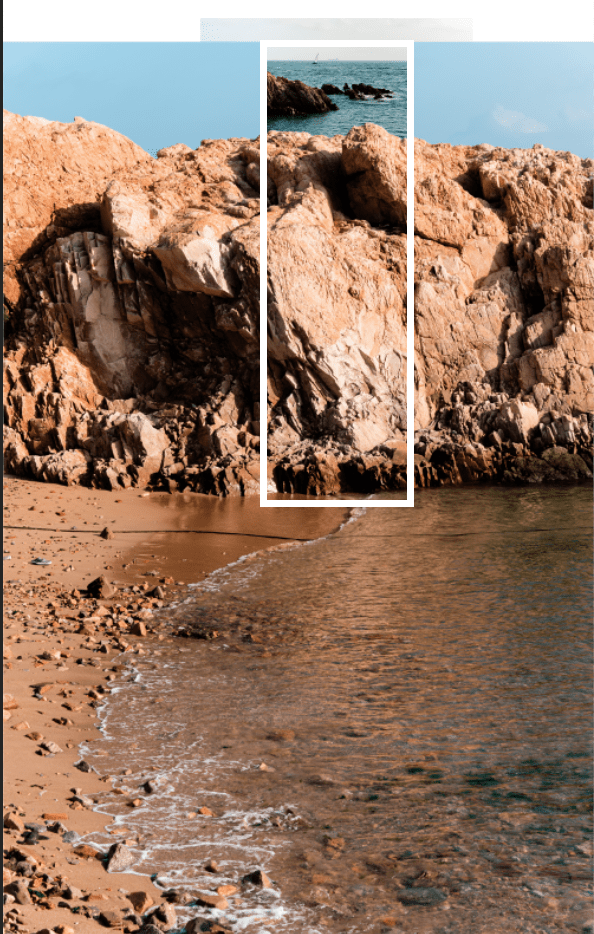
Also, it’s worth mentioning that all the photos in this project are my photography works. Also, the climbing one is two photos and I use photoshop to make them together. Since I want to bring the user a sense of relief and free, I choose the picture of the sea as the “prize” scene after climbing the 100m mountain 😉
From this project, we undoubtfully learned a lot from it. The greatest outcome is a further understanding of the Interaction. Our understanding of the interaction becomes the tenet go through this project. Moreover the exploration, design, production, and fabrication procedure, we are more familiar with the steps of how a project grows from an idea to a work. From the user test, we are one step further to knowing how our idea will present to the user and the degree of their understanding. The theme of our project is also one important step to creating a virtual universe which is the thing that I’m trying to realize.


