NoC (W06): Springs
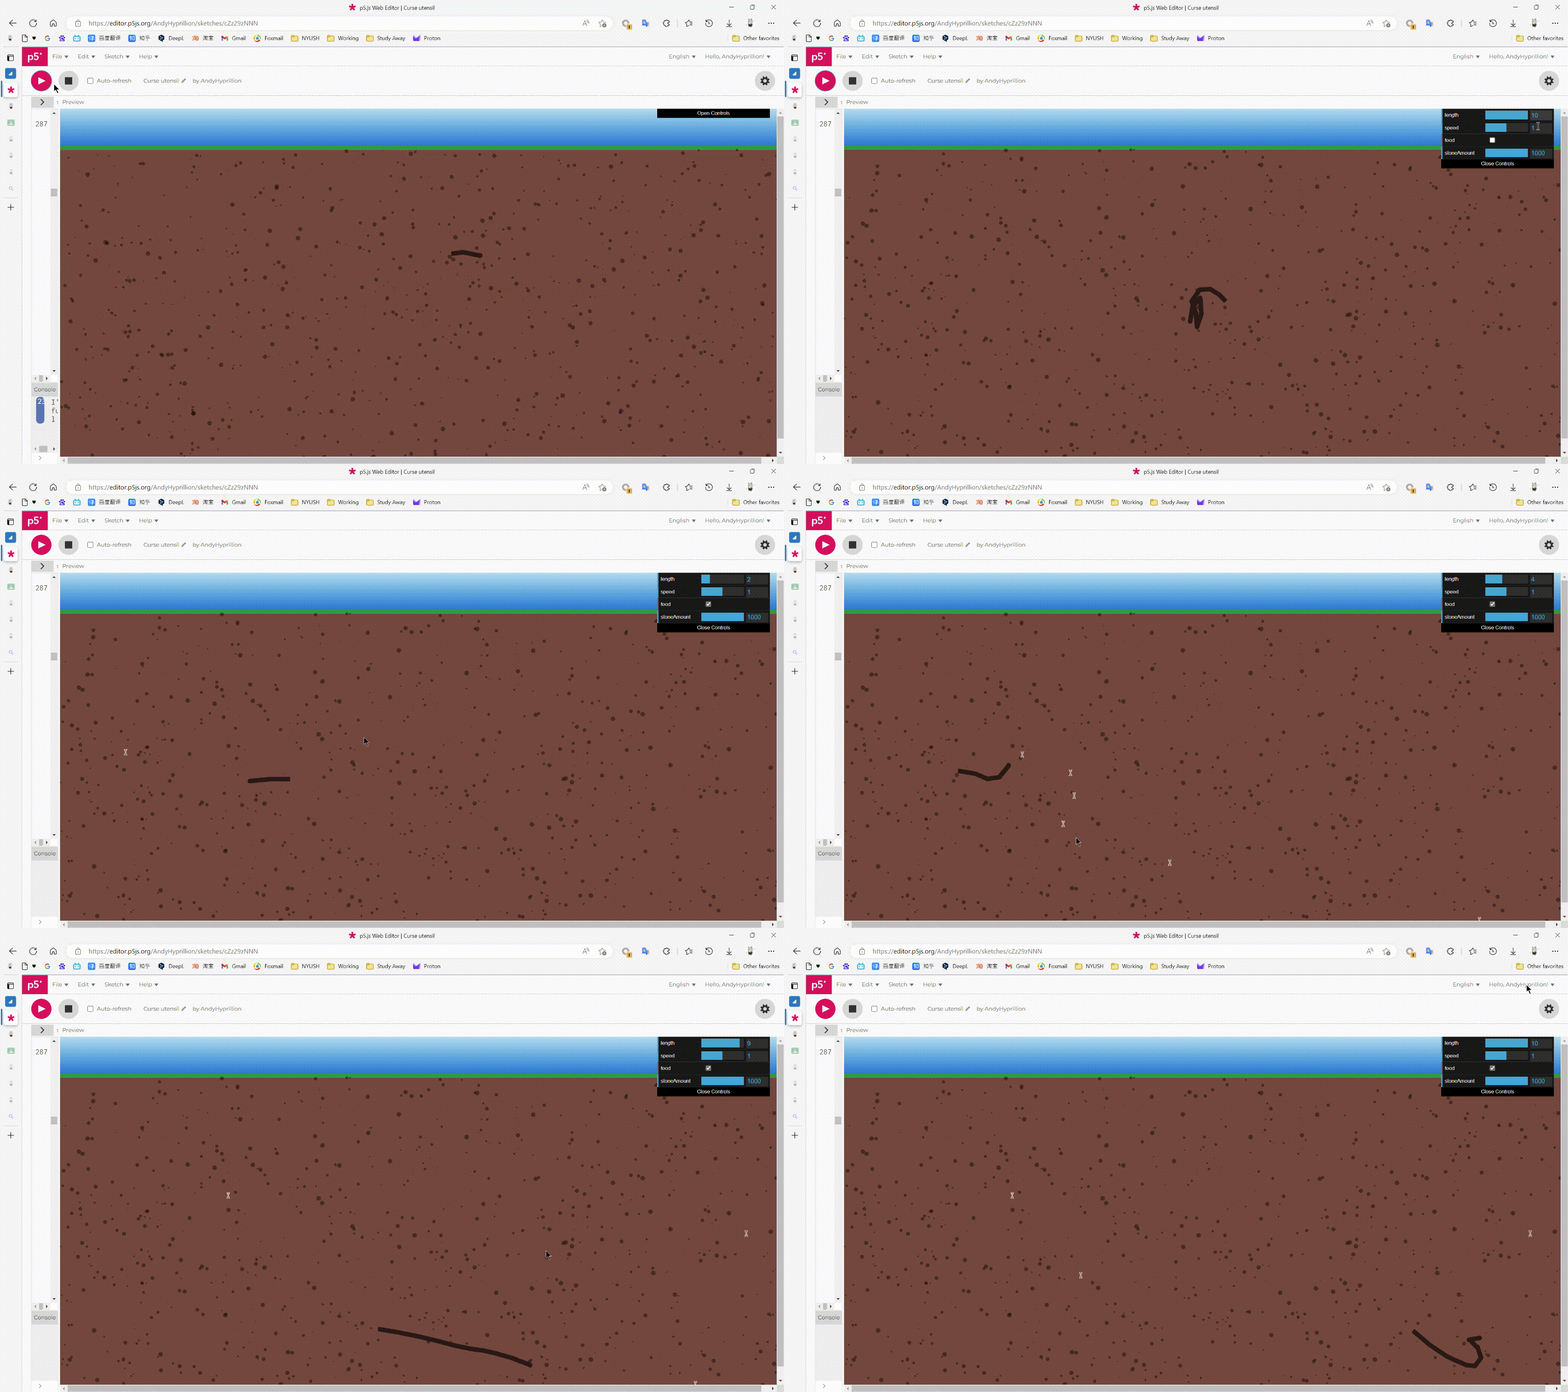
Spring Worms
Link: p5.js Web Editor | spring worm (p5js.org)
* Warning: Some content in this blog may let you feel uncomfortable

Idea: From Exploration
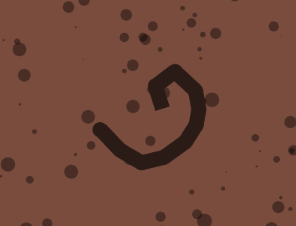
In Chinese, there’s a word called “江郎才尽” (Cite from Ash) which means that someone has exhausted their talent. When I was thinking of the springs, I really can’t find out a thing that I want to code. So I just connect some balls with the spring and find that it really looks like an earthworm. Although I don’t feel quite comfortable when staring at this creature too, this is the only thing that I can code at the moment.
Coding 01: Earthworm Lives in the Earth
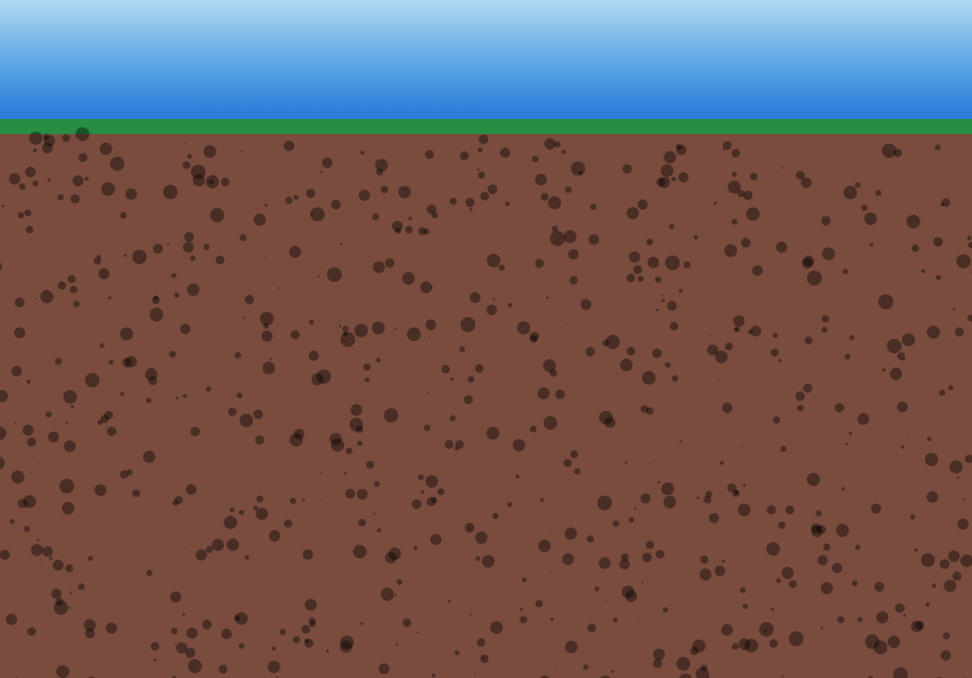
The first thing is the background. Since the earthworm obviously lives in the soil, I set the background color brown and add some circles to it to simulate the stones in the soil. On the surface of the soil are the grass and the blue sky.

Coding 02: Springs to Connect the Bodies
Then is the most essential part of this mini project: the springs. We need to write the ball class first which is the connection part of the springs.
class Ball {
constructor(x, y, r) {
this.pos = createVector(x, y);
this.vel = createVector(0, 0);
this.acc = createVector(0, 0);
this.rad = r;
this.mass = this.rad;
this.a = 0;
this.b = 0;
}
Then we need to write a spring class to connect the balls. The spring class receives three parameters. The first two parameters are the two balls that the spring is connecting while the last one is the initial length of the spring. The k value determines the scale of the elastic force from the spring.
class Spring {
constructor(b1, b2, len) {
this.b1 = b1;
this.b2 = b2;
this.len = len;
this.k = 0.05;
}
Then we need to deploy the force:
update() {
this.force = p5.Vector.sub(this.b2.pos, this.b1.pos);
let distance = this.force.mag();
let stretch = distance - this.len;
let mag = -1 * this.k * stretch;

this.force.normalize();
this.force.mult(mag);
this.b2.applyForce(this.force);
}
Since the worms are using their body to follow its head, the force on the spring only needs to deploy on the later ball.
Then is the display part. Here I use the rectangle + circle to draw the body. I use heading() and the sub() of two balls to calculate the angle and use rotate() to rotate the rectangle.
display() {
push();
fill(44, 27, 22);
// line(this.b1.pos.x, this.b1.pos.y, this.b2.pos.x, this.b2.pos.y);
translate(
(this.b1.pos.x + this.b2.pos.x) / 2,
(this.b1.pos.y + this.b2.pos.y) / 2
);
rotate(this.force.heading());
rect(0, 0, p5.Vector.sub(this.b1.pos, this.b2.pos).mag(), this.b1.rad * 2);
pop();
}
At this moment, the worm is well connected. Then we need to make it move.
Since the body has been connected, we only need to change the position of the head of the worm and the body will follow the route. So we only need to change the position of the first ball: balls[0].
For the move function, we need to simulate the movement of a worm that is crawling around and one step forward with one step backward. The random() is suitable for this movement. The deployment is also not complicated. We only need to change the velocity of the head:
move() {
this.vel.add(
((random(-0.5, 0.5) * this.rad) / 2) * ui.speed,
((random(-0.5, 0.5) * this.rad) / 2) * ui.speed
);

Coding 03: Move For What?
Then the worm can move around and looks like a real one(almost). To make its life more meaningful, I decided to find the poor worm something to do: find food. I make its length controlled by the food. If the user has opened the food mode, it will become shorter and more hungry after a period of time. Also, the food appears in the soil after a period of time. Since I have no idea about how to draw the food to make it not that disgusting, I finally draw the shape of DNA.
class Food {
constructor(x, y) {
this.pos = createVector(x, y);
this.died = false;
}

die() {
let vector = p5.Vector.sub(this.pos, balls[0].pos);
if (vector.mag() <= 10) {
this.died = true;
}
}

display() {
push();
translate(this.pos.x, this.pos.y);
scale(0.2);
stroke(255);
fill(0, 0);
strokeWeight(3.33);
beginShape();
curveVertex(0, -10);
curveVertex(0, -10);
curveVertex(2, 2);
curveVertex(10, 20);
curveVertex(20, 30);
curveVertex(28, 48);
curveVertex(30, 60);
curveVertex(30, 60);
endShape();
beginShape();
curveVertex(30, -10);
curveVertex(30, -10);
curveVertex(28, 2);
curveVertex(20, 20);
curveVertex(10, 30);
curveVertex(2, 48);
curveVertex(0, 60);
curveVertex(0, 60);
endShape();
line(0, -5, 30, -5);
line(3, 5, 27, 5);
line(9, 15, 21, 15);
line(9, 35, 21, 35);
line(3, 45, 27, 45);
line(0, 55, 30, 55);
pop();
}
}
Once the food is met by the head of the worm, it will disappear and the worm will become longer. Now we need to code for the worm to make it can find the nearest food.
The solution is to calculate all the distances of the foods and save the position of the nearest one:

 findFood(foods) {
let distance = 100000;
for (let food of foods) {
let vector = p5.Vector.sub(food.pos, this.pos);
if (vector.mag() < distance) {
distance = vector.mag();
this.target = vector;
}
}
if (foods.length > 0) {
this.target.normalize();
this.vel.add(random(-0.5, 0.5), random(-0.5, 0.5));
this.pos.add(this.target.x * 2 * ui.speed, this.target.y * 2 * ui.speed);
}
}
I also add the function to detect the mouse click. When the worm is finding food, the user can also use the mouse to feed the worm. To make it more realistic, when the length of the worm reaches the maximum limitation, it will stop finding the food since it is full 🙂
Reflection: Kind of… Weird? But Useful!
To be honest, I don’t quite like the visual effect of the worm. Although the spring worm is quite like the realistic earthworm, I will not play with it for a long time(sounds weird lol). But the code behind it is super useful. It can effectively connect two different objects together and control the forces between each other. It’s helpful when coding some soft objects like the worm and the grass. It can consist of the spine of them. Hope I can code more natural phenomenon with springs!

