Noc (W02): Dynamic Objects with Vectors
Ink-Wash Raining
p5js Link: Ink-Wash Raining (p5js.org)
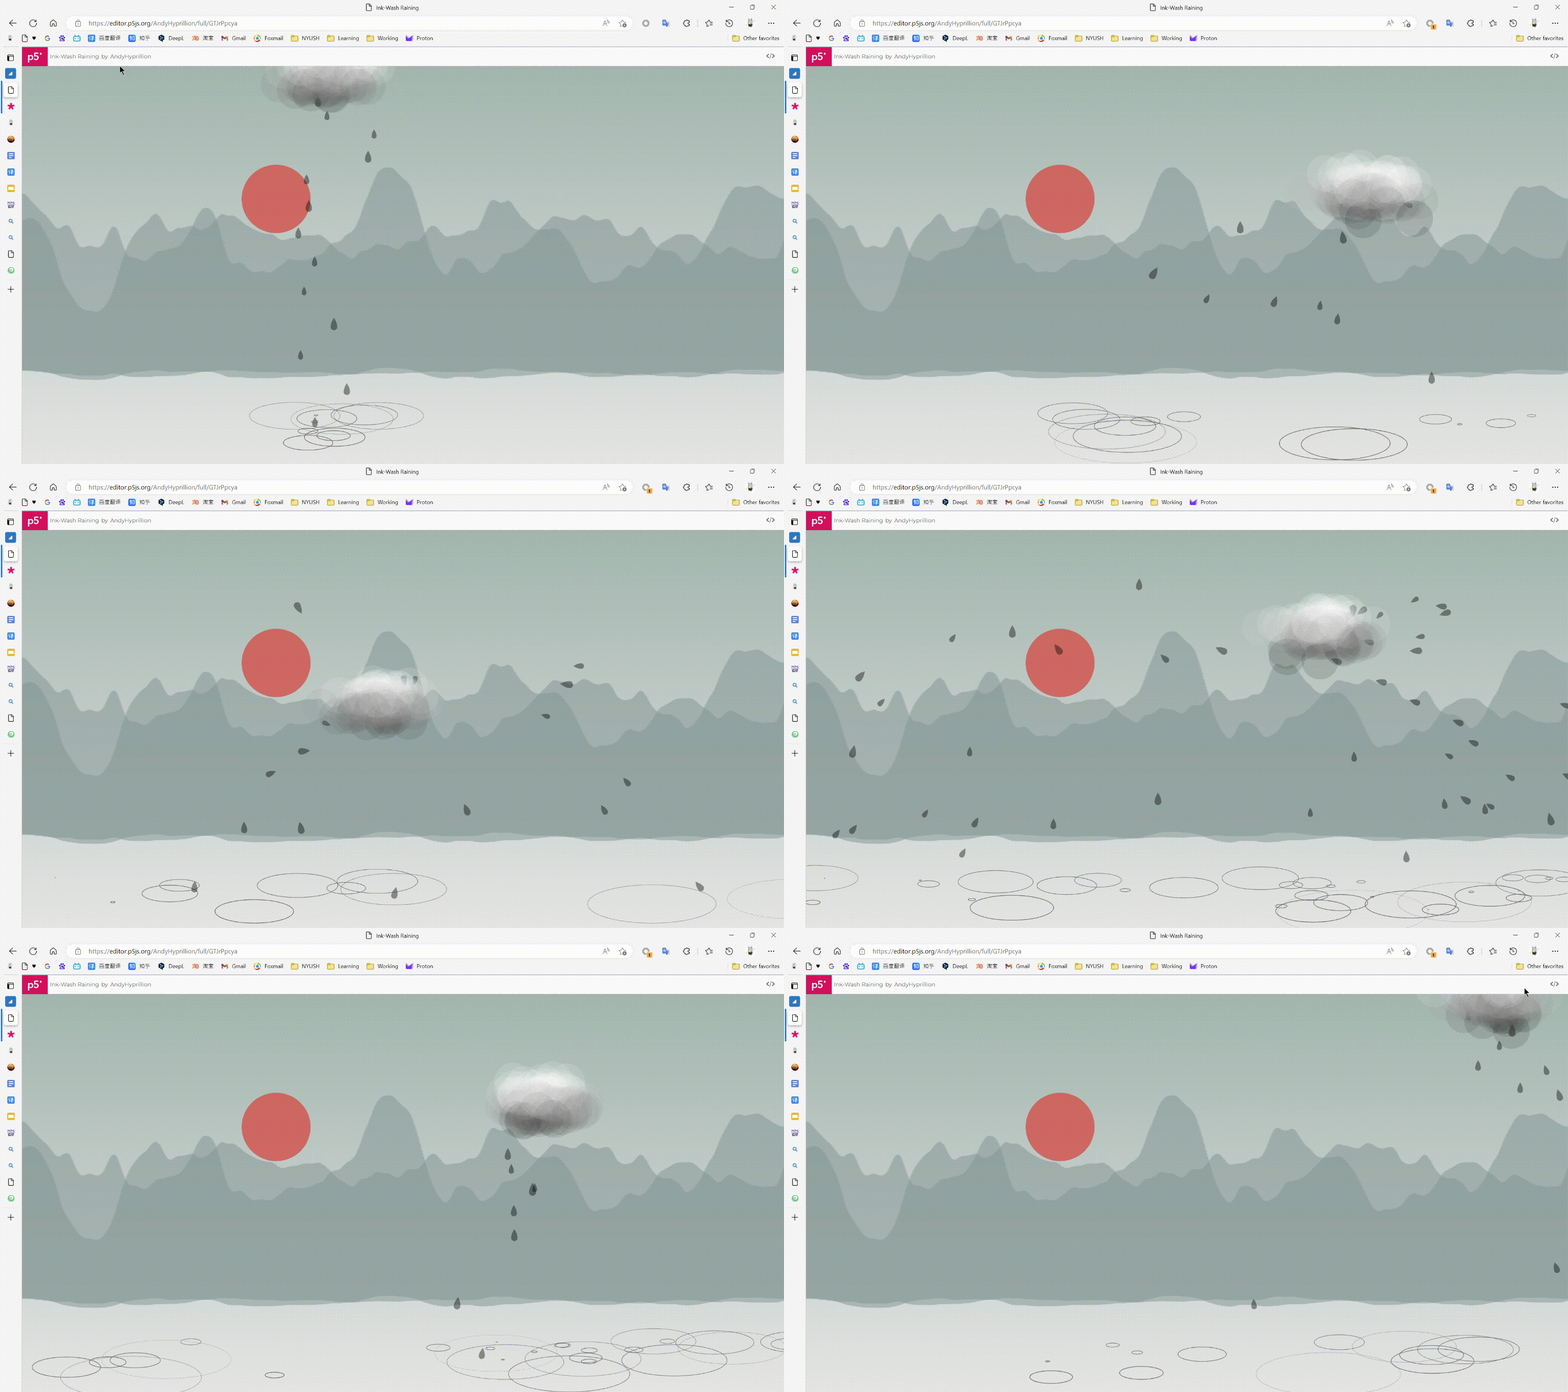
Idea — Mood is My Decision
When considering making what kind of dynamic objects, I’ve gone through many subjects including bubbles, balls, petals, and raindrops. And finally, I choose raindrops. The most critical reason for this decision is that when I was thinking about the subjects, Shanghai continuously rains for several days and my mood is like the rain clouds and the low air pressures.
Coding 01: You Need a Fluffy Cloud
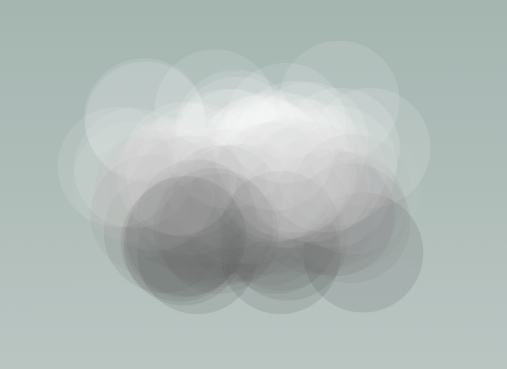
With this idea, I started to write the code. The first thing that I have to face is to draw a cloud since the raindrops are generated from a cloud. The problem in front of me is how to make the cloud seems fluffy and dynamic. Also, I have to restore the density feature of the cloud.
After observing several images of the cloud, I found that the density of the cloud mostly follows the Gaussian distribution. In this case, I use different circle shapes as the minimum unit of the cloud and let them generate and follow the Gaussian distribution. I use an array as the container of the position of every unit.
Since every unit has a different position, I can utilize their position to give them different values of color. In this case, I achieved the linear density and colors simultaneously
In order to make the cloud dynamic, I make the array can update itself:
for (var i = 0; i <= 120; i++) {
 cloudX = randomGaussian(0, 30);
 cloudY = randomGaussian(0, 15);
 cloudPosition[i] = [cloudX, cloudY];
}

...

function cloud() {
 push();
 if (mouseY <= height - 120) {
  translate(mouseX, mouseY);
 } else {
 translate(mouseX, height - 120);
 }
 noStroke();

 for (var i = 0; i <= 120; i++) {
 colorIndex = map(cloudPosition[i][1], -15, 15, 240, 140);
 fill(colorIndex, colorIndex, colorIndex, 30);
 circle(cloudPosition[i][0], cloudPosition[i][1], 80);
}

 cloudPosition.shift();
 cloudPosition.push([randomGaussian(0, 45), randomGaussian(0, 20)]);

// console.log(cloudX)
 pop();
}
Coding 02: Linear Background Really Smoooooth
As for the background, I’ve created a linear texture for the background. In this case, the program can store the texture in the setup and it won’t cost more time to calculate afterward.
//background Linear
bg = drawingContext.createLinearGradient(width / 2, 0, width / 2, height);
bg.addColorStop(0, "rgb(162, 180, 175)");
// bg.addColorStop(0.5, "rgb(125, 182, 243)");
bg.addColorStop(1, "rgb(230, 230, 230)");
Coding 03: Naughty Raindrops
After finishing the cloud, it’s time to code the raindrops.
With no doubt, I use the OOP to program the raindrops. But before applying the raindrops into practice, we need to draw the shape of a single drop.
I use the curveVertex() function and make the shape at least look like a drop.
function rainDrop() {
 beginShape();
 curveVertex(0, 0);
 curveVertex(0, 0);
 curveVertex(0 - 5, 0 + 10);
 curveVertex(0 - 6, 0 + 20);
 curveVertex(0, 0 + 24);
 curveVertex(0 + 6, 0 + 20);
 curveVertex(0 + 5, 0 + 10);
 curveVertex(0, 0);
 curveVertex(0, 0);
 endShape();
}

After the basic code to apply the raindrops as an OOP object, I add the Vector to the raindrops. To make the raindrops can fall to the ground, I add gravity to the acceleration index. Also, in order to simulate the real world, I add air friction which is related to speed.
class Drop {
 constructor(x, y, spd) {
 this.pos = createVector((x += randomGaussian(0, 45)), y);
 this.vel = createVector(spd[0], spd[1]);
 this.acc = createVector(0, 0);
 this.gravity = createVector(0, 0.5);
 this.scale = random(0.8, 1.2);
 }

 update() {
 this.vel.add(this.acc);
 this.pos.add(this.vel);
 this.acc.mult(0);
 }

 addForce() {
 //gravity
 this.acc.add(this.gravity);

 //friction
 this.friction = createVector(this.vel.x * -0.03, this.vel.y * -0.03);
 this.acc.add(this.friction);
 }
With the vector, the raindrops can fall down smoothly and naturally. But right now the rain can only drop straightly to the ground. So we have to add an initial speed for the raindrops.
In order to give the raindrop a vertical speed. I directly calculate the speed of the cloud that the user control and adds to the raindrops. However, since the speed has a vertical and a horizontal value, I first packed them together in an array and then send them to the class object. This can make the code cleaner (in my point of view).
var cloudSpd = [];

//spdCalculate
 cloudSpd[0] = mouseX - lastMouseX;
 cloudSpd[1] = mouseY - lastMouseY;

 constructor(x, y, spd) {
 ...
 this.vel = createVector(spd[0], spd[1]);
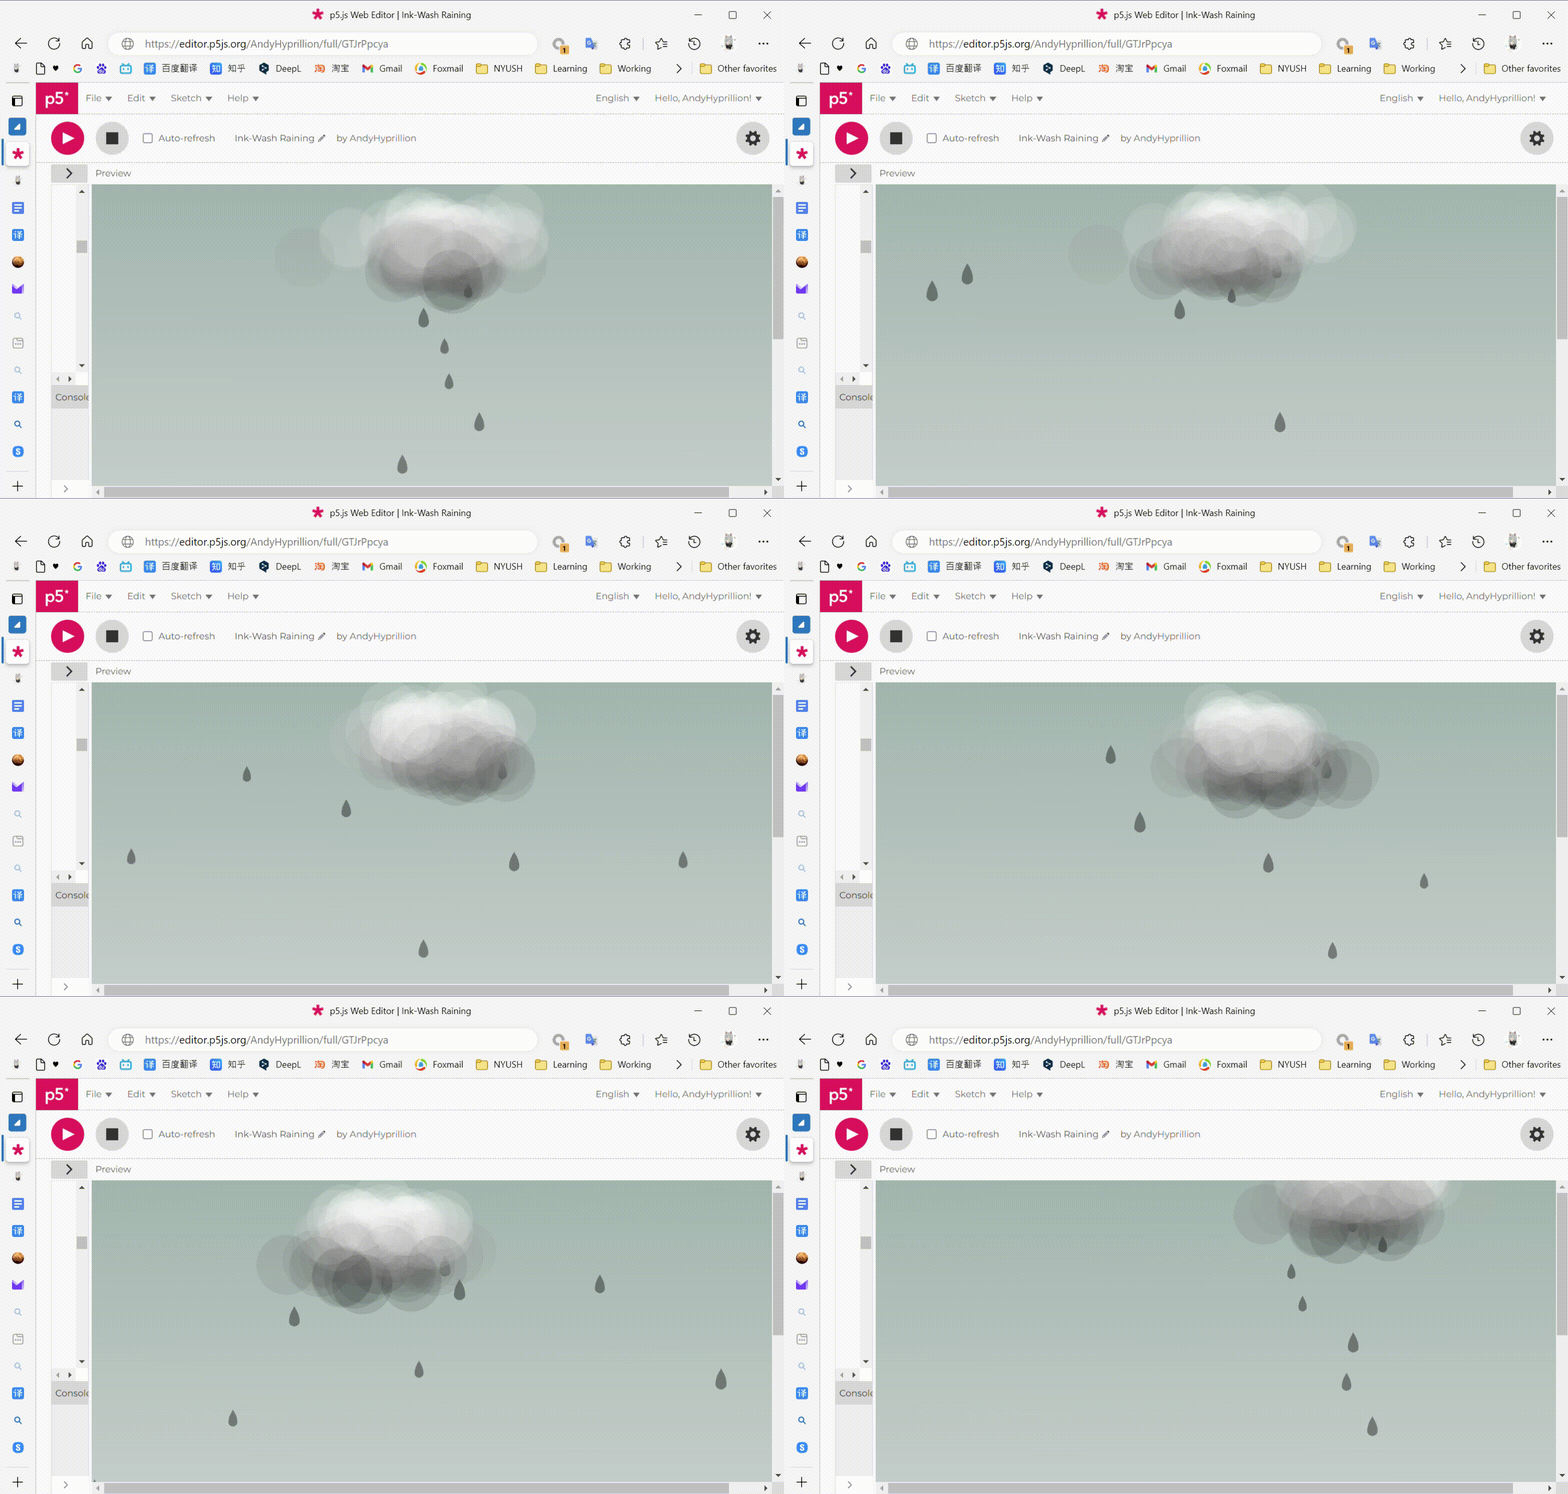
Here comes another problem. Think about why the raindrops have a drop shape. I think I have to make the raindrop’s direction follow the direction of the speed vector.
So I started to browse the functions that are listed under the vector on the reference page. Then I found the vector.heading() function. With this function, I can directly read the angle of the vector that is heading and I can send the value to the raindrop and rotate it. After applying this function, the raindrop can follow the direction of its speed.
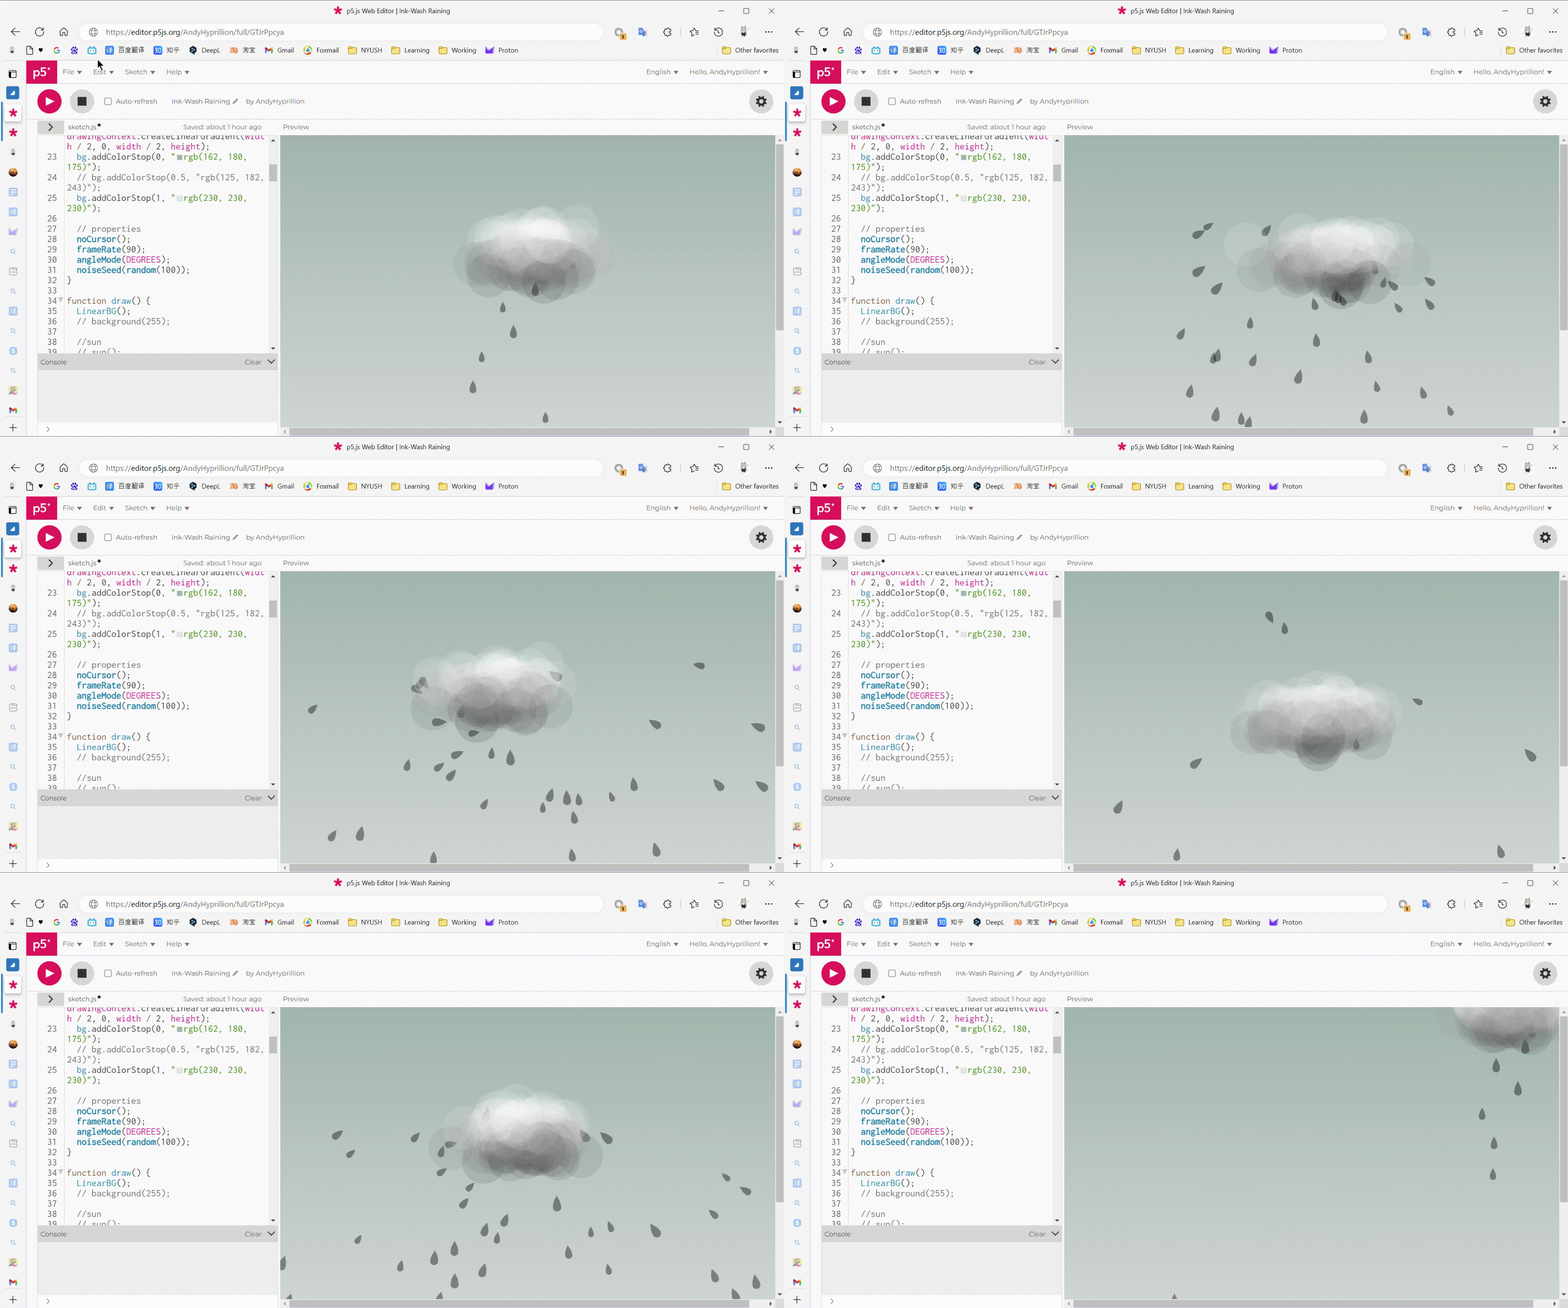
One of the most important parts is still waiting for the coding which is the lifespan of the raindrops. Since we continuously generate raindrops, the computer will become laggy soon if there’s no restriction on the amount of the object.
checkStatus() {
 if (
 this.pos.y > height - 100 + (this.scale - 1) * 200 &&
 this.pos.y <= height * 2
) {
  this.isDone = true;
  this.vel.x = 0;
 } else if (this.pos.y > height * 2) {
  this.isFinish = true;
 }
}
The raindrop will disappear once it exceeds the height of the canvas. I used a simple if statement to code this. However, once the raindrops exceed the given value, they won’t be deleted at once but shift into another form.
Coding 04: Ripples, the Reborn for the Raindrops
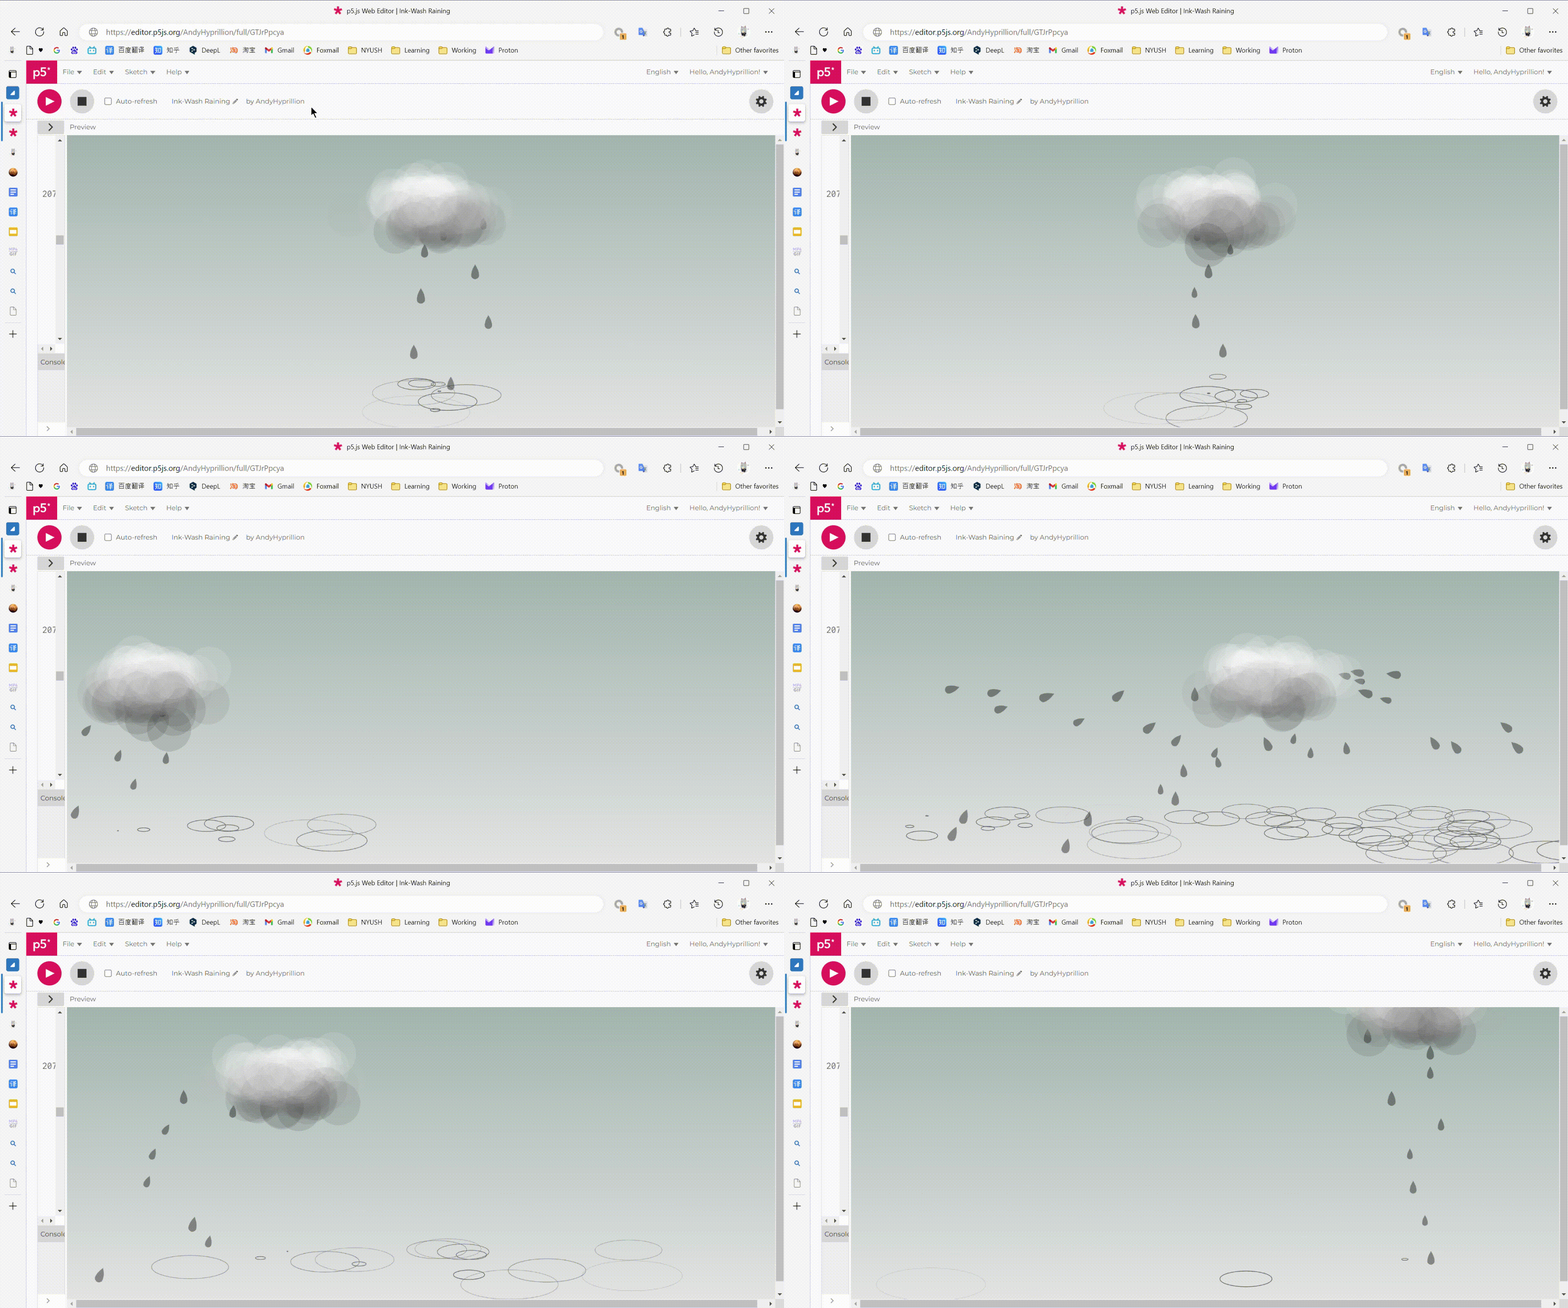
To make this project more expressive and dynamic, I design the ripples for the raindrops. However, just receiving the disappearing position of a raindrop and creating a ripple object, is too complicated. So I put the ripple inside the raindrop object. As you can see in the display function, when the ripple exceeds the given value, it will turn into the shape of a ripple. Only after the ripple finishes its development the object will be removed:
display() {
 if (this.isDone) {
  //Ripple
  push();
  noFill();
  stroke(100, height * 2 - this.pos.y);
  translate(this.pos.x, height - 80);
  scale(this.scale);
  ellipse(
  0,
  (this.scale - 1) * 200,
  (this.pos.y - height) / 3,
  (this.pos.y - height) * 0.1
  );
  pop();
 } else {
  //raindrops
  push();
  noStroke();
  fill(0, 0, 0, 100);
  translate(this.pos.x, this.pos.y);
  rotate(this.angle - 90);
  scale(this.scale);
  rainDrop();
  pop();
 }
}
The ripple will gradually become larger and larger while its transparency will become lower and lower. At last, when it becomes completely transparent, it will be deleted from the array:
if (d.isFinish) {
 // remove!
 drops.splice(i, 1);
}
Coding 05: Inspired by Ink-wash
Maybe you will be confused that why the raindrop is black. Maybe you have figured it out from the name of this project. Since I choose the traditional Chinese Ink-wash paintings as my inspiration, I have tried my best to form an ink-wash-like visual effect.

In this case, I’ve drawn the sun and mountains on the canvas to make it have the essential elements of an ink-wash painting.
As for the mountains, I’ve used the noise() to make the mountain become different for every user even every time the user runs the code:
function hill() {
 for (var l = 0; l <= width * 2; l++) {
  push();
  strokeWeight(4);

  upper = (noise(noiseIndex) * height) / 2 + height / 5;
  lower = (noise(-noiseIndex) * height) / 20 + (height * 3) / 4;

  stroke(131, 149, 150, 80);
  if (hillX <= width) {
   line(hillX, upper, hillX, lower);
  } else if (hillX <= width * 2) {
   line(hillX - width, upper + 50, hillX - width, lower);
  }
  hillX += 2;
  noiseIndex += 0.01;
  pop();
  }
 hillX = 0;
 noiseIndex = 0;
}
The reason why there’re only two mountains is that the performance is limited and if we draw too many of them the canvas will become extremely lag.
And here’s the final version:

In addition, if you press the mouse button, the number of raindrops per frame will increase. I hope this function can give the user an experience of splashing the ink on the canvas. This may become another artistic experience in this mini project as well ^_^
Reflection: Vector is Amazing!
The most difference between this work and the last one is the way that I calculate the speed and the acceleration. With the usage of the vector, we can easily add gravity, friction, the speed to the object. In addition, all the data are packed in the vector object which makes the code easy to read and looks clean and tidy.
As for the project itself, it still has things to improve. Like the wind can be more fluffy and smooth, the raindrops’ action when the speed of y-axis is zero and the x-axis is shifting from negative to positive, the animation of the drops is a little bit stiff. Hope I will be able to optimize them later.


