Step 1: Prepare for materials and tools
Step 2: Decide a layout of buttons
Step 3: Solder buttons and wires
Step 4: Print out and place a template
Step 5: Create the dents with a dimple tool
Step 6: Drill dents
Step 7: Place buttons in a box
Optional: Create a sticker with a vinyl sheet
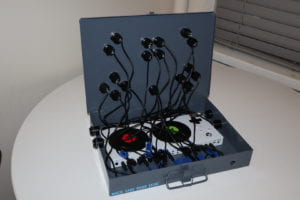
Final Product

Step 1: Prepare for materials and tools
![]()
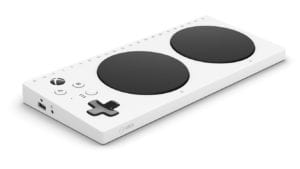
image source: Xbox Adaptive Controller, Amazon.com
Material
- Xbox Adaptive Controller
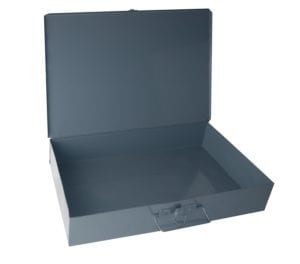
- Metal Box
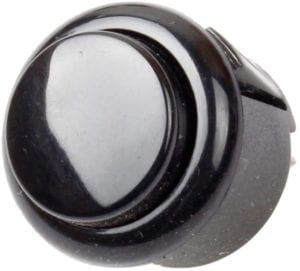
- 24mm Button (21 including extras)
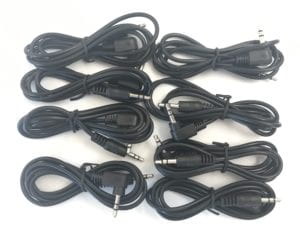
- Wire (21 including extras)
- (Optional) Cardboard
- (Optional) Vinyl Sheet
Tool
- Soldering iron
- Wirecutter
- Dimple tool (or any other sharp-pointed tool)
- Drilling machine
- 6-24mm counterbore
- (Optional) Laser cutter
- (Optional) Vinyl cutter
Step 2: Decide a layout of buttons

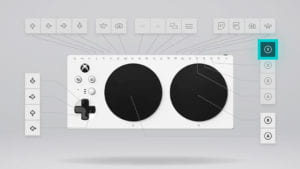
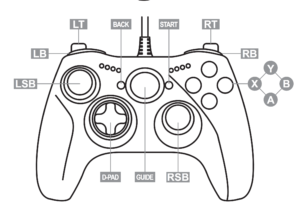
image source: Xbox Adaptive Controller
You can decide how to place each button depending on your favorite game’s button control or your ability to move your fingers. Our client requested to place buttons in the way of a normal Xbox so that he can play naturally.
Also, the button type we use is attachable to change the button layout later if needed.
We recommend you to test if the layout works well before moving forward. We have access to a laser cutter, so we created a quick prototype with cardboard.
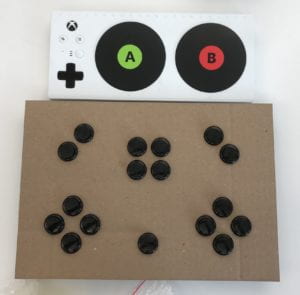
If you want to download the same layout, you can download the png version by clicking the below button.
*Each laser cutter requires a different file format, so please check those requirements before downloading.
Step 3: Solder buttons and wires
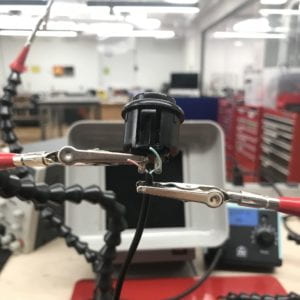
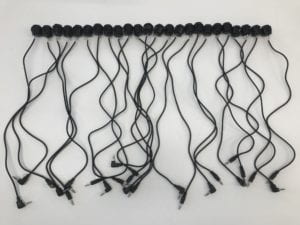
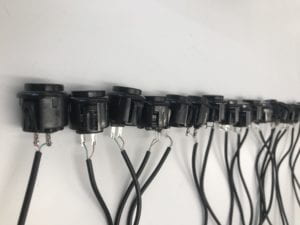
Please make sure which wire is positive or negative and test before soldering. If the wire is too long, you may want to cut depending on your box size and environment.
Step 4: Print out and place a template
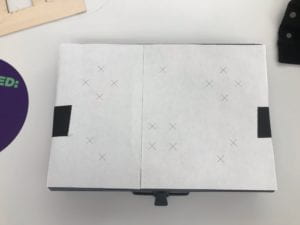
Please print out the layout and place it on the top of a box. If you want to use the same template with us, you can download it by clicking the below button.
Step 5: Create the dents with a dimple tool
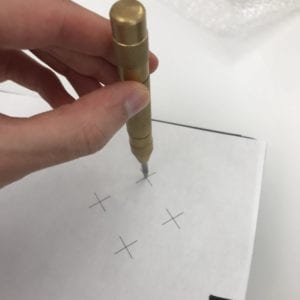
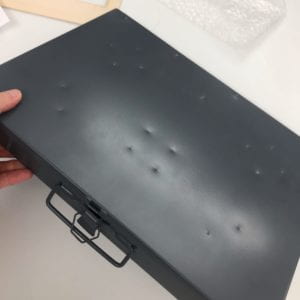
This step is to create dents for drilling at the next step.
Step 6: Drill dents
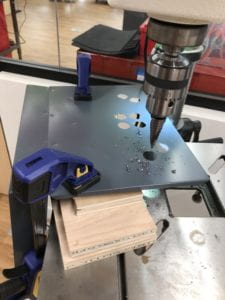
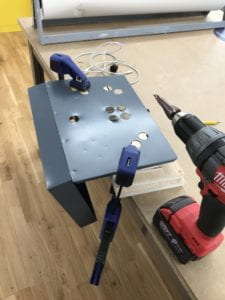
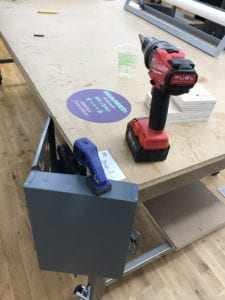
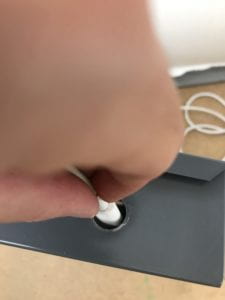
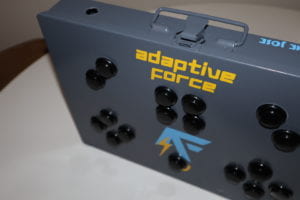
Drilling is probably the most challenging step, so this needs to be done very carefully and slowly not to ruin the metal box. We created two jigs to level the box and drilled a hole in between them on the drill press. Then, we started off with that machine, but the holes near the hinge required to drill by hand due to the unreachable angles. When drilling by hand, make sure to hold the box steady by clamping the object to a table. We also place two extra buttons on the side and one button near the hinge for the PC cable.
Step 7: Place buttons in a box
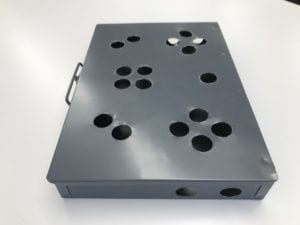
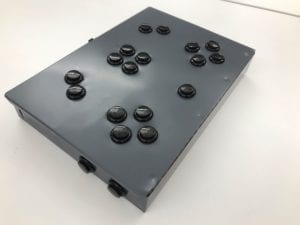
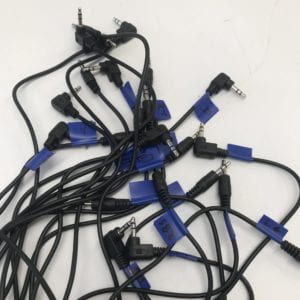
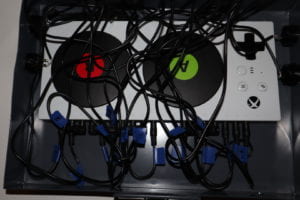
The last step is to place buttons. We labeled wires to make it easy to see which button/wire is connected to which command. Just be careful to place each button to the right hole without too complicated wiring inside the box.
Your controller is ready to use! ! Let’s test with your favorite game. 🎮👾
Optional: Create a sticker with a vinyl sheet


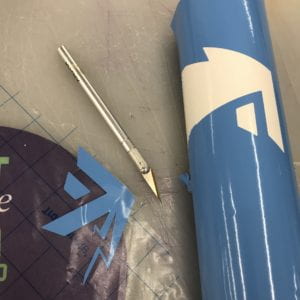
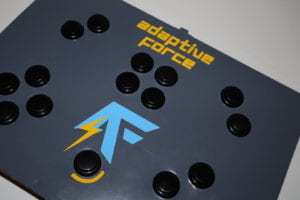
This is the completely optional step!
We created the logo, which we want to place in the final box to add personalization and cool visuals. Since our logo includes two colors, we created two Adobe illustration files and uploaded them to Roland CutStudio, the software connecting to a vinyl cutter.
