Musical Stairs enhances the experience of taking the stairs in the Arts Center through spontaneous and collaborative music-creation. Simply walk up or down the stairs and enjoy the sounds!
The Idea
While brainstorming different approaches for this midterm, I realized that I wanted to create a project that would make the most out of the location I would choose in the Arts Center. Initially, I thought about creating interactive tiles that would produce some sort of output (either sound, or visuals) according to where people walked. However, as I realized how technically hard it would be to accurately sense where and at what precise moment people were to step on a tile, I decided that the best approach would be to switch to stairs. With this new location, it would then be easier to have sensors on each step. The short length of the stairs would also make it easier to track people’s steps more accurately. Instead of using visuals, I wanted to explore the use of sound. It would be an interesting challenge for me as I had never done an entirely sound-based piece before, and it would also be fun to look into different sound possibilities.
After deciding on the overall idea, I set the following goals for my project. These would then inform my choices throughout the development process:
- To encourage the collaboration between people by sound-making through movement.
- To amplify the experience of walking up the stairs in the arts center.
- To establish the stairs as a dynamic location for potential interaction between passersby.
The Process
The following are the overall steps I took to complete the project.
- Test and identify the optimum sensor to use (between a capacitive touch sensor, an infrared proximity sensor, and an ultrasonic range finder)
- In the end, I chose the ultrasonic range finder for this project since it was the sensor that obtained the most accurate readings, had a library (NewPing library) that provided easy ways to construct and instantiate multiple sensors, and because the lab had the quantity that I needed. Thinking back, I might have instead chosen the infrared proximity sensor, since it might have worked better than the ultrasonic range finder.
- Figure out how to trigger sound files based on sensor input
- Initially, I planned on using the Teensy 3.2 Prop Shield to play audio, and followed these steps to load sound onto the Teensy and have it play using a speaker. After my Teensy and Prop Shield (unfortunately along with Aaron’s and Lateefa’s as well) got corrupted, I switched to using an Arduino Mega with an mp3 Player Shield. After realizing I could not play multiple sounds simultaneously with it, I finally decided to use serial communication between the Teensy and openFrameworks. After figuring out how to successfully do a handshake between the two through the proper bit shifting of 2 bytes, I then followed to do an initial prototype and connect 10 ultrasonic sensors onto a breadboard to see if they could all effectively work and play sound simultaneously.
- Do an initial prototype to test the proper functioning of all components.
- This step took a long period of time, as I had to wire 10 sensors and corresponding LEDs to make sure they were working properly. In various steps of the process I had to switch sensors and obtain new ones, as some would just not receive proper readings. Once all the sensors were all connected and working properly, I then moved out of the prototyping phase and into the development phase.
- Testing up to 7 sensors before wiring everything properly
- Wire, solder, and prepare everything for the month-long installation.
- Preparing the perfboard: After talking to Michael, I realized the best way to ensure the wiring would be as stable as possible would be by using a perfboard and connecting the components to soldered female headers. This process also took a lot of time as I had to plan how the circuitry would work before actually soldering everything together and I also had some difficulty soldering parts of it together.
- Preparing the wires: This step also took a significant amount of time as I had to go to the stairs and measure how long the 4 wires for each sensor would have to be according to each of their locations on the steps. After measuring and cutting the 40 stranded wires (which were better than solid ones since they are more flexible), I then had to strip and solder their tips before connecting them to the rest of the circuit. I wanted to ensure that no components were directly soldered to each other, so I soldered all these wires onto the female headers on the ultrasonic sensors and on the perfboard.
- I tested the perfboard only until after all this was done, which made me really apprehensive about the possibility of it somehow not working. The biggest hindrance at this point was the fact that all the 9 sensors did not work properly simultaneously once they were on the stairs. They would sometimes trigger by themselves and would lose their sensitivity, which is why in the end I decided to take out 3 sensors. This was the trick that made the final 6 sensors work properly in the end.
-
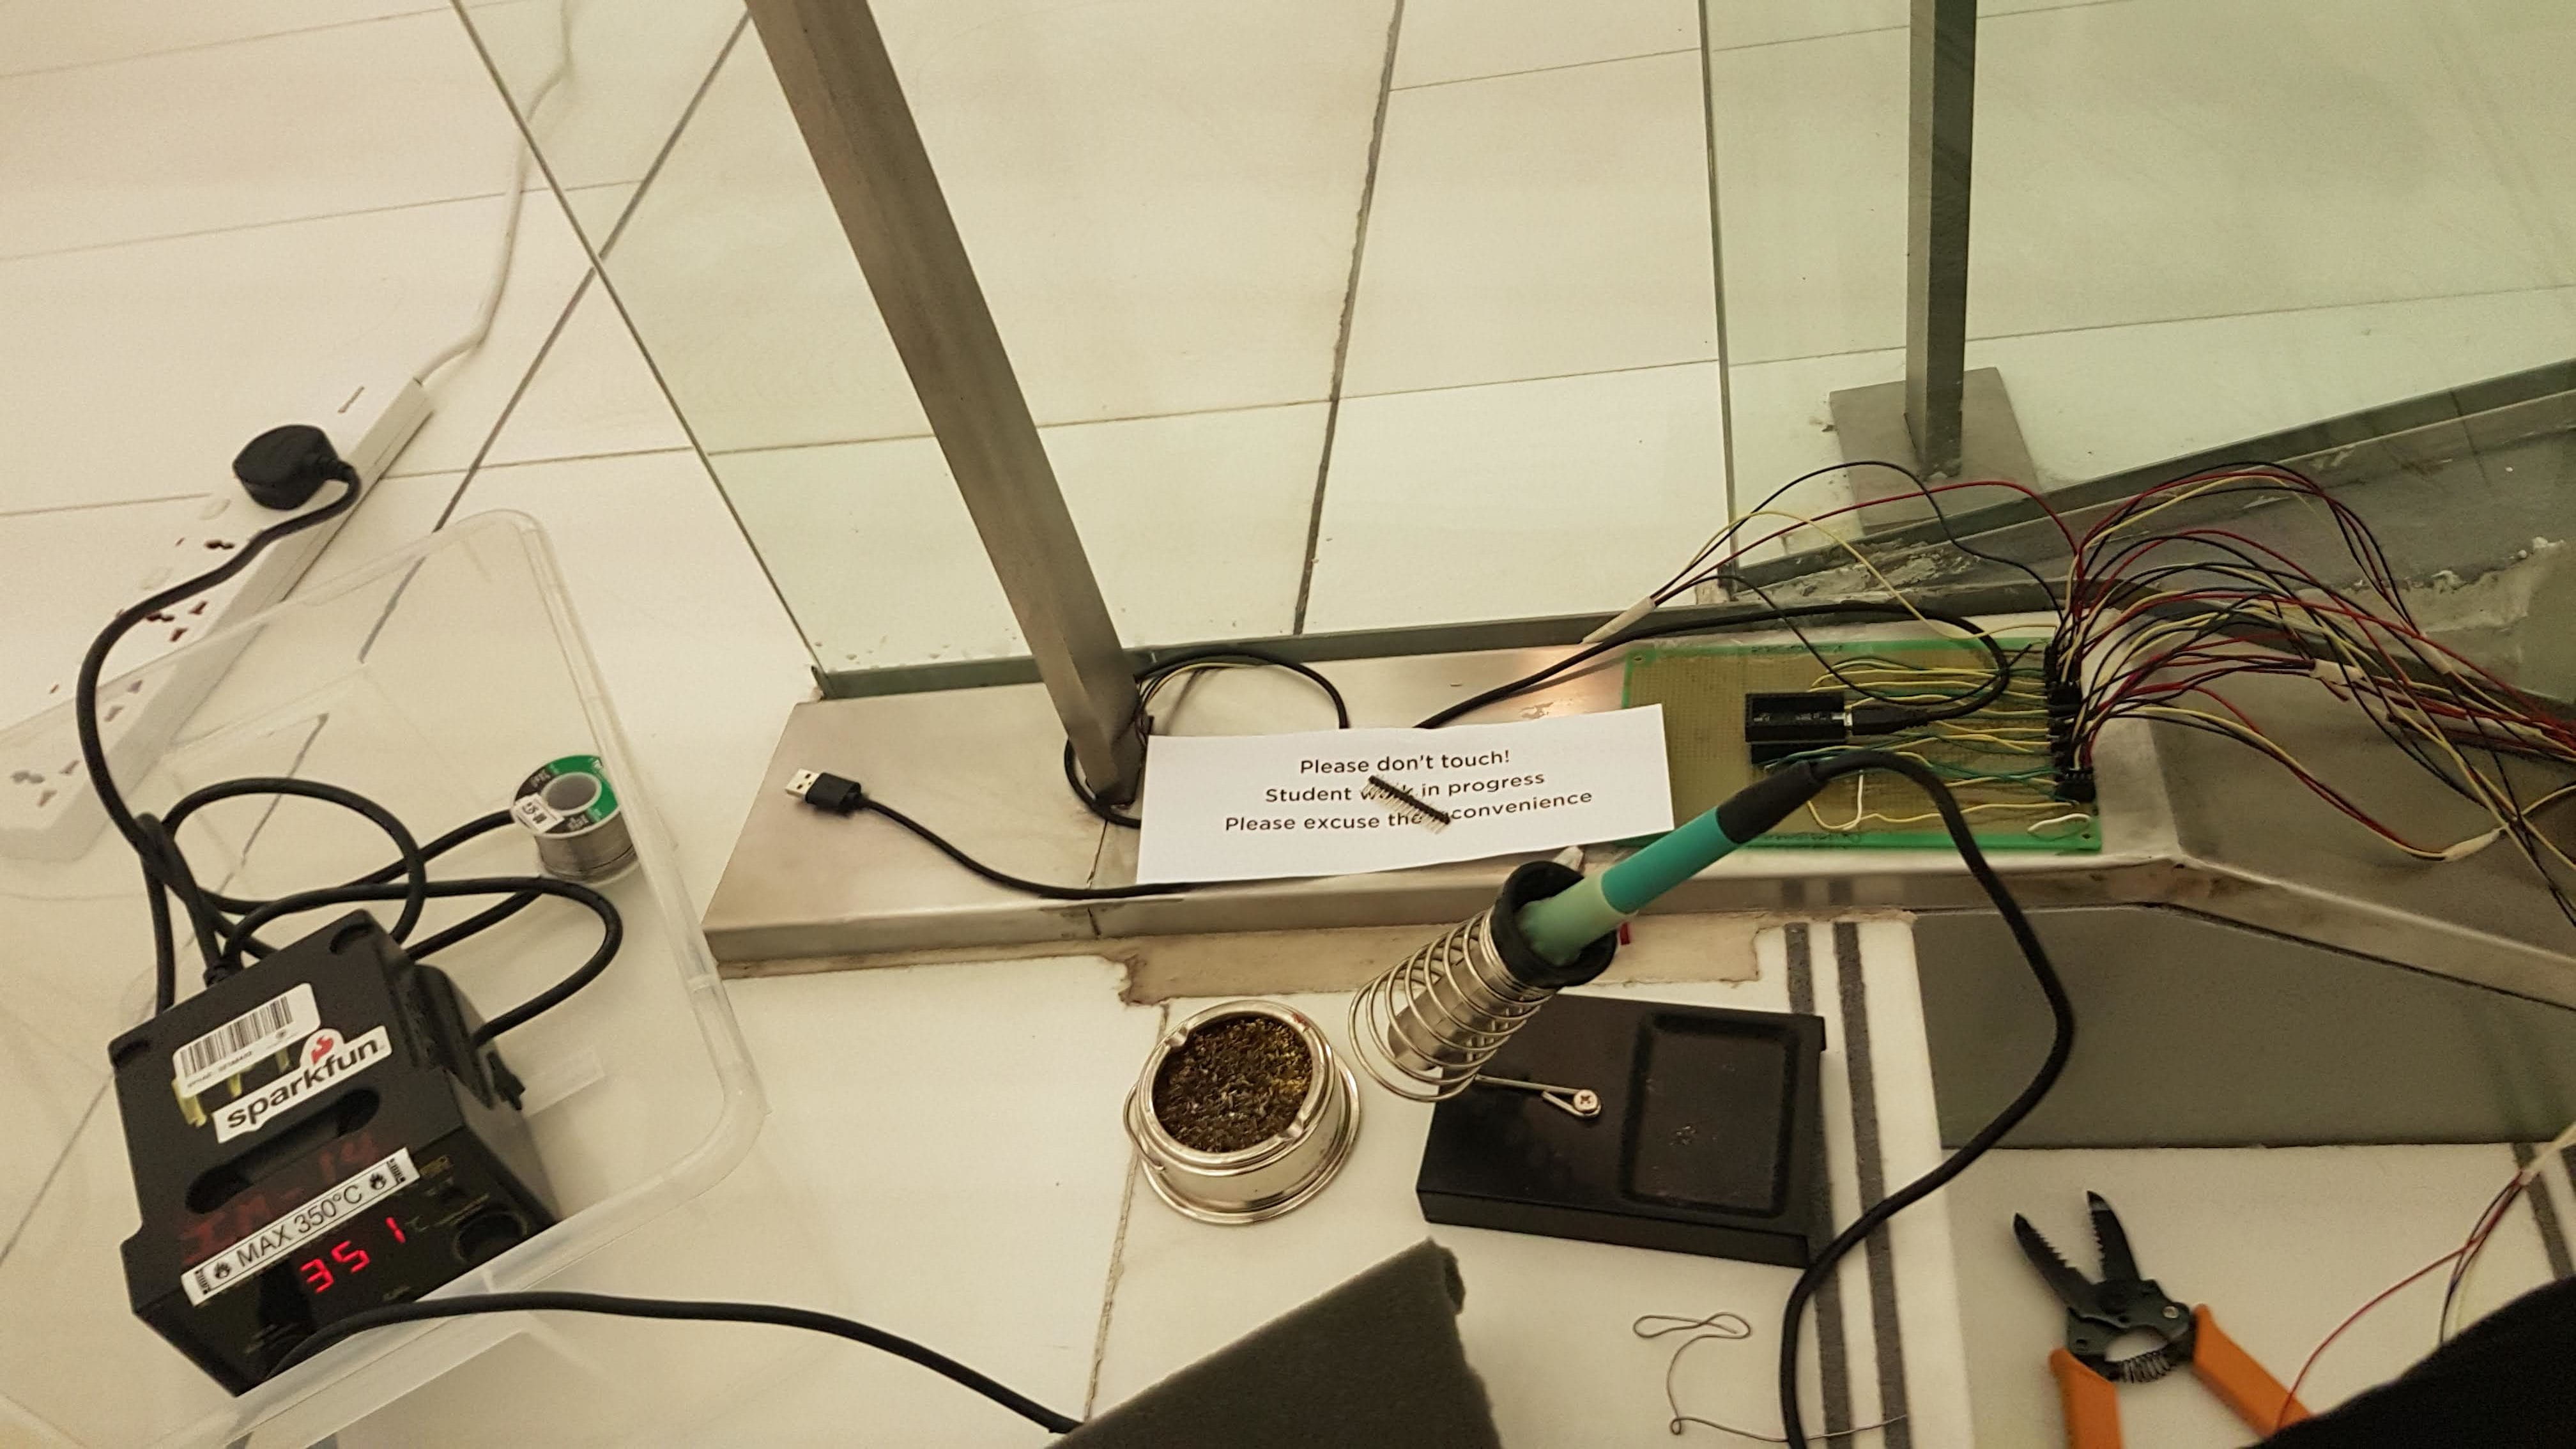
Since the wires were already attached to the stairs, I had to bring the solders with me. 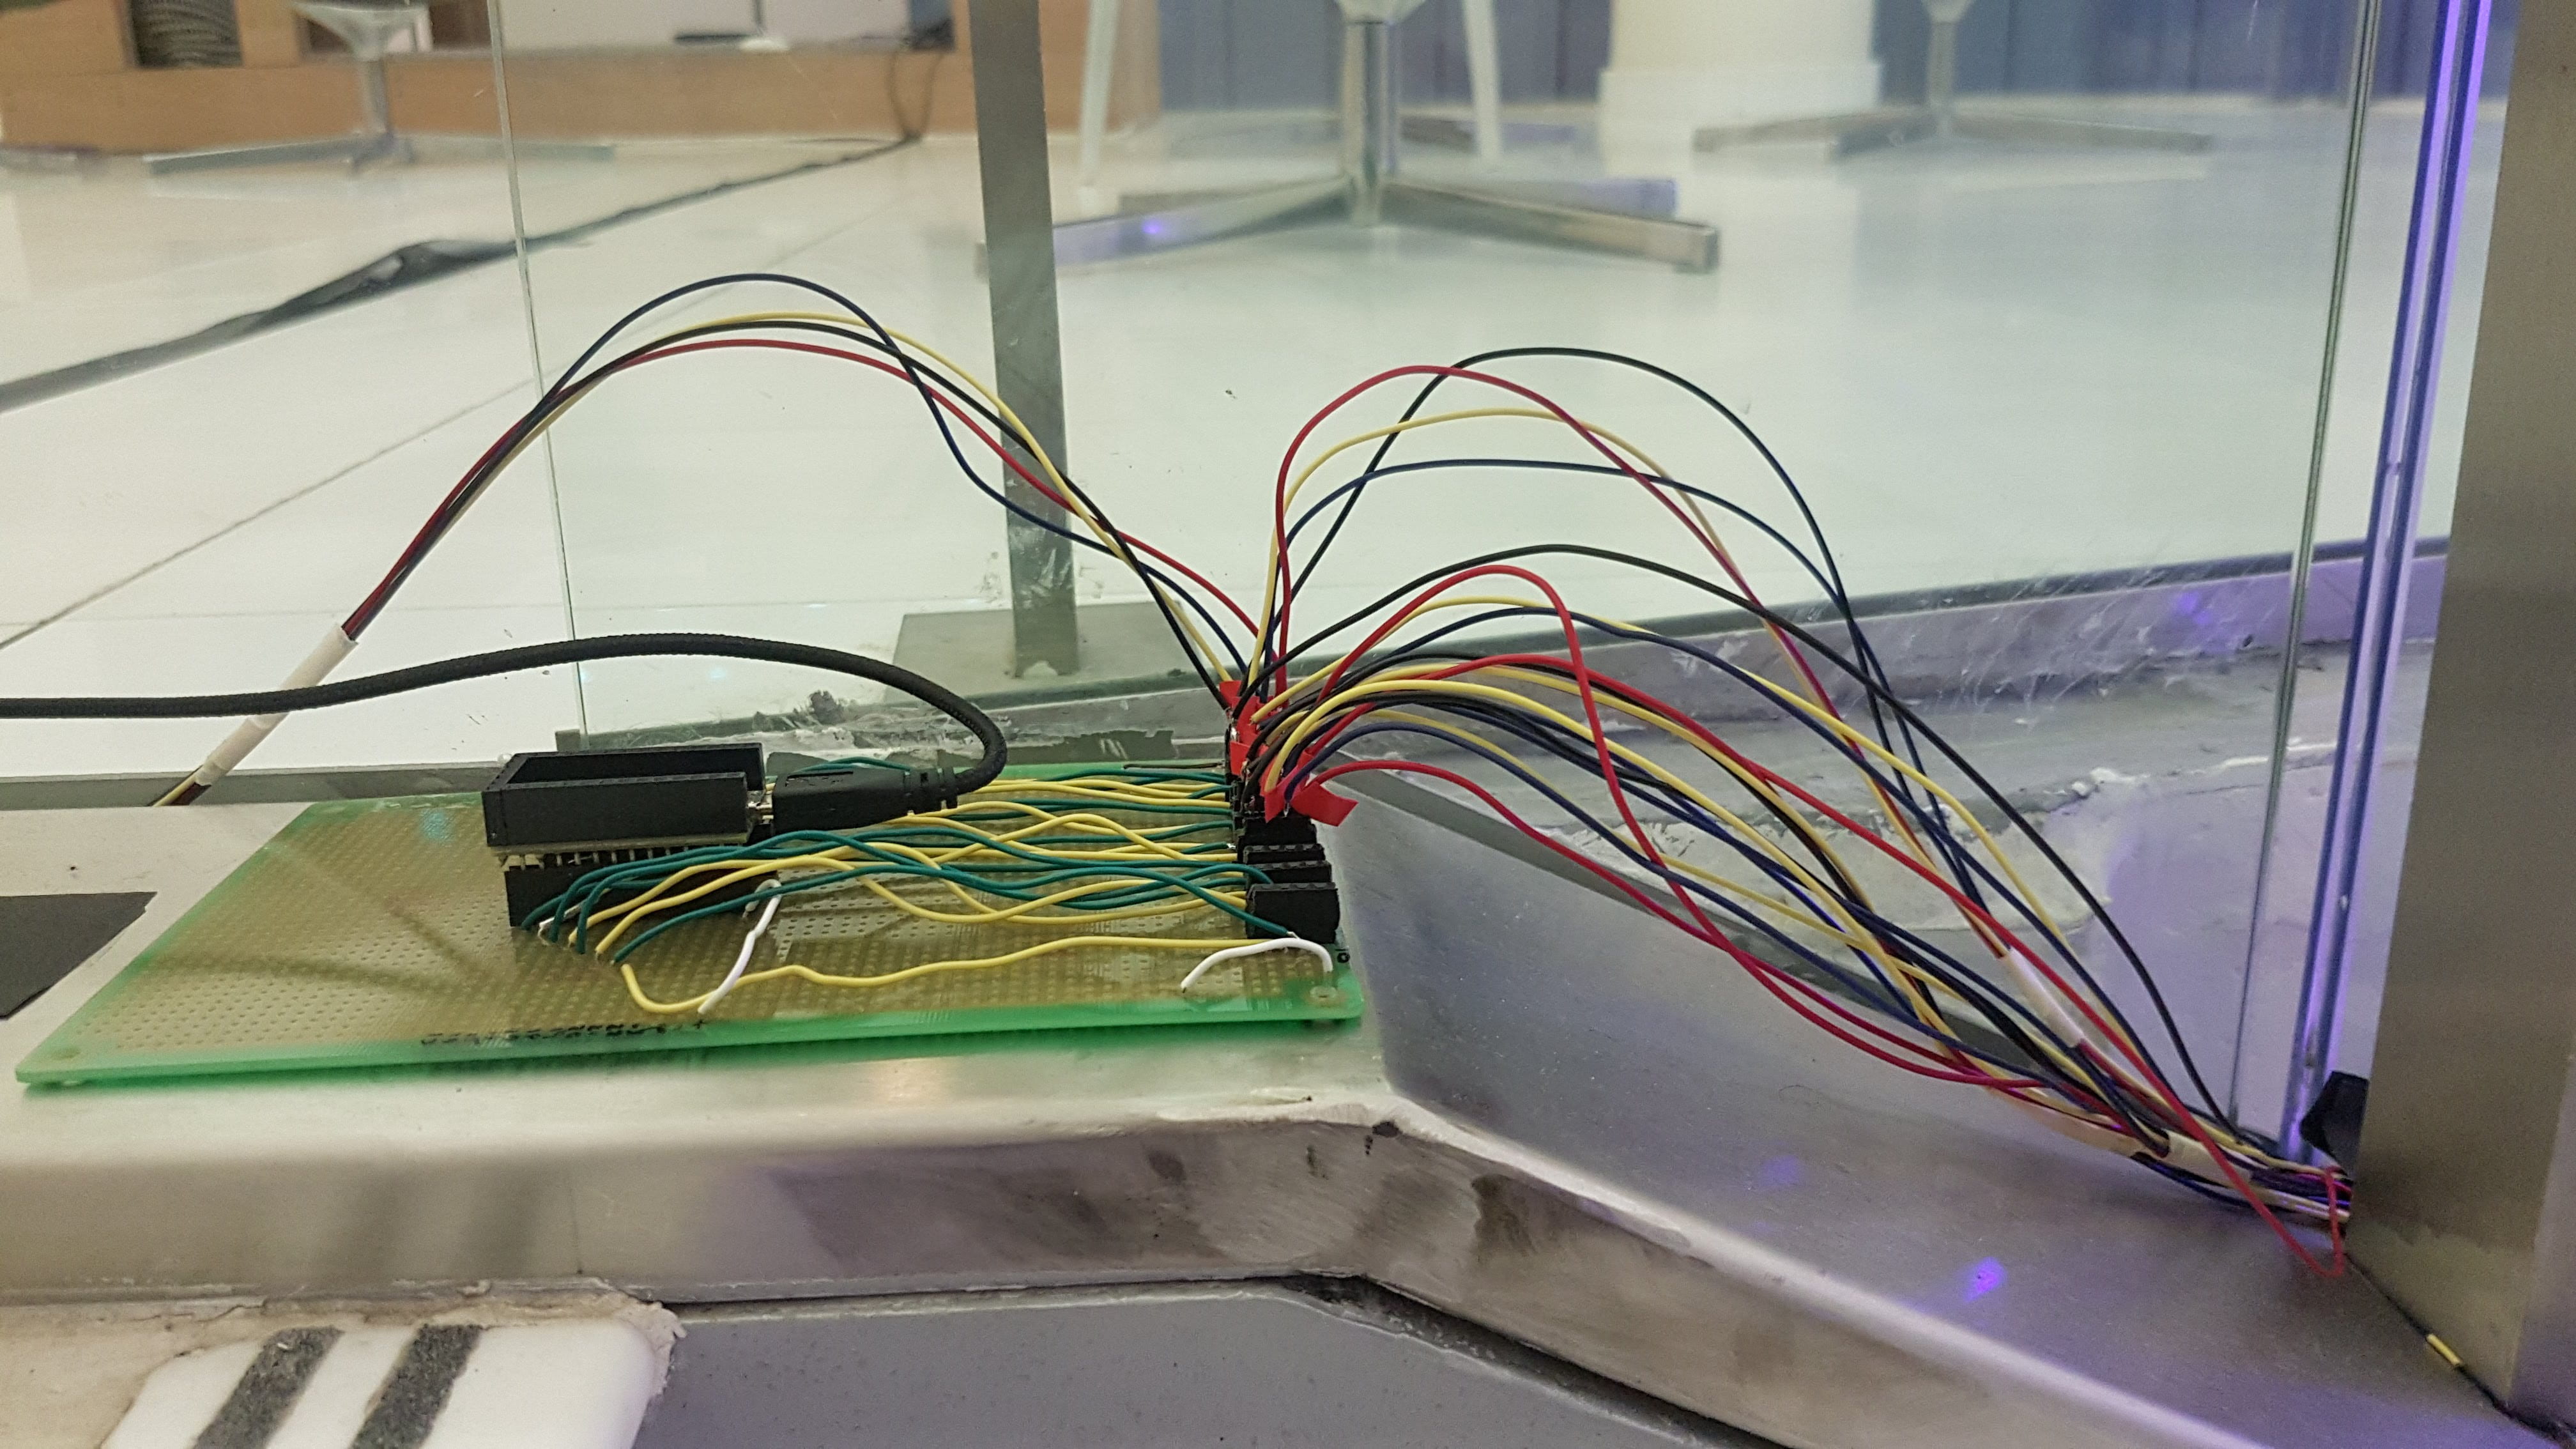
Perfboard with all the components attached.
- Install everything on the stairs.
- After having the hardware done, I ended with installing everything properly. I used gaff tape to keep the wires in place while also hiding them from direct view. Since I decided to use a Mac Mini, I also installed all the software and passed all the code onto it while working on the wooden Nomad Pad close to the stairs. To connect to the speakers and the Teensy, I connected everything to USB extensions and also secured them onto the floor with gaff tape. Finally, I asked Dustin in the 4D lab to print a series of vinyl stickers with sound icons that would serve as indicators for users about which steps they could expect to produce sound. After all of this was done, I then decided that placing a box on the perfboard and exposed wires would also be a good way to avoid people from tinkering with the project and ensure its permanence throughout the month of installation.
-
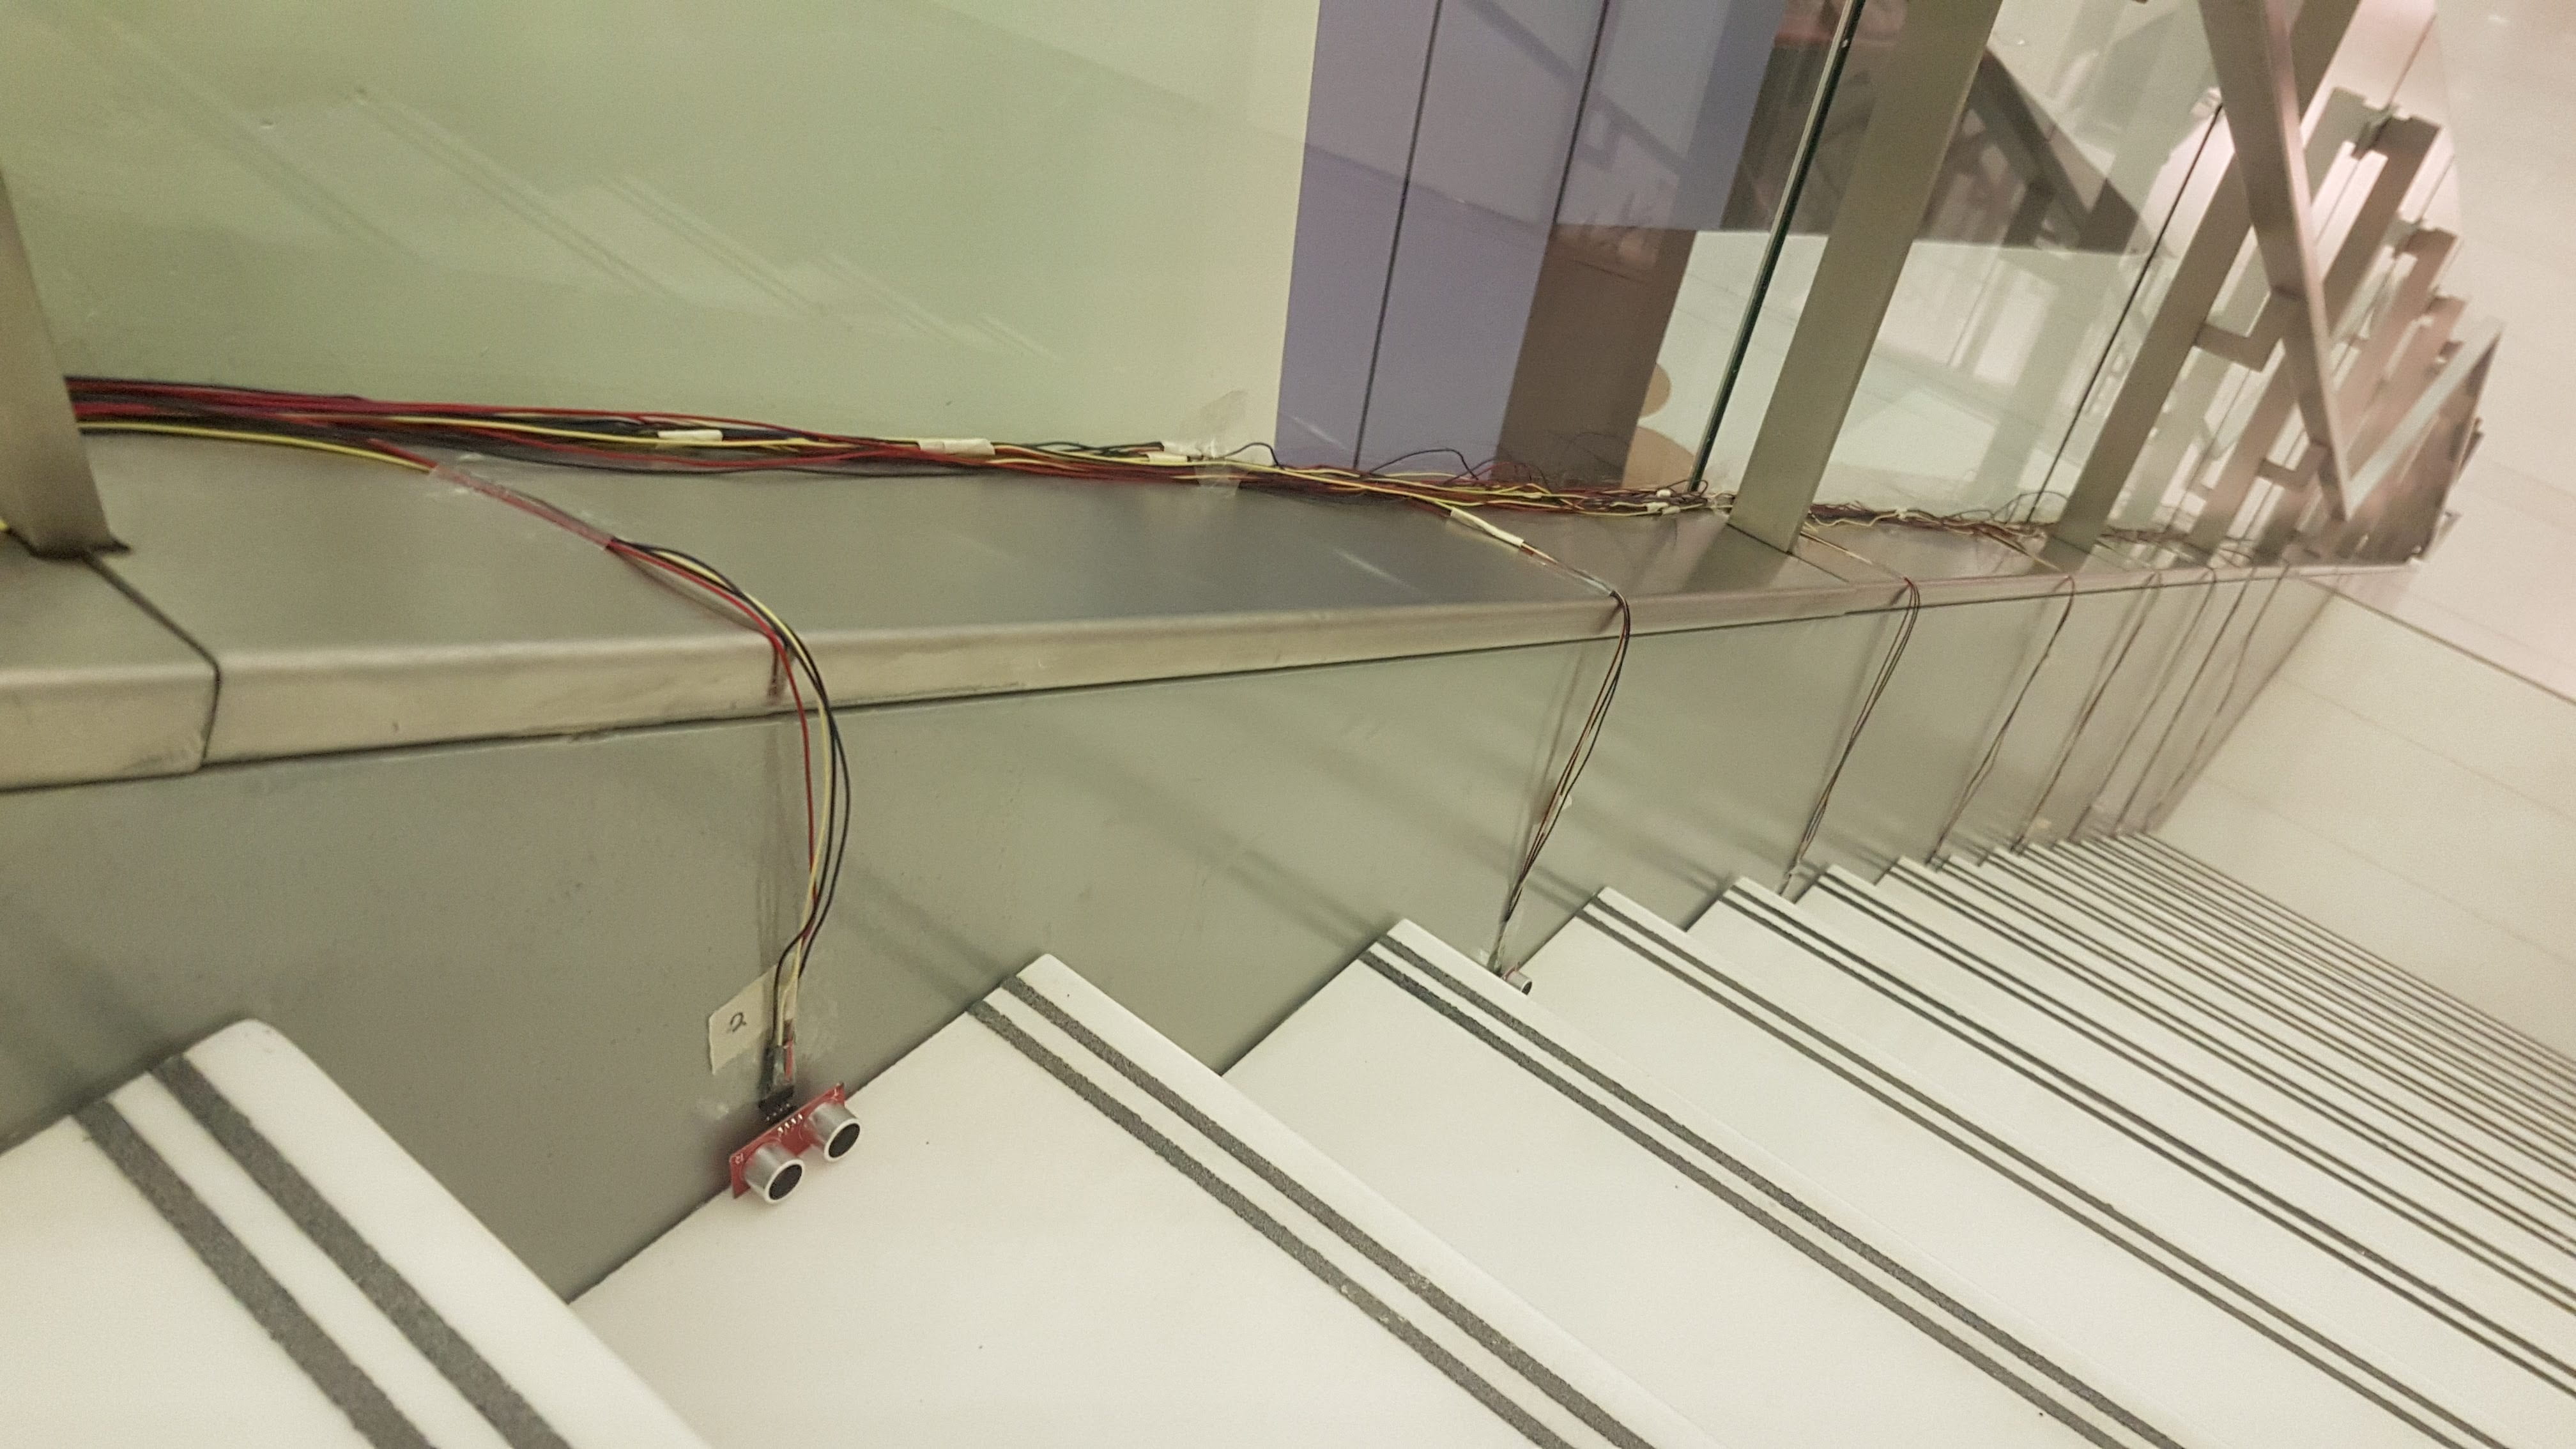
This is how everything looked with the exposed wires. 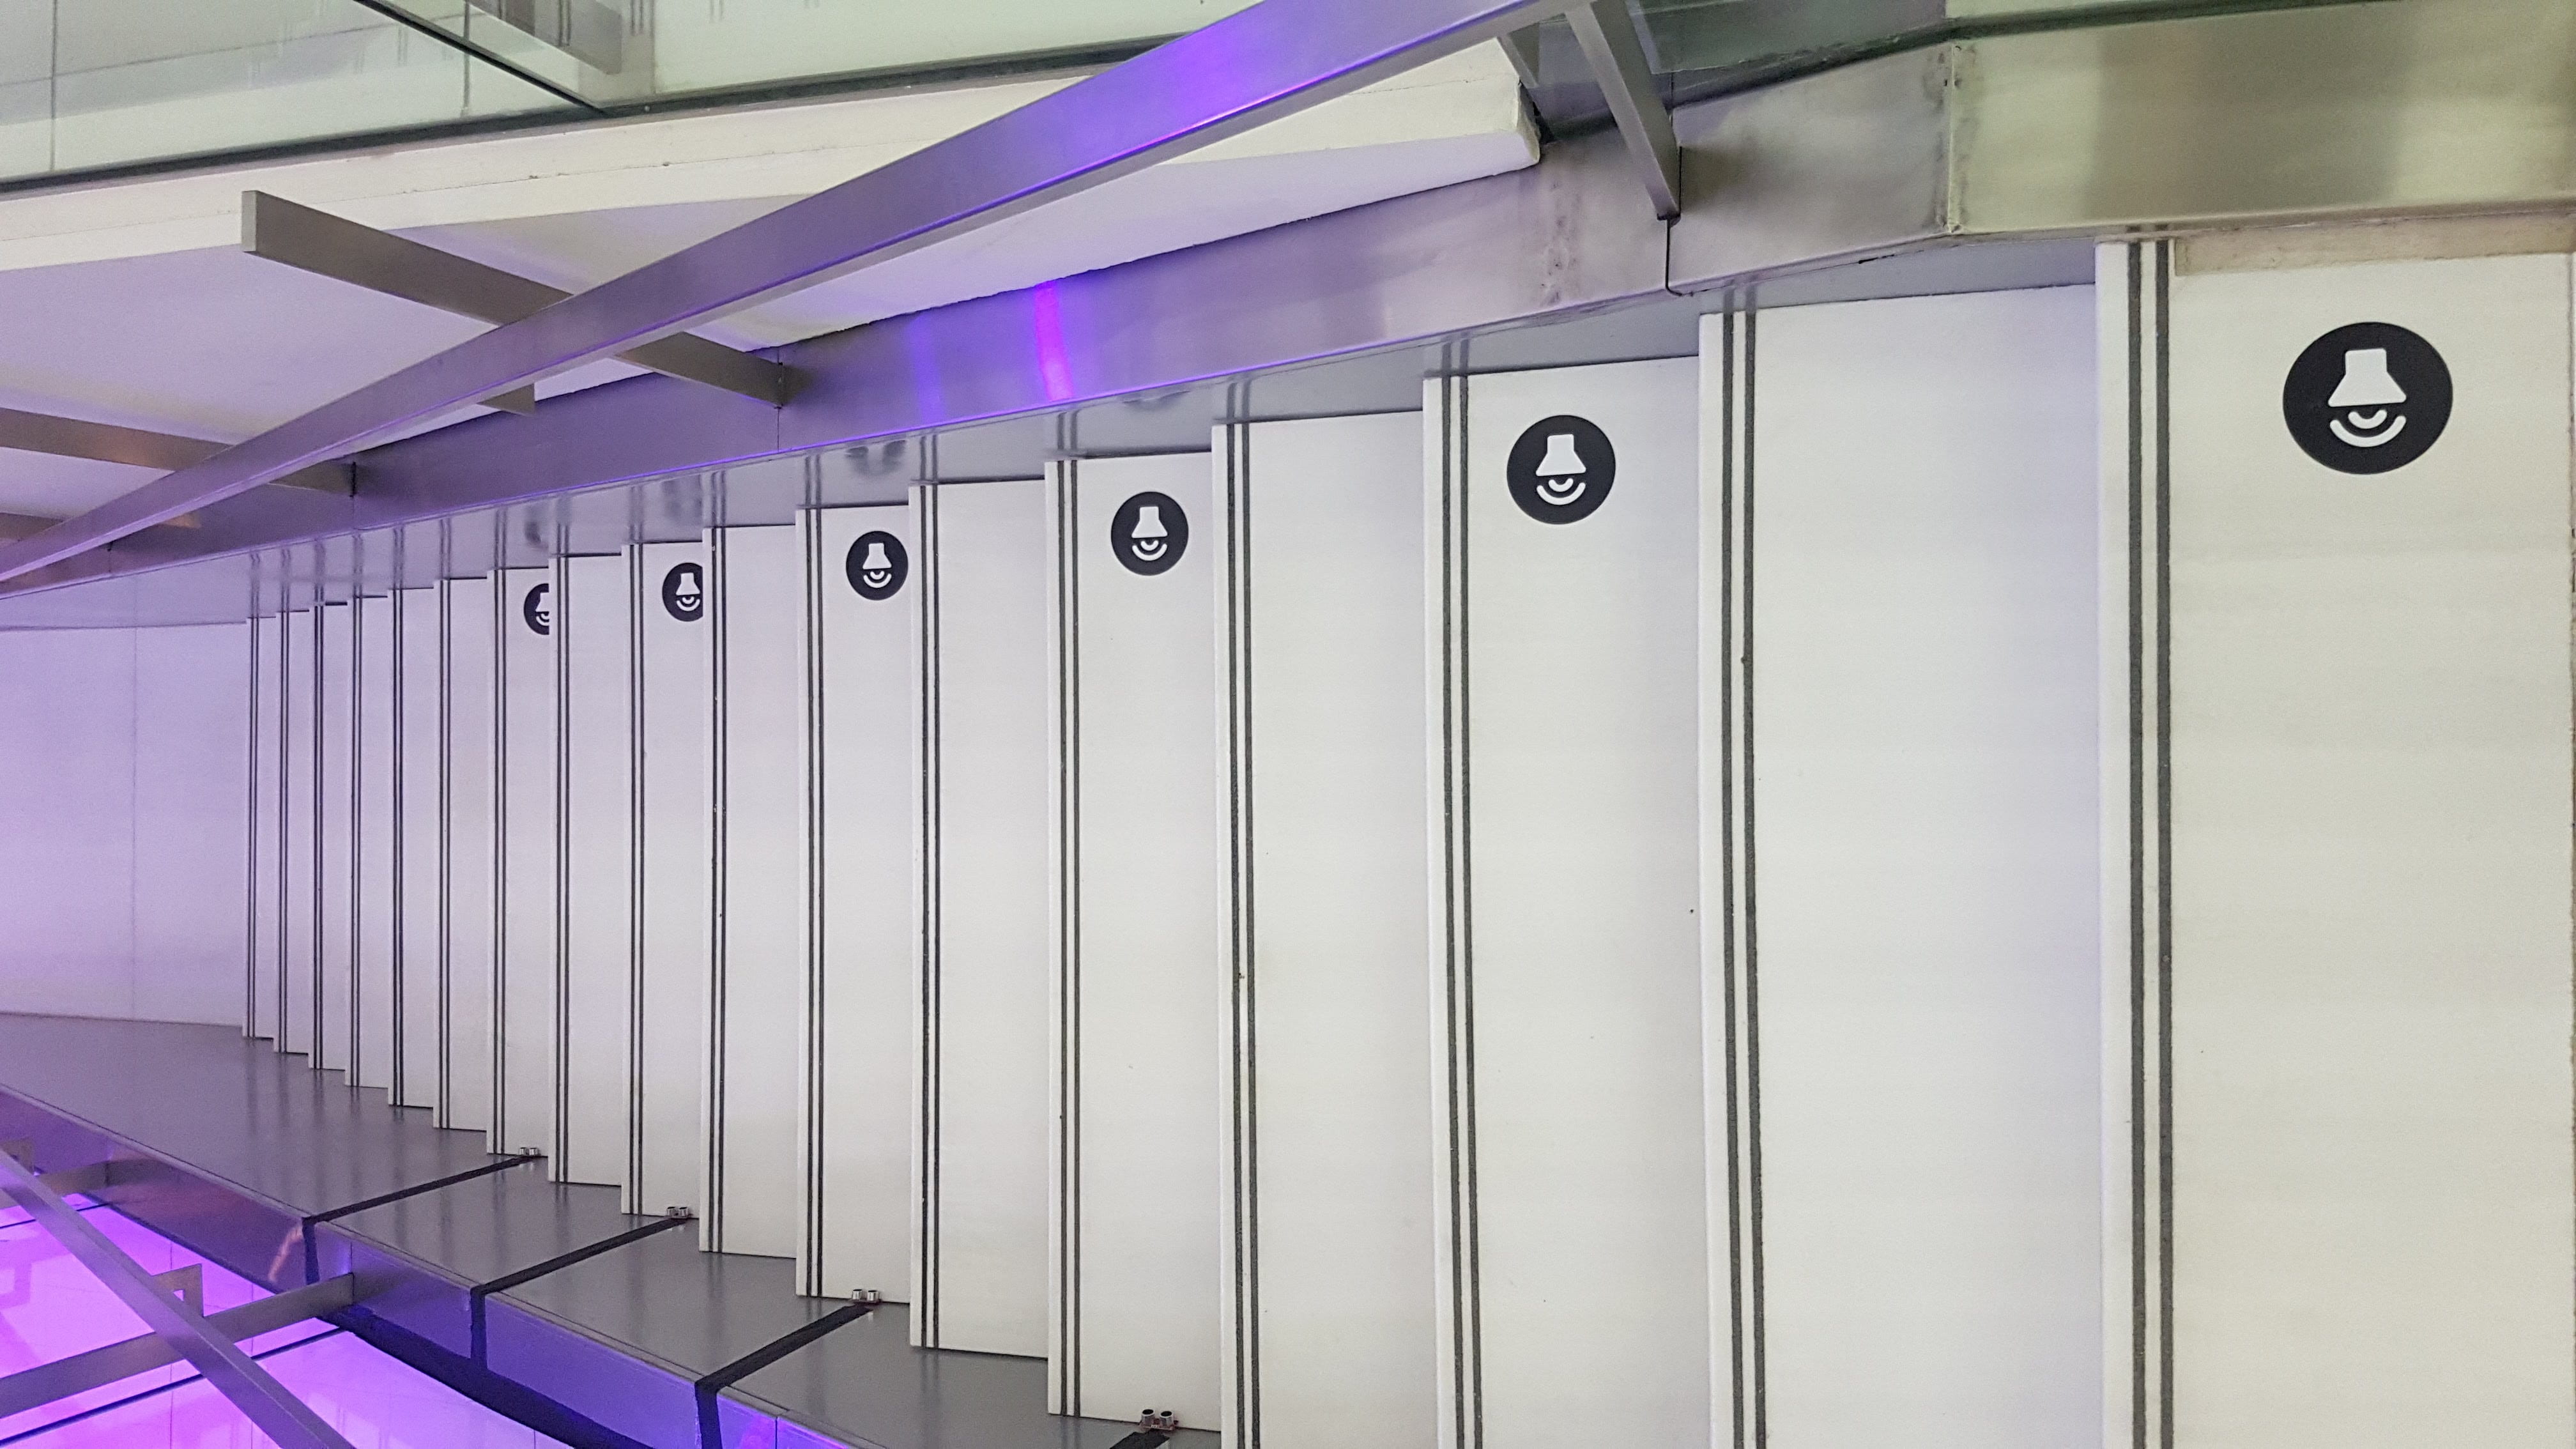
The stickers looked quite good in the end! 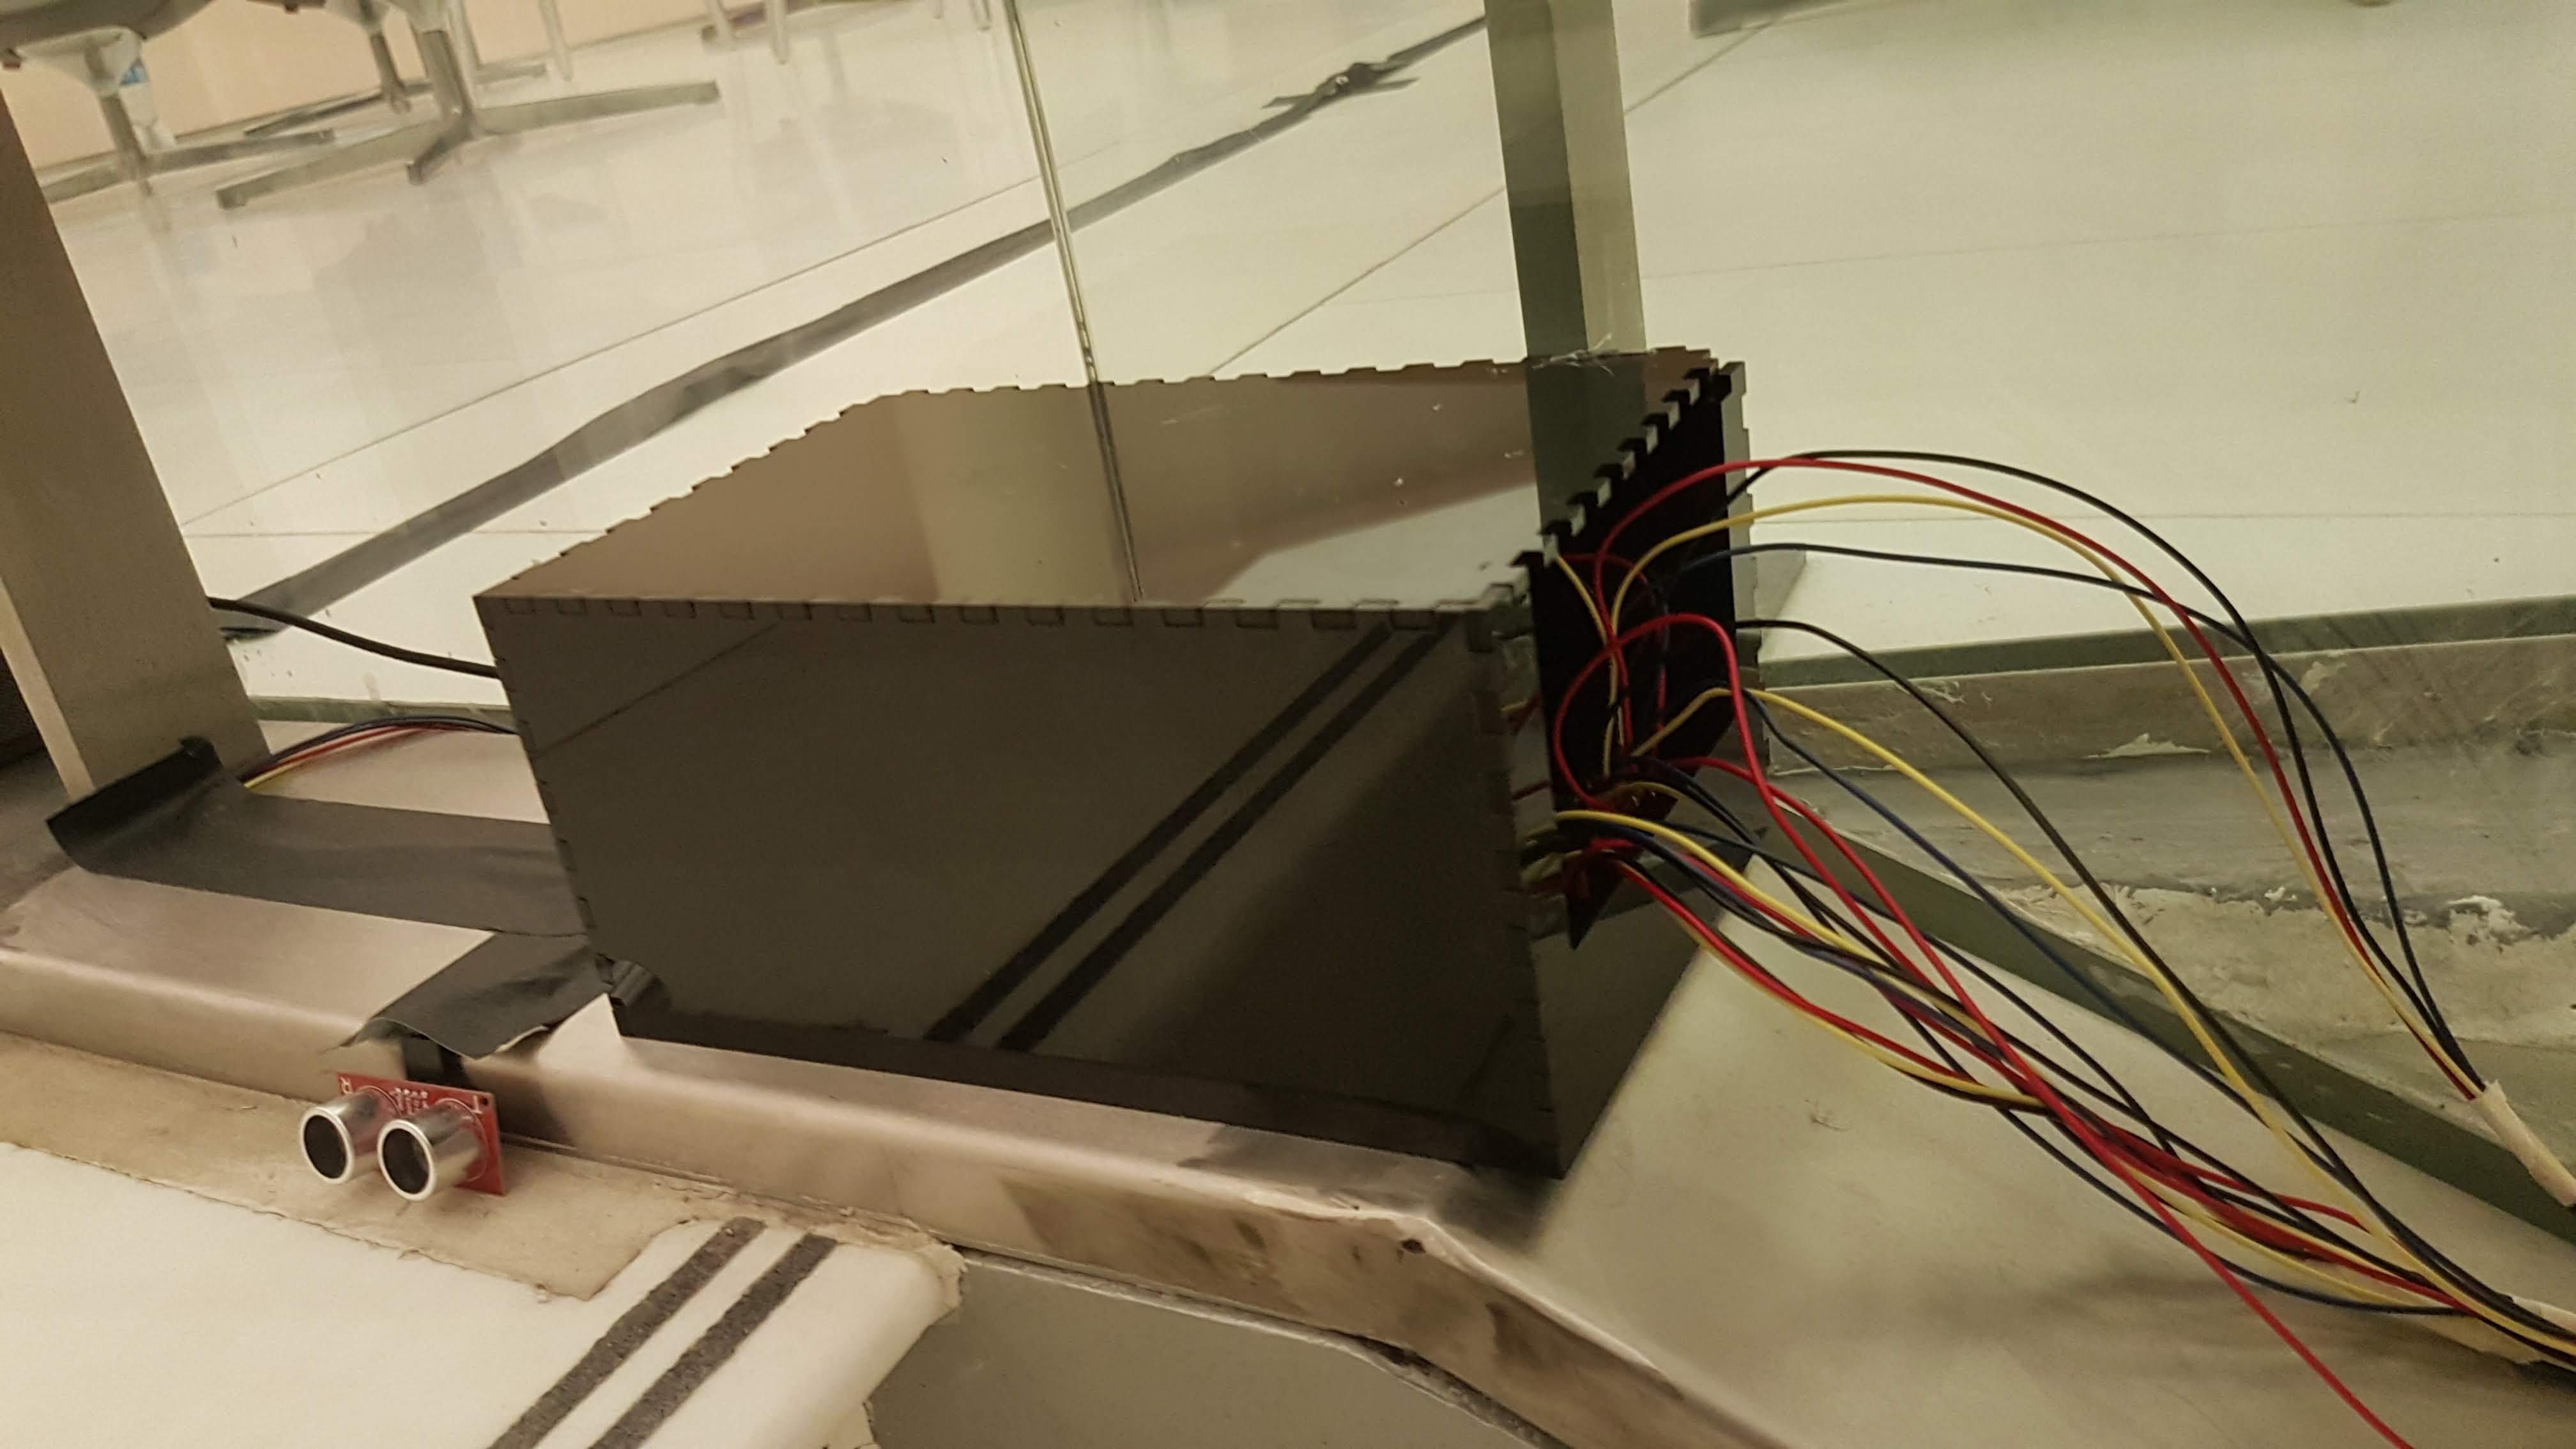
Acrylic box placed on top of the components to avoid people from messing with the wires. -
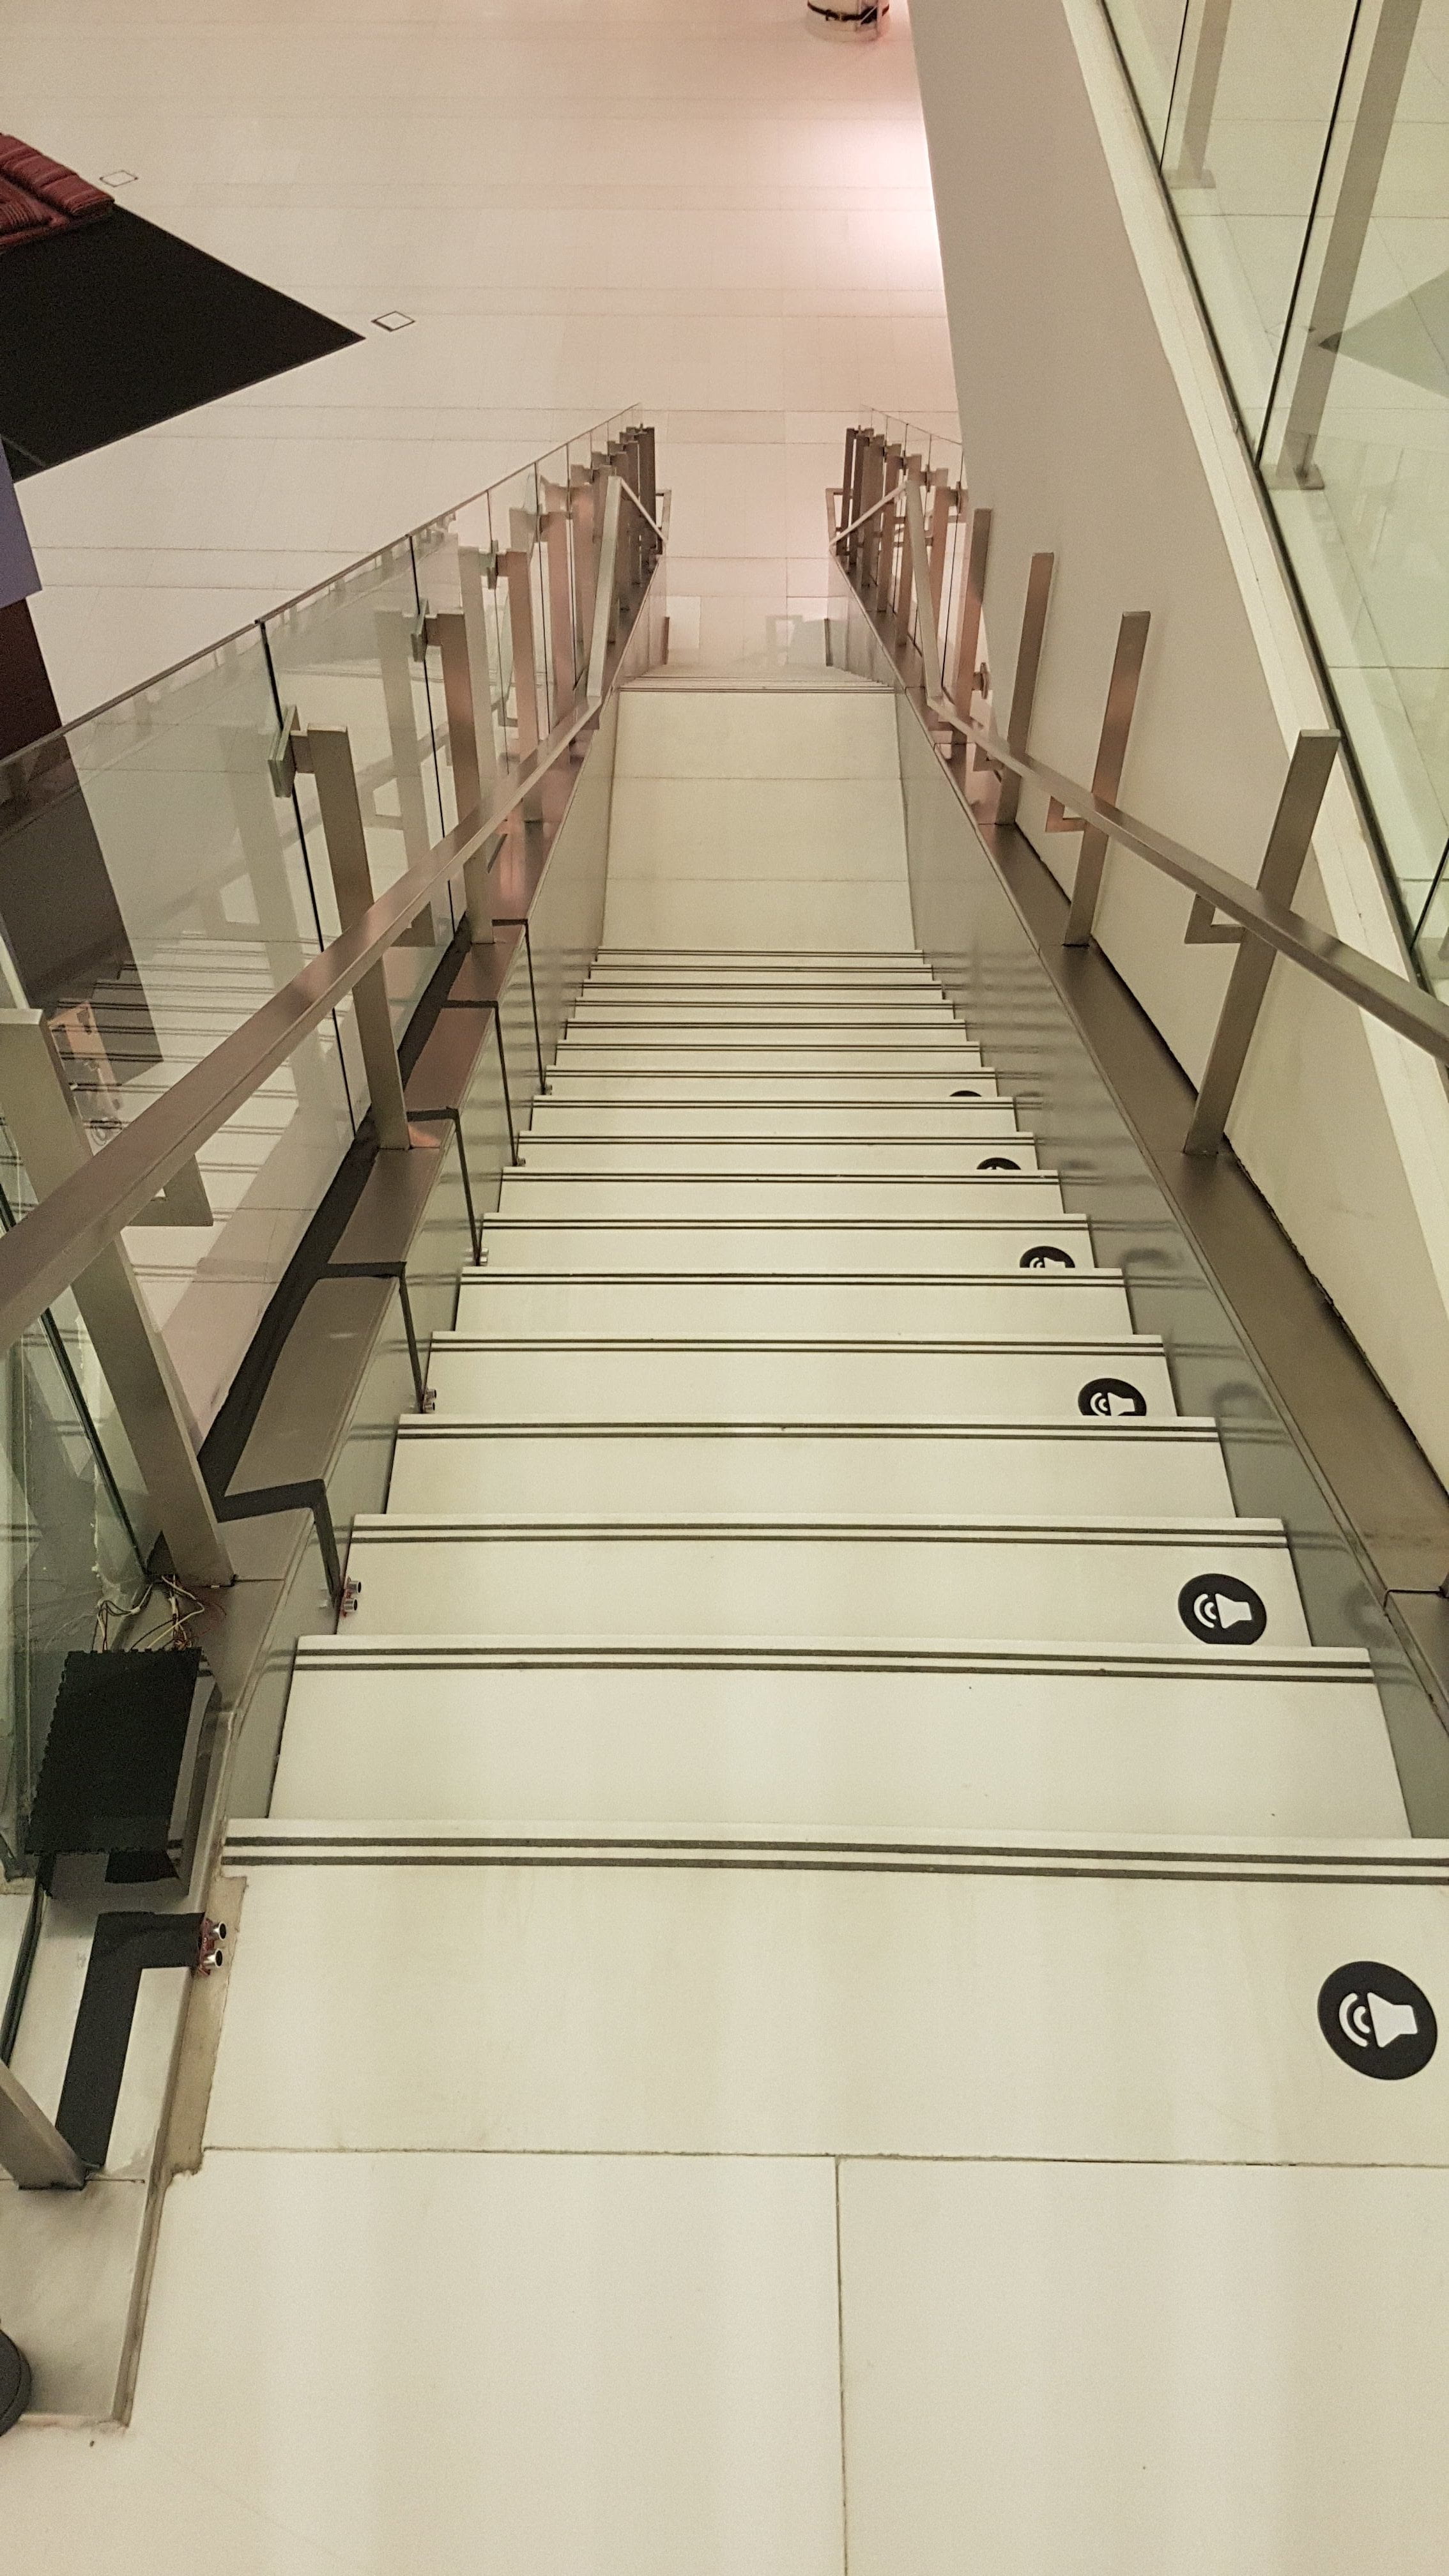
The final look with everything semi-hidden 🙂
- Choose sound (and conduct user testing)
- Throughout various steps of the process, (and usually as I got tired of working on the hardware), I explored different sound options I could implement. I initially wanted to use random libraries of sounds inspired by Google’s Drum Machine and a WebSynths site with a large selection of sounds. The sounds I initially downloaded included water drops, percussion instruments (clap, hi-hat, etc.), human sounds (coughing, random voices, laugh), and other more abstract sounds. However, as I conducted research, and as people walked by as I was testing the installation, many people told me how they wished they could distinguish the sounds more and collaborate with people through musical notes. As such, in the end I decided to use a scale and found a really pleasant guitar scale to use. I really liked how this sound worked in the end since it is soothing enough for the people around the arts center to not get tired or annoyed by it, while still being fun to play with.
The Code
Link to the Github Repo with the Arduino, Xcode and sound files here!
In terms of the code, the project runs on a handshake between Arduino and openFrameworks. In Arduino, I used the NewPing library that allows me to easily create new “Pings” for each sensor, allowing me to easily obtain simultaneous readings for all of them. The most important part of the code pertains to the switching part, which checks the distance values for all the sensors and adds a smoothing value to them based on its previous value. Then, if the distance is less than the length of the stair (which basically means there is a person on the stair), and if the step was previously empty, then the program recognizes the reading as an actual person’s step. This logic was done in order to ignore the random reading drops that the sensors would receive, causing the stairs to play sounds even when people weren’t in them.
In openFrameworks, the logic is more simple. Once the bytes are received from the Teensy, the program checks which sensors are getting triggered and plays the corresponding sound.
Final Reflection
Overall, I am really satisfied with the outcome of this project. What at first felt like a relatively simple project that received input and triggered sound as output rapidly increased in difficulty and got complicated throughout the four weeks of development. Preparing the installation for a long-term duration was also an added challenge/enjoyment, as I had mostly been used to preparing projects for 2 or 3 hour-long showcases. Preparing the perfboard, securing the wires, and cleaning up the installation as a whole was an enduring yet fun process. Watching people’s reactions as they walked up and down the stairs also made all the effort worth it, as I saw how excited most passersby got once they realized they were the ones making the music. Further iterations could include changing the sensors to infrared sensors to possibly have better sensitivity, and also magnify the project to have all the sensors cover all of the flight of stairs. In the end, I’m really happy with how everything turned out, and am glad it all worked out in the end.
