Print the tutorial from here:
coin-purse-template.pdf
Use A4 paper and do not scale.
Prepare the material, clean it and remove any sticker.
Cut four to six rectangles of plastic bag material, around 12cm x 30cm size. Adding more layers will create a more rigid fabric, you should decide how many layers you will use according to the thickness you want to achieve. Start with four, you can also add more later.
If you have a regular plastic bag, cut the handles and the bottom of it, so you don’t have folds and the layers are uniform.
Set up the iron temperature to medium heat. In this case it’s “wool” and this is around 120ºC.
Sandwich the plastic bag material between the baking paper. You can start with three or four layers and add layer by layer after you fuse the previous ones. Keep the iron moving while you are fusing the plastic bags until you see all the layers are fused together. Peek under the baking paper to check the plastic layers often. And NEVER run the iron directly on plastic. This will damage the iron.
If you notice the layers are not completely fused, keep ironing the plastic, and turn it over to have a uniform result.
Cut the template from the back of the tutorial and use it to mark your material.
Use a ruler and a paper cutter to cut the shape of your coin purse using the template.
You can use a hole punch tool or just mark the place where you will instal the buttons later.
Use snap pliers to instal the buttons.
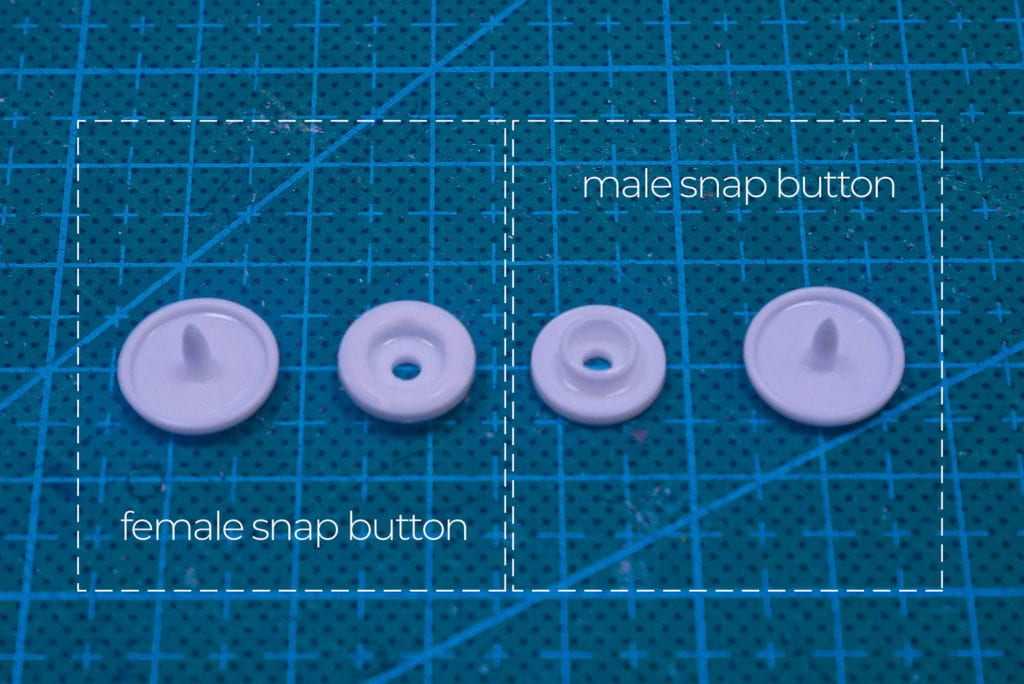
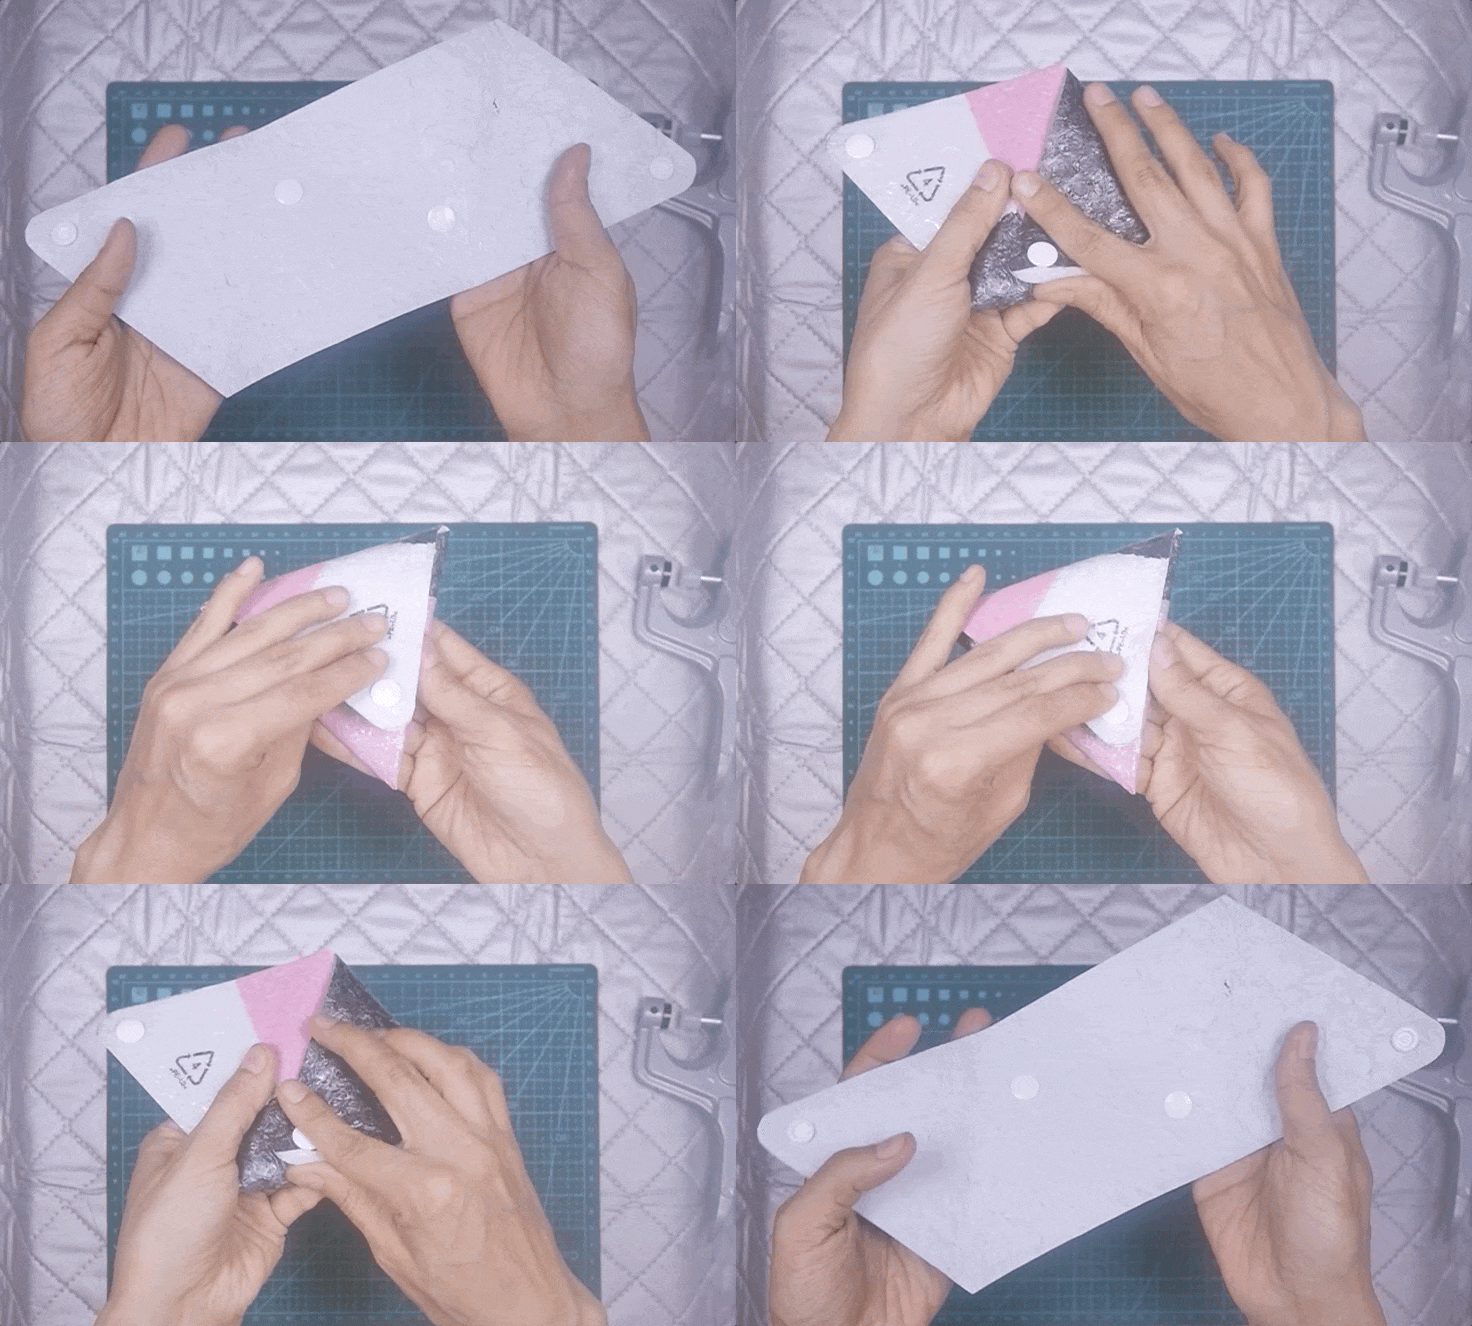
There are female and male button parts. The female buttons will be located in the corners. The male buttons are the ones in the inner part of the coin purse. When you are seeing the front side of your coin purse, you should see the back side of the female buttons and the front side of the male buttons.
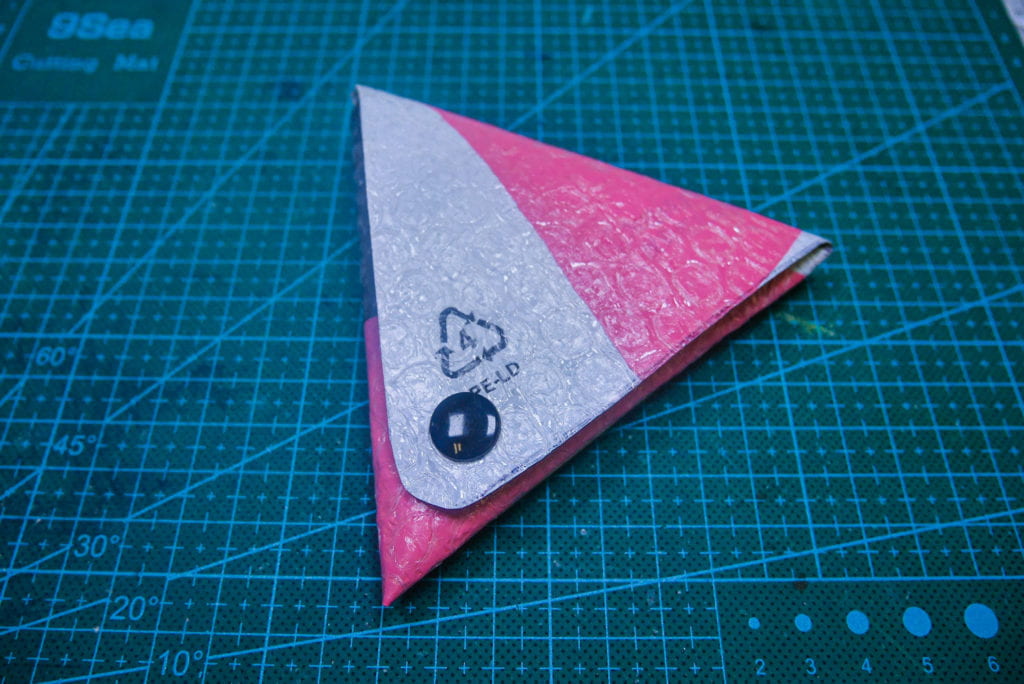
Finally, fold the coin purse and match the buttons to close it.
Watch the whole video:


Leave a Reply