Embosser
About the machine
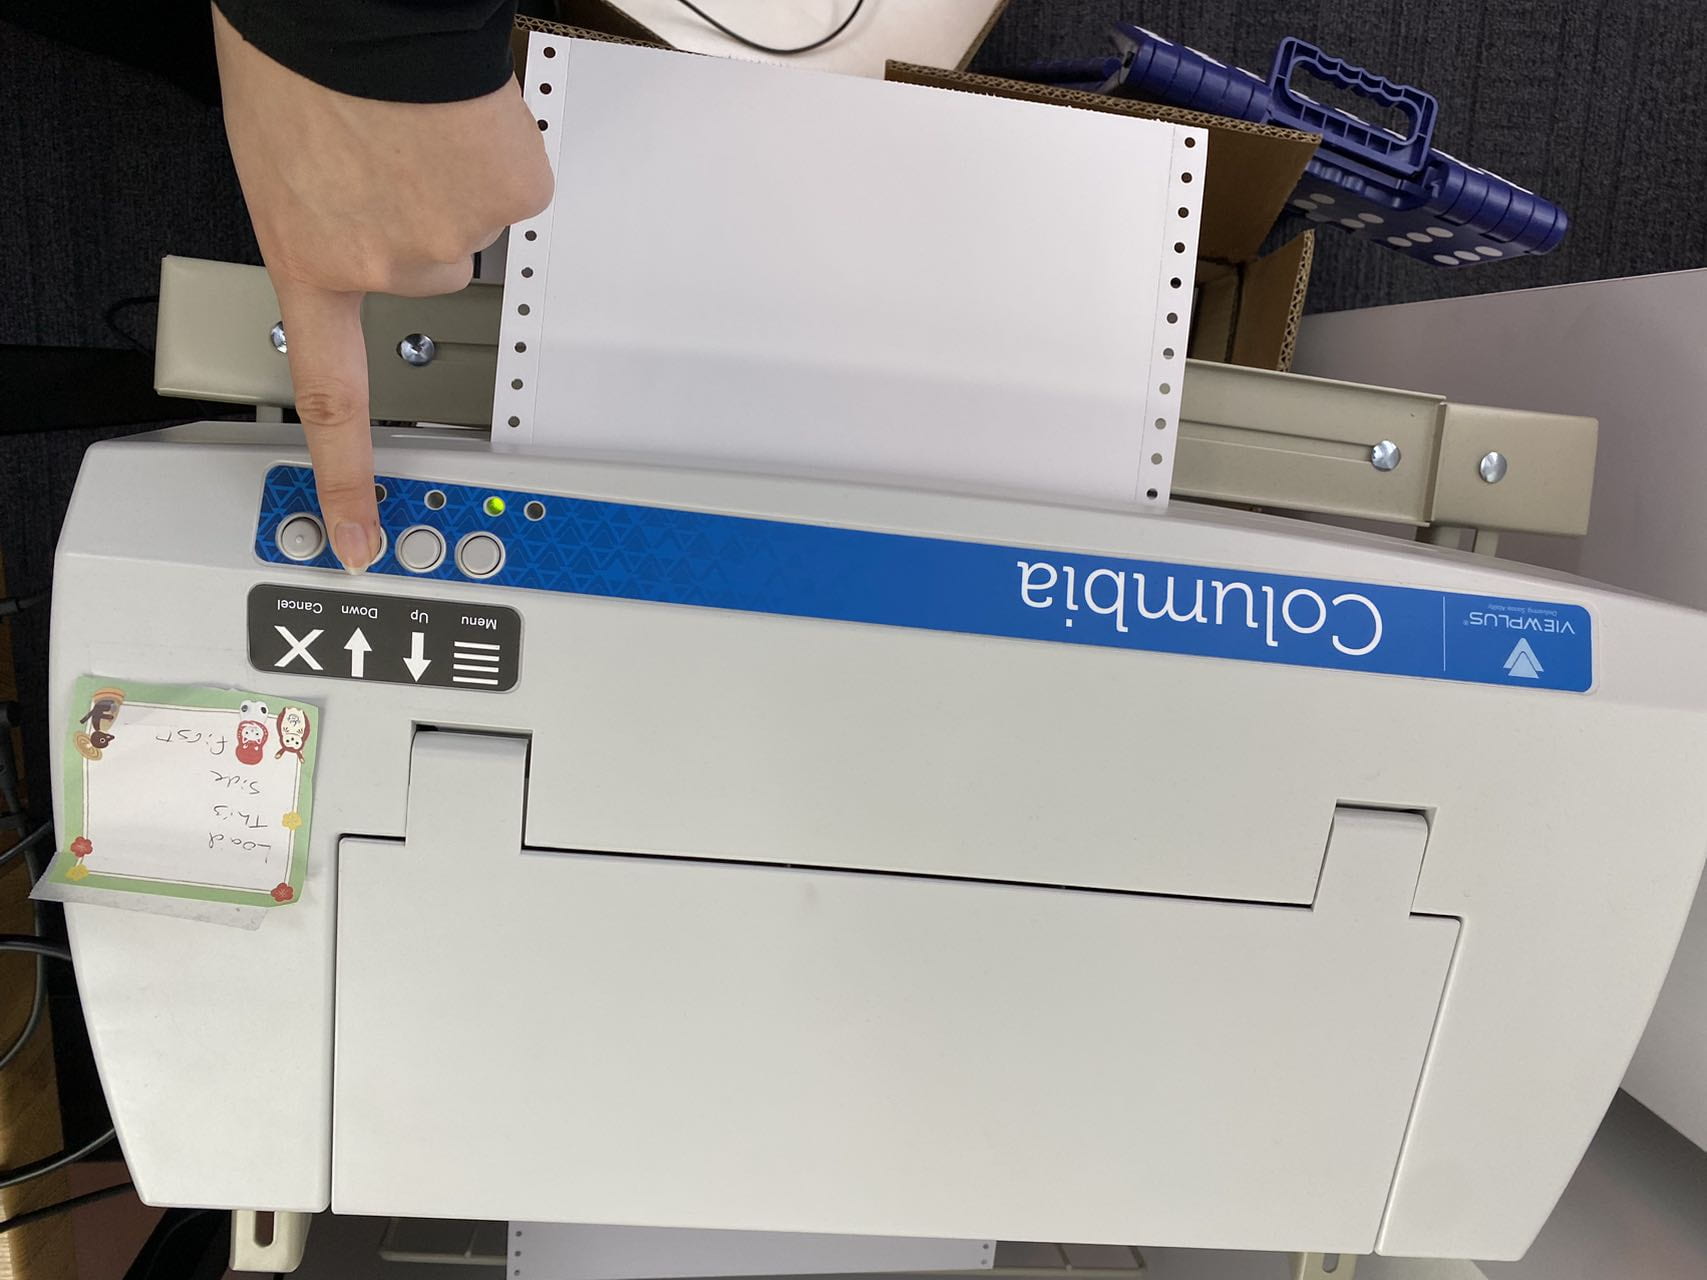
This Braille and Tactile Graphics Embosser provides double sided embossing for Braille text with capabilities to include single sided tactile graphics. This machine can only be used with a Windows computer, which should be located nearby. (Please ask for assistance if you can’t find it)
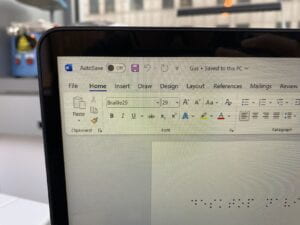
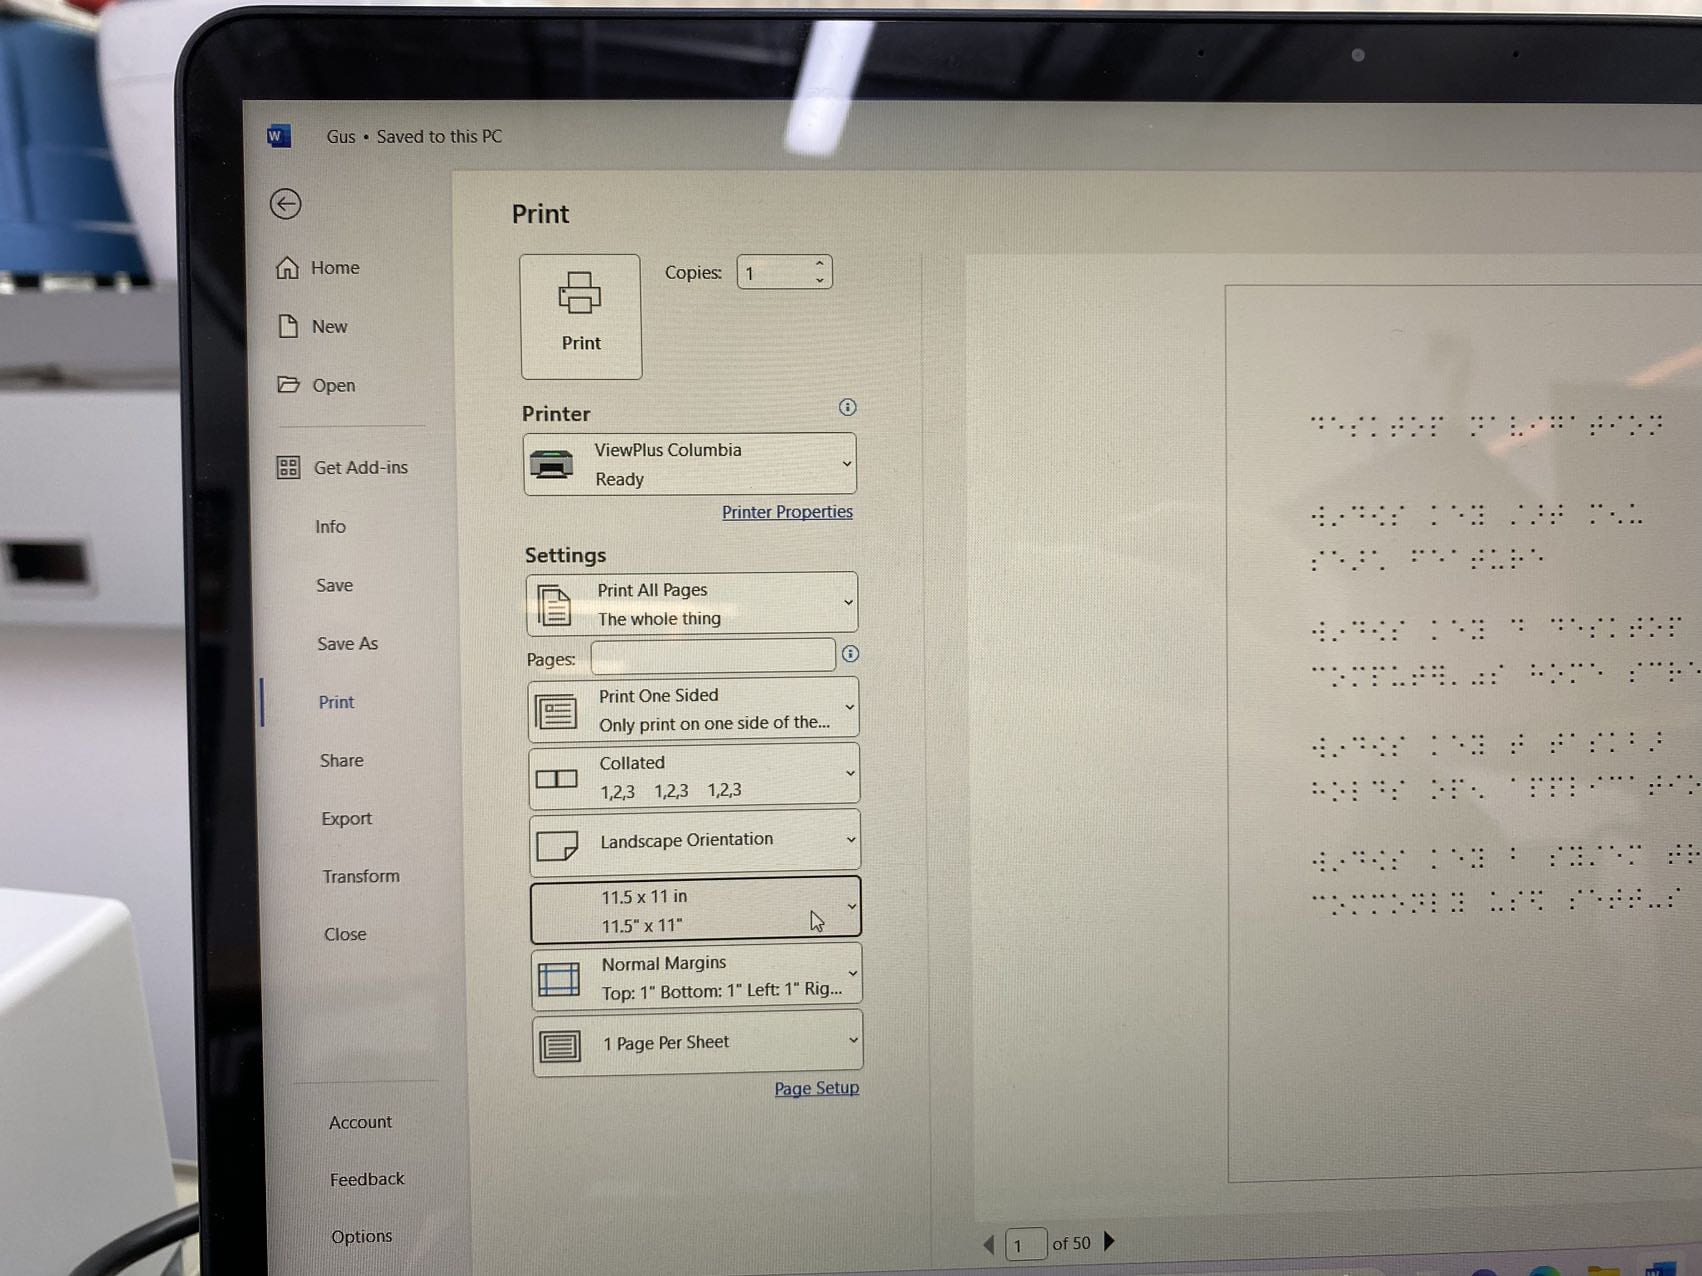
This Braille Embosser has a text mode and a graphic mode. If you would like to braille text, please make sure you are printing from a word document instead of a pdf file, because a pdf file might confuse the two modes.
Paper Loading Tutorial Found in tutorials or doc link Here.

Steps to use the embosser are also found in Tutorials! or Doc link here.
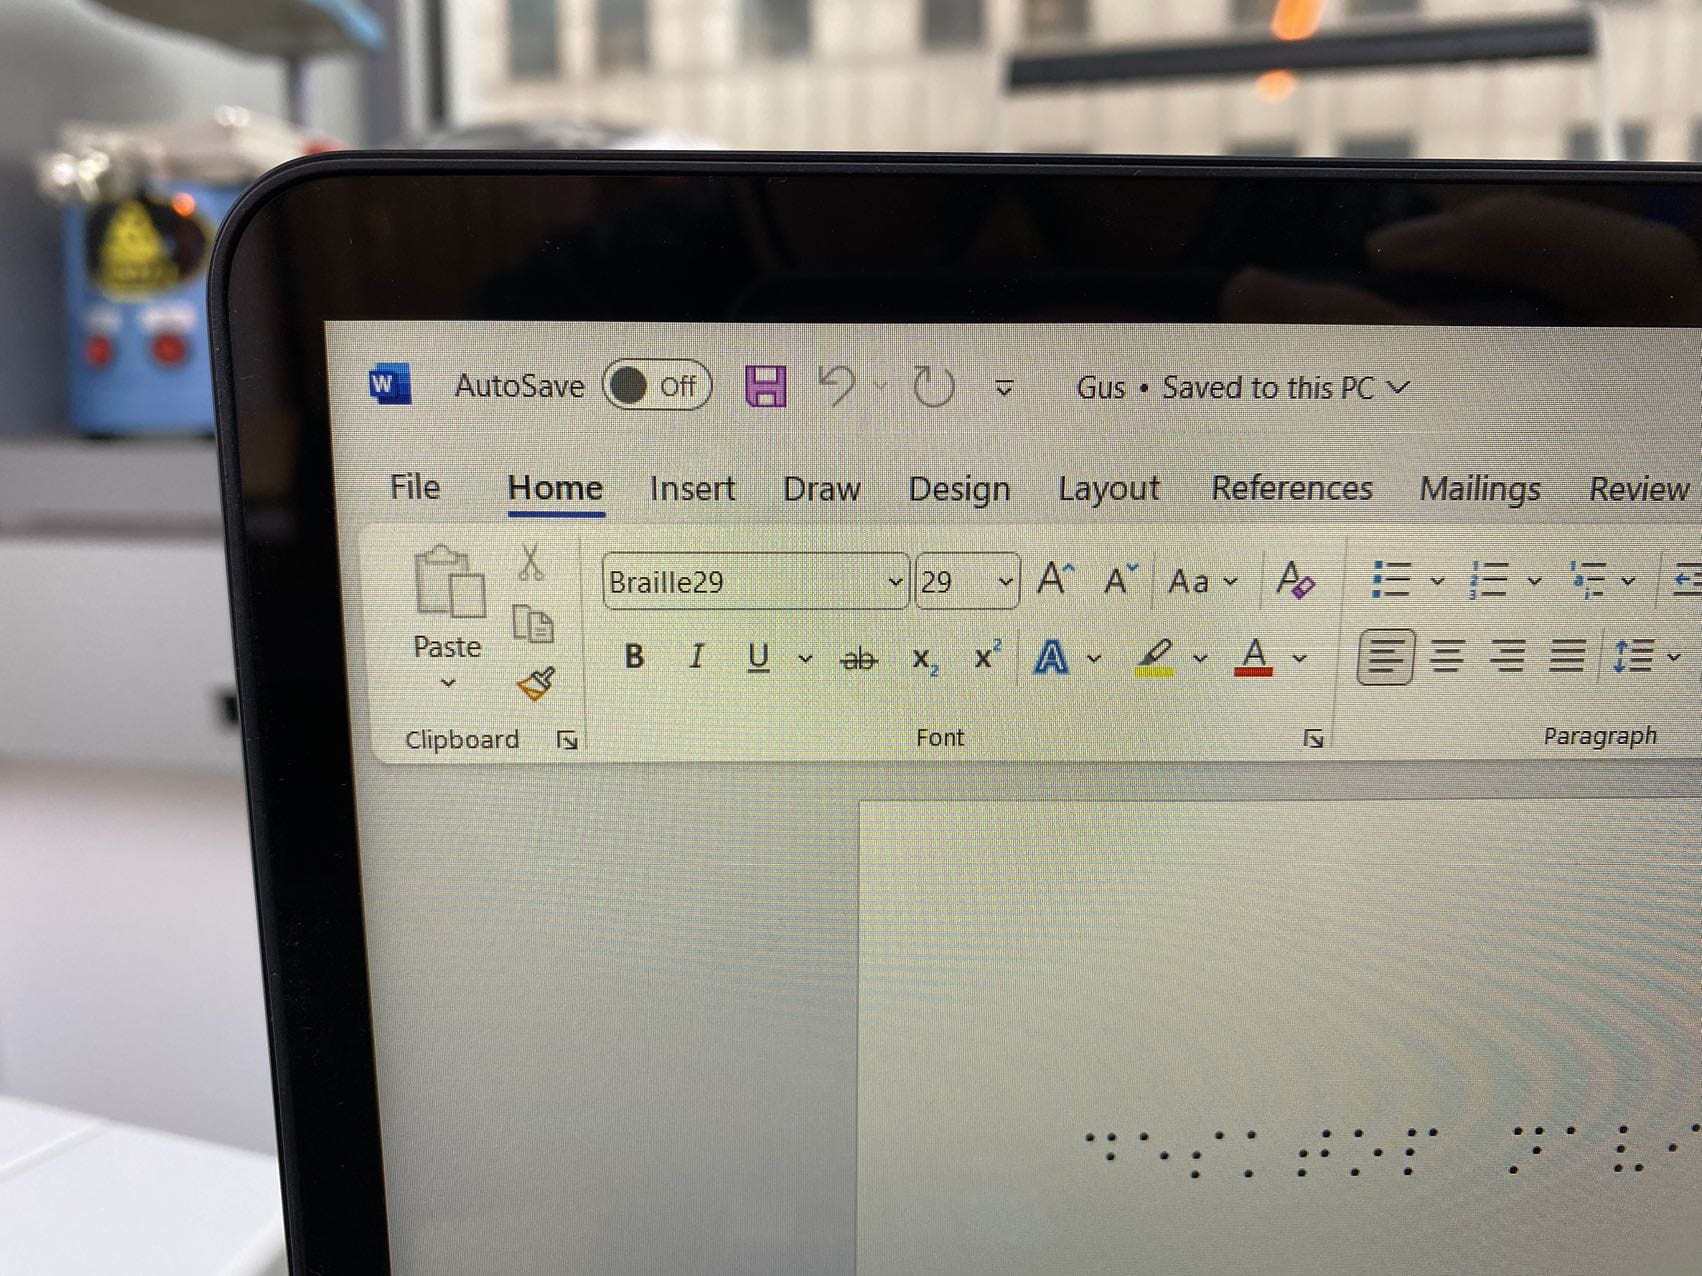
Useful Printing Preferences
- page size
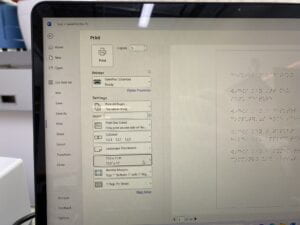
- font size
- dot height (low, normal, high)
- invert image
- braille translator
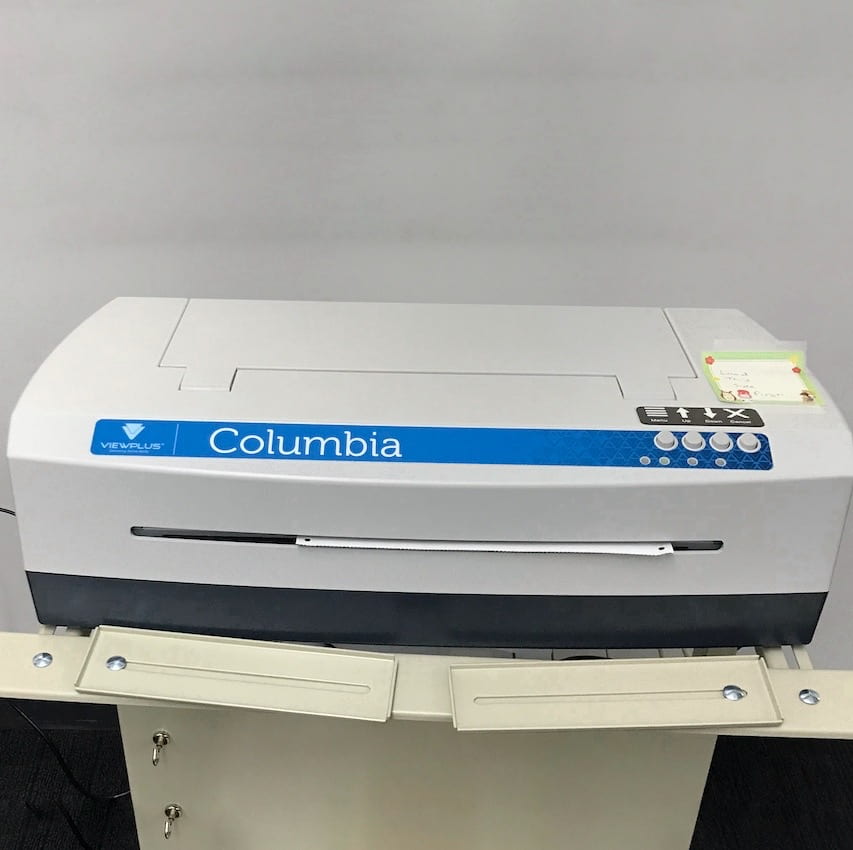
Physical Buttons
- menu
- Up / Down
- Cancel